DIY Leather Stap Pillow Headboard
Another DIY! I saw these very simple headboards below on Pinterest hanging from leather straps and of course thought, I could make that! I also needed a headboard for our guest bedroom and saw a few full wall with velvet headboards and I thought, YES! Ok, maybe not a wall to wall headboard, but I put my own spin on it. SO, check it out below!

Here’s what we’re making!
HERE’S WHAT YOU NEED:
- Wood / Metal / Hardbacking
- Fabric
- Leather (or whatever you’d like to use for the straps)
- Leather punch
- Leather grommets
- Foam
TOOLS:
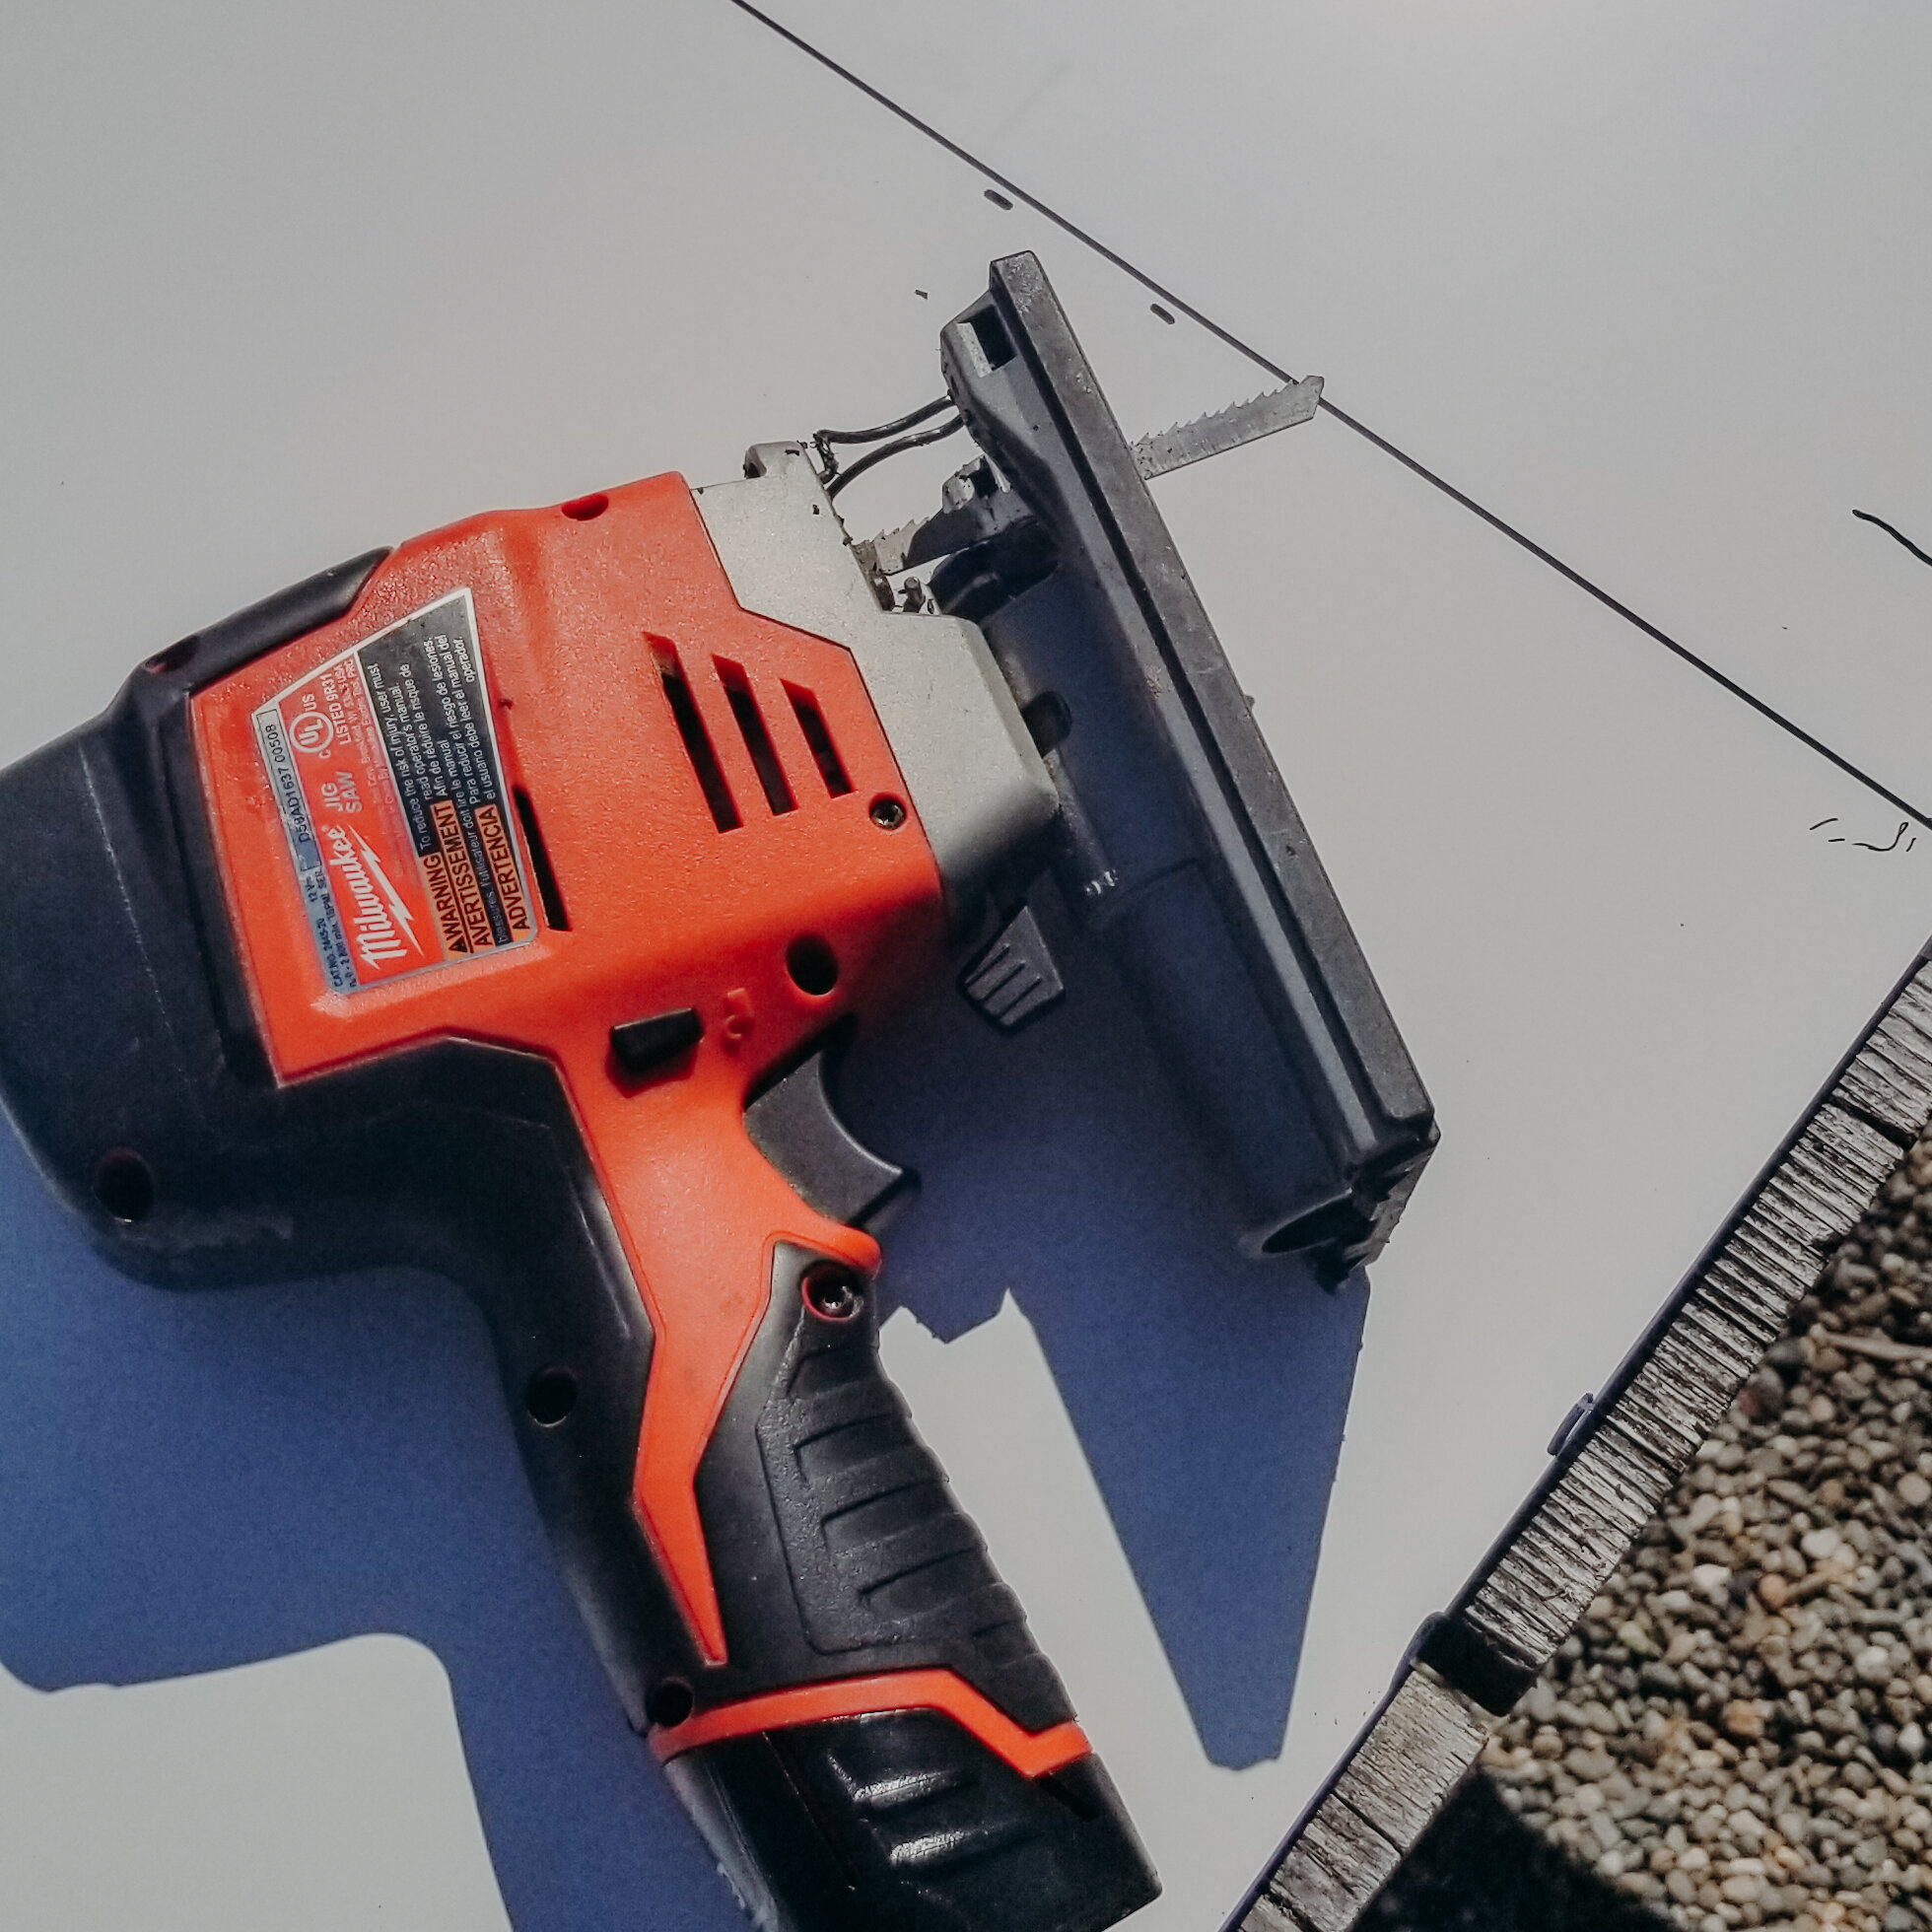
- Saw / Jigsaw
- Screw driver
- Stapler
- Drill
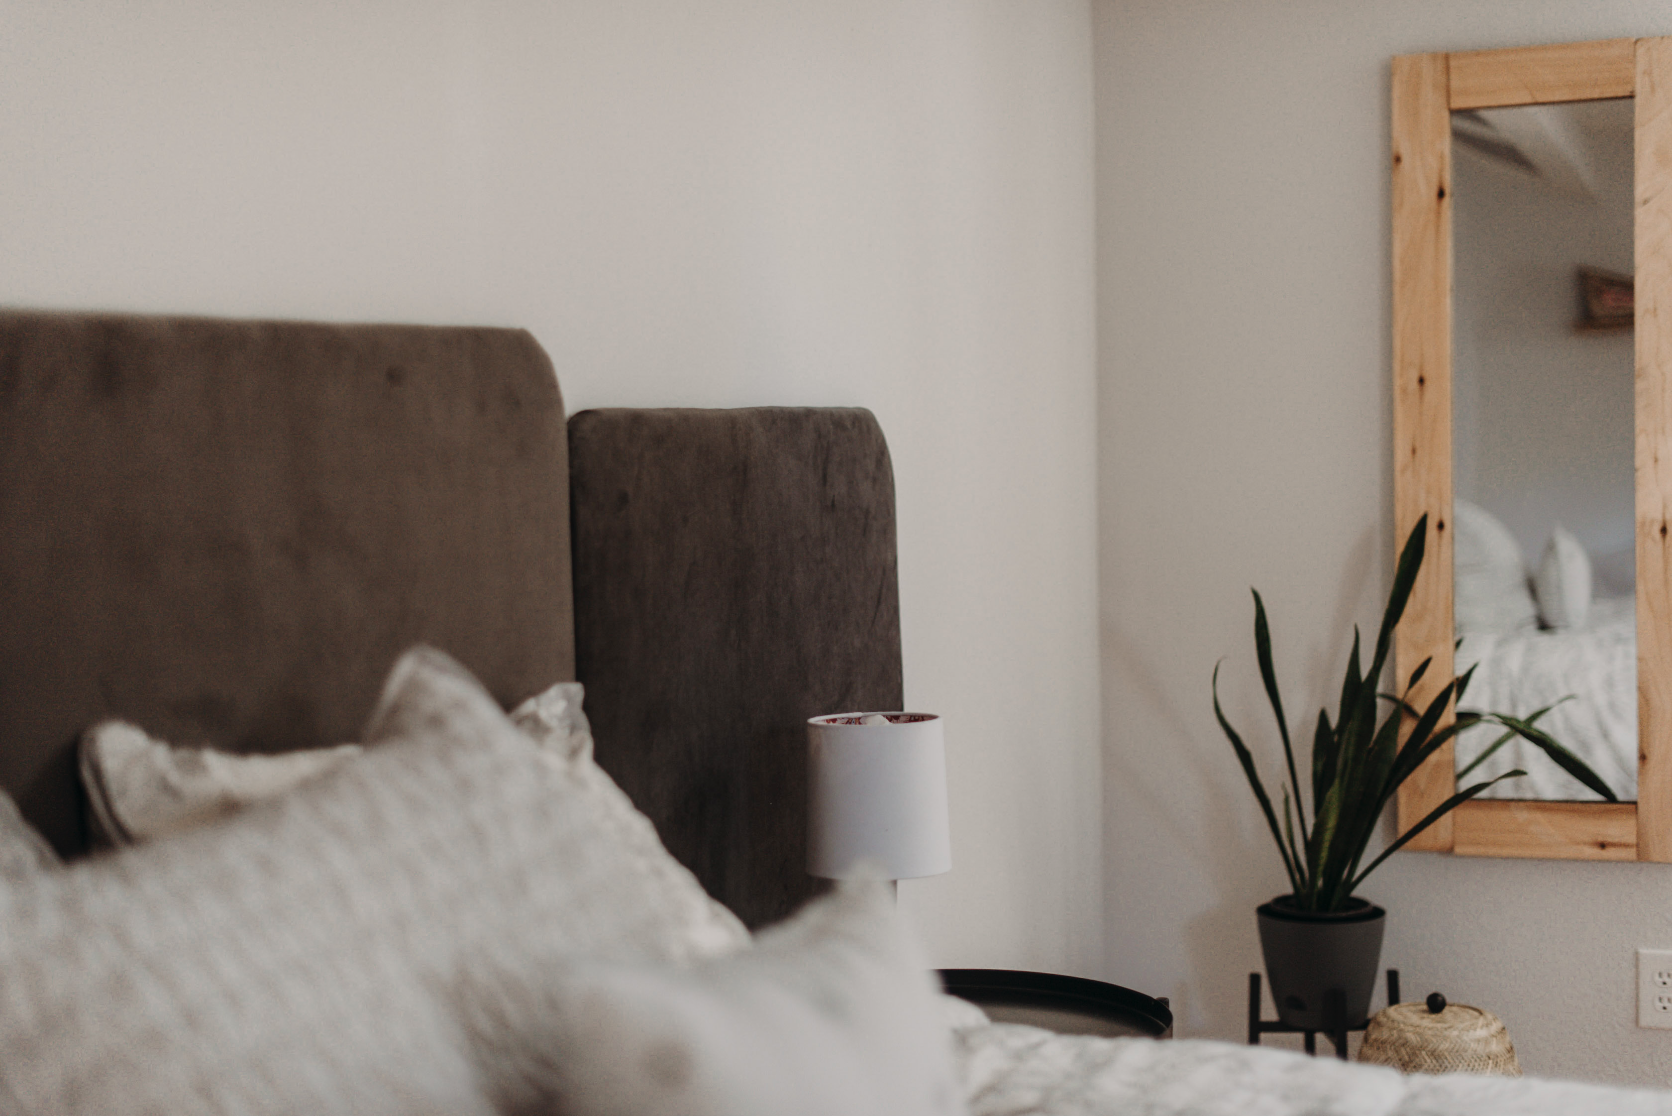
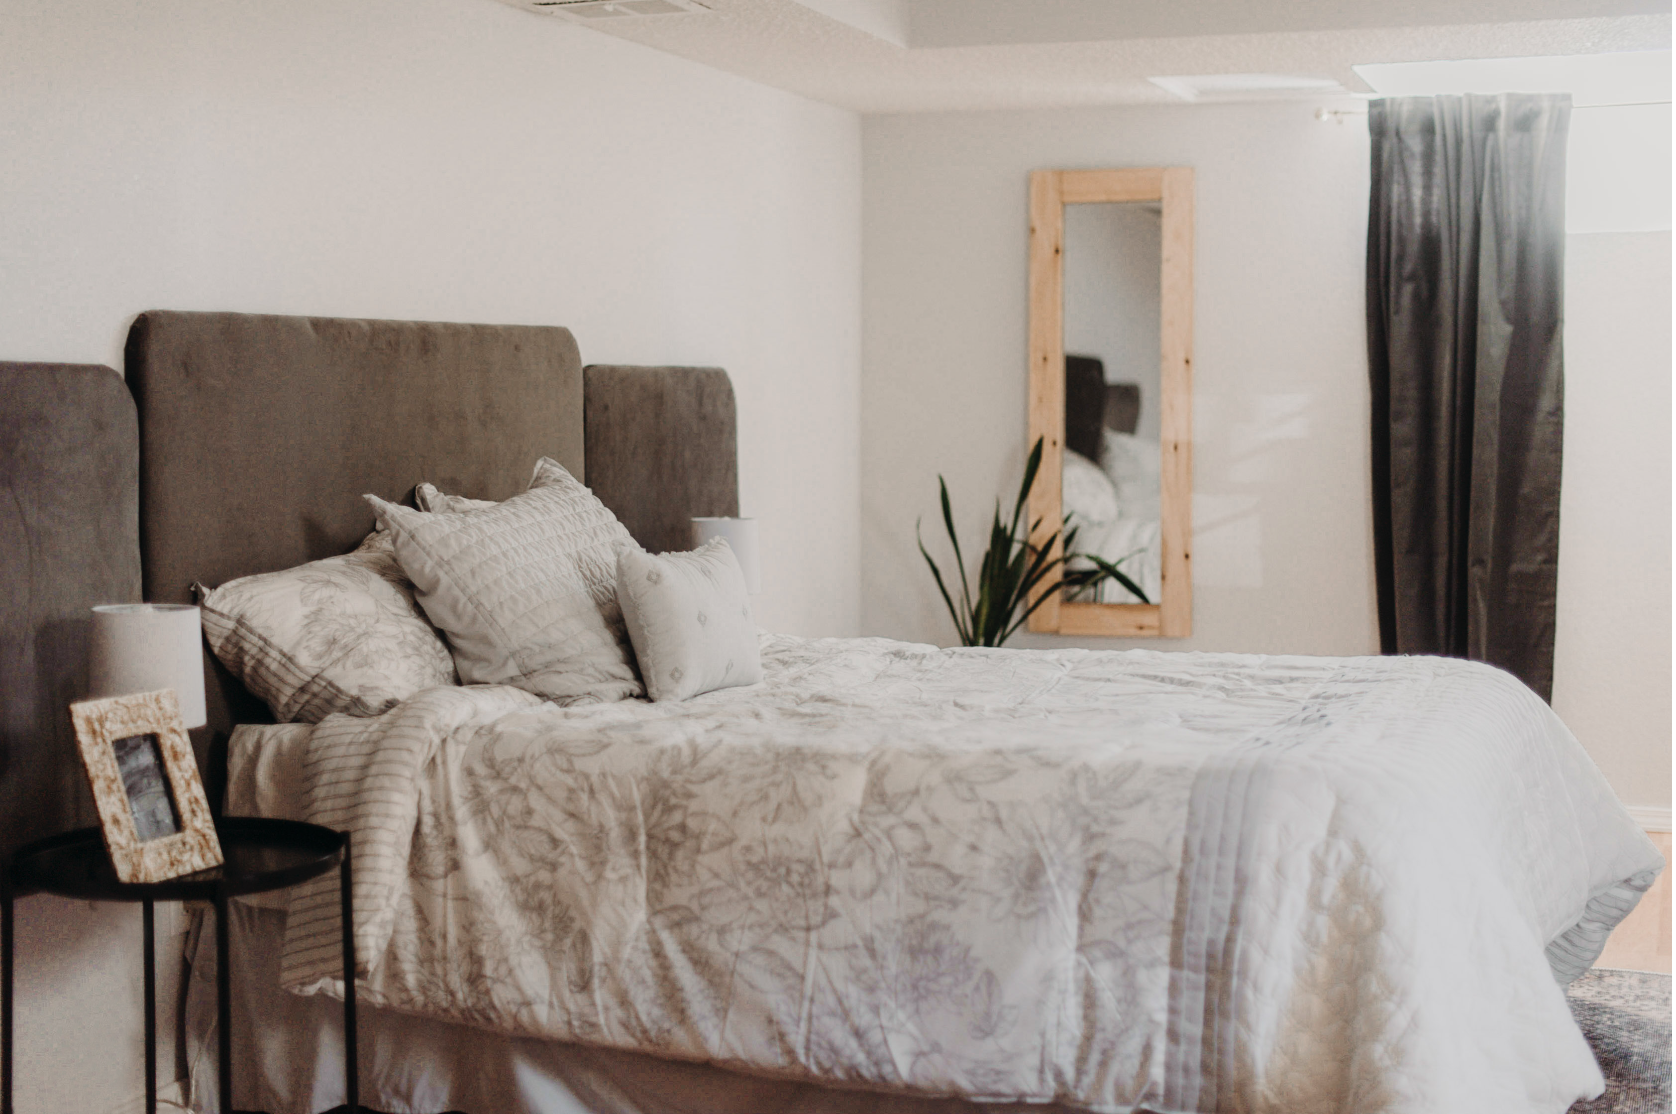
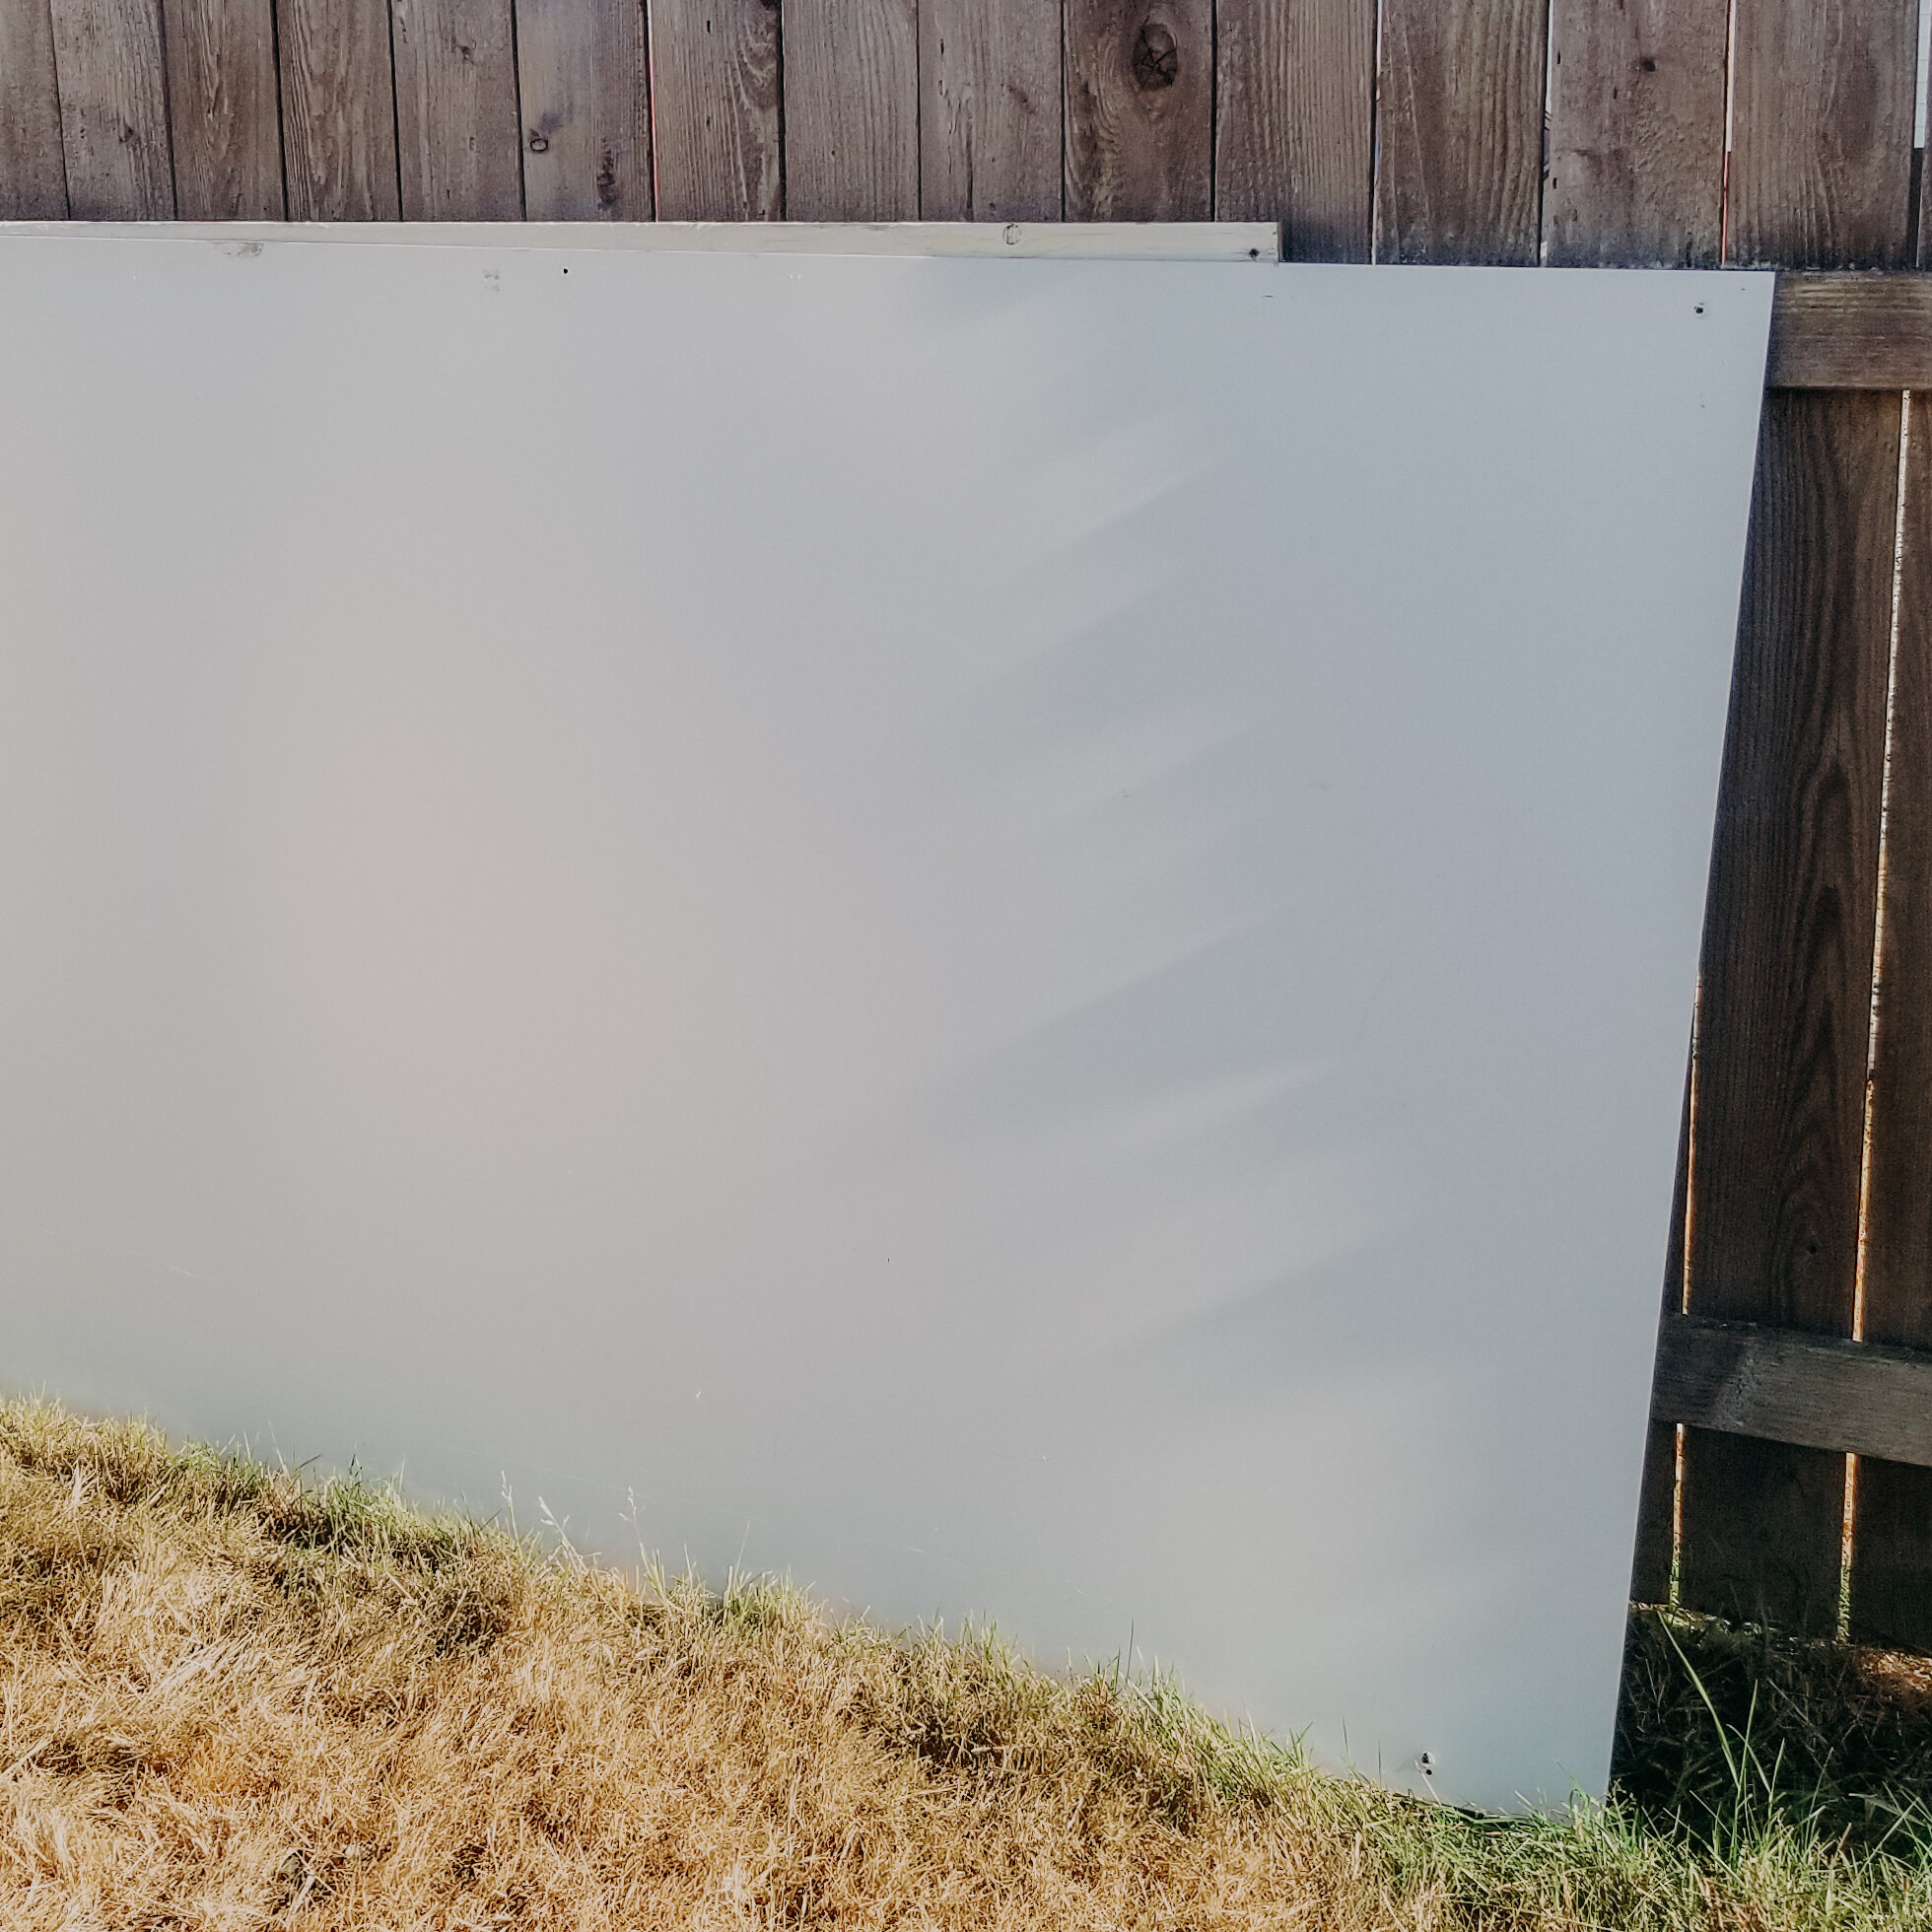
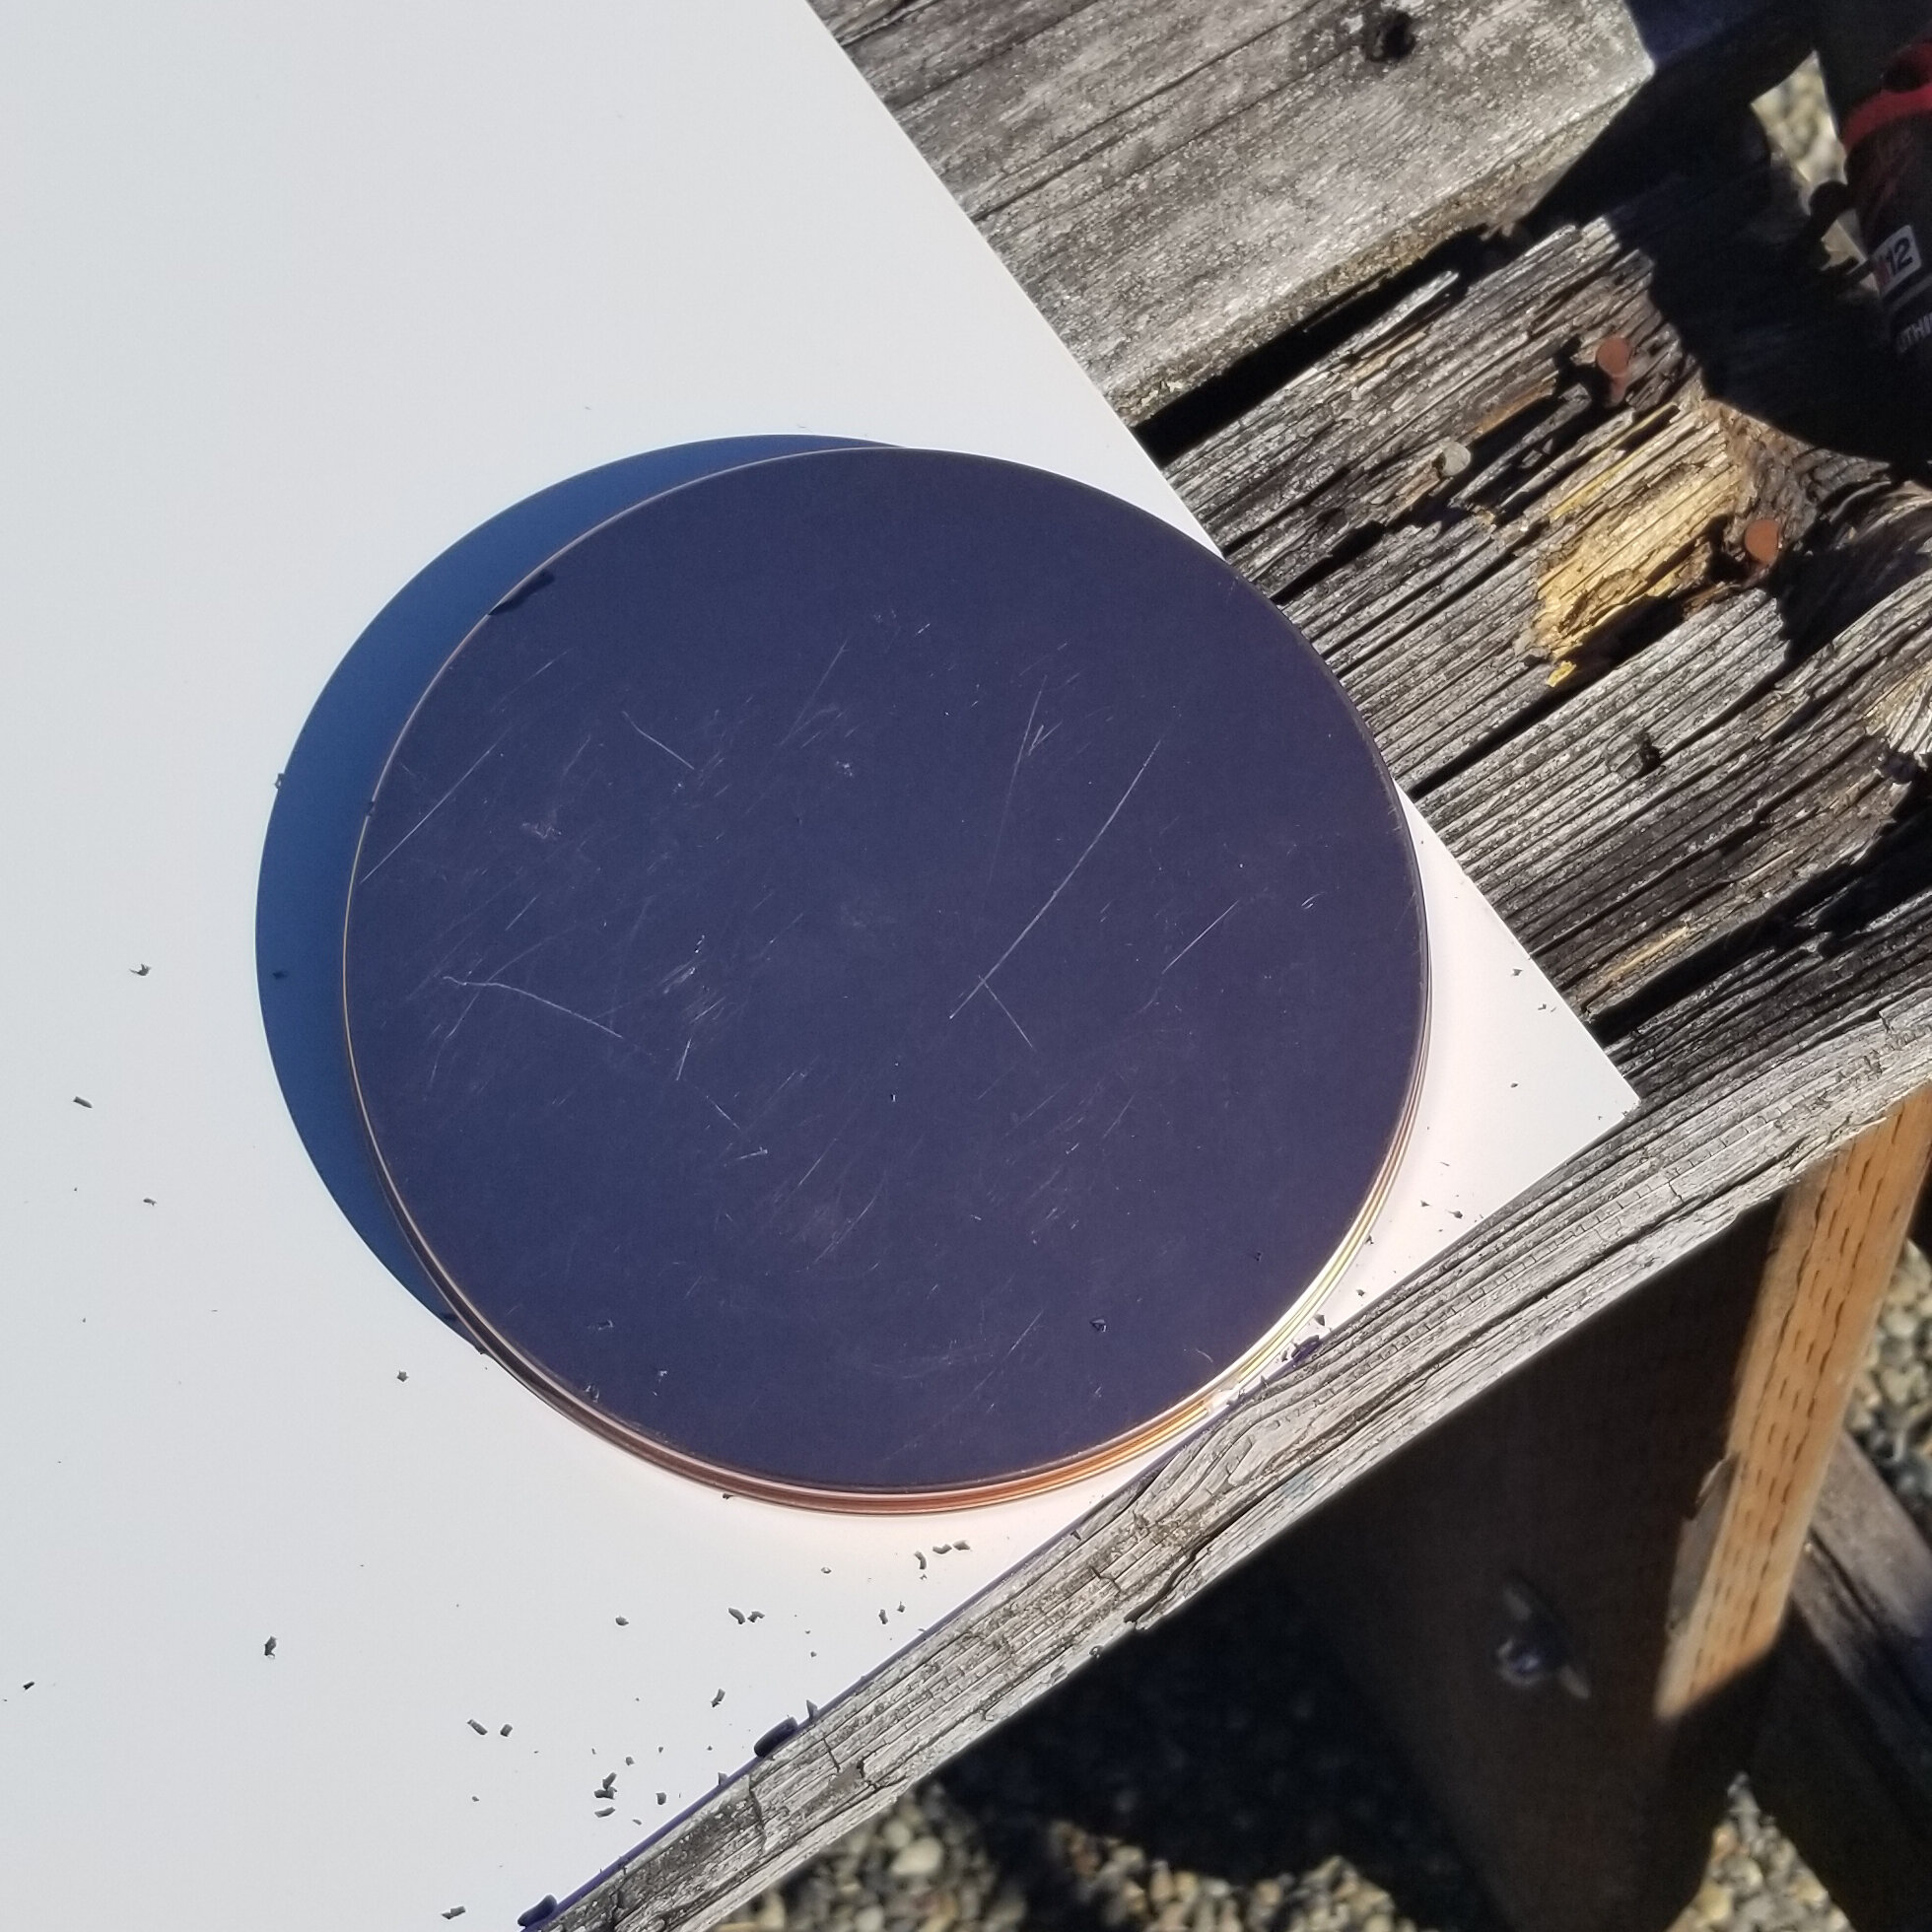
STEP ONE: Grab your wood, metal or hard backing that you’ll be using as your backboard. For the guest bedroom headboards I used dibond (A material used for signage that is metal + wood. It was free, ha!) and for our bedroom I used scrap wood I had around.
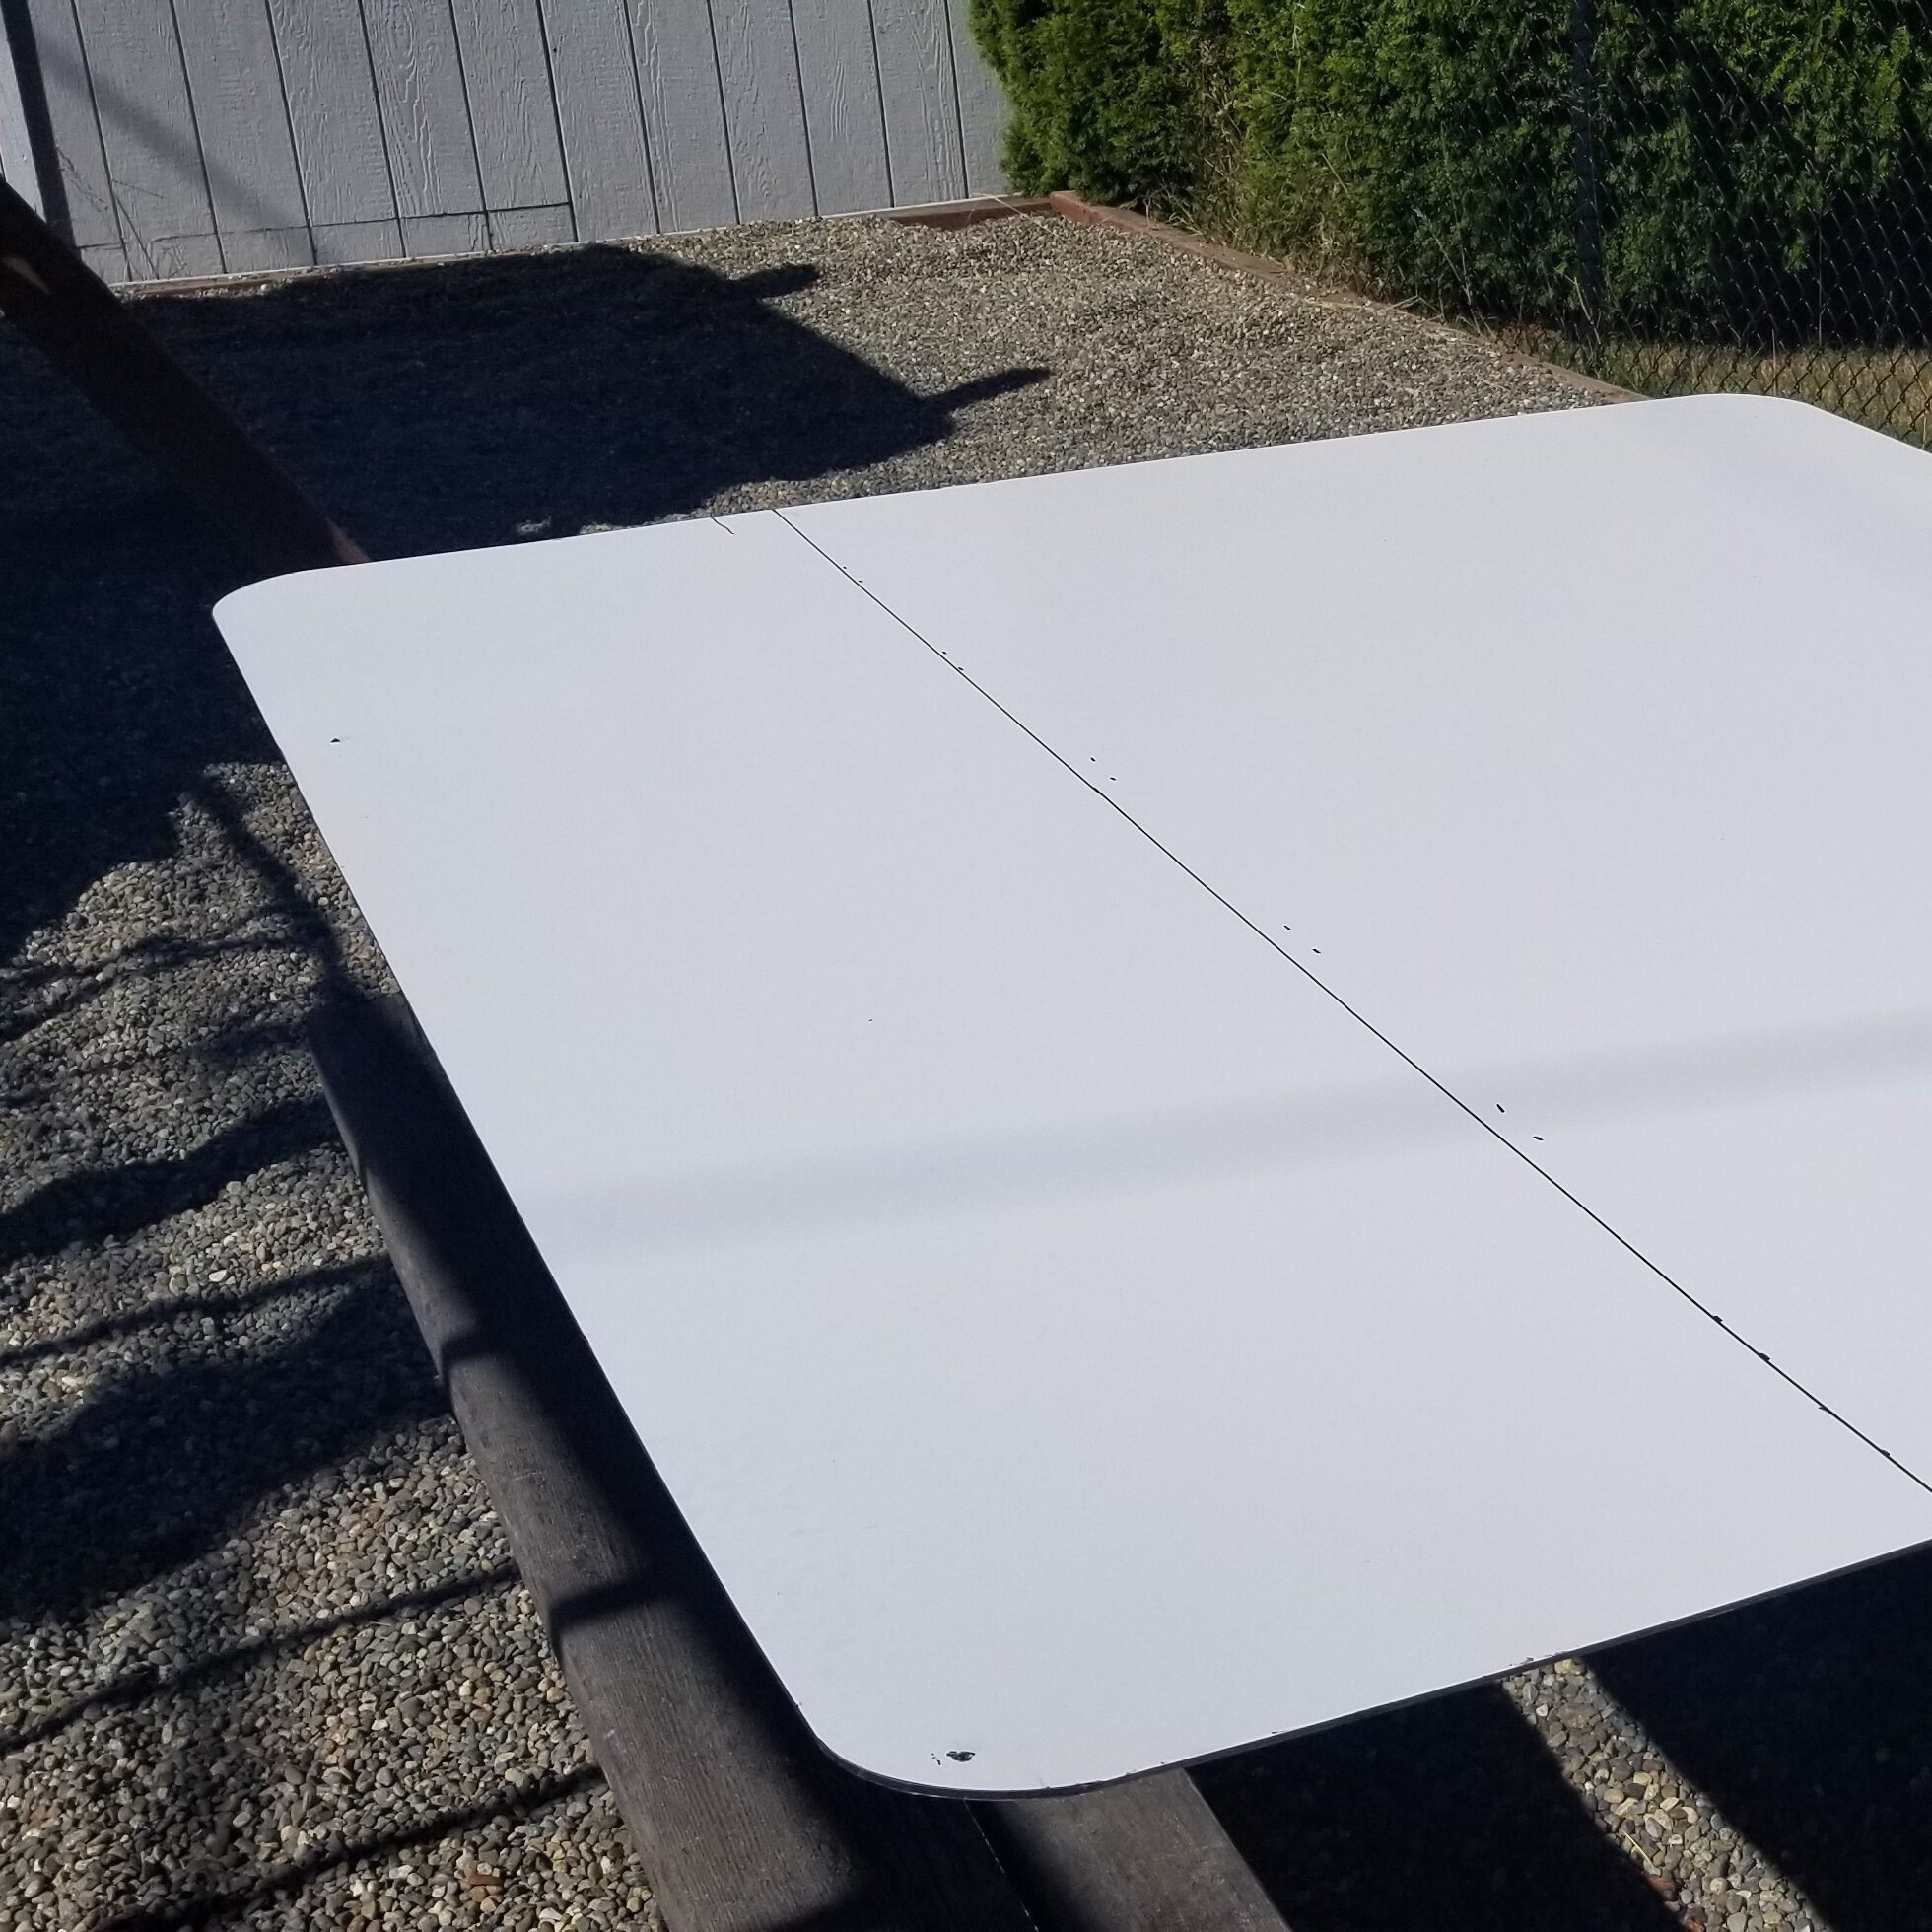
Measure your bed width to get the length of your backboard and then cut. You can make it the exact length of your bed or let it hang over some. You can see that I did two sizes of headboards on our guest bedroom. Then, cut according to the height you want your backboard.
You can then round the corners like I did or leave them squared up. If you’re rounding the corners, I grabbed a tin lid to make sure that all the corners were the exact same and then cut using my jigsaw.
Lastly, you can drill keyholes in the backboard so that when you attach it to the wall you can just slide the screw or nail into the hole. Or you can buy keyhole mounting brackets!
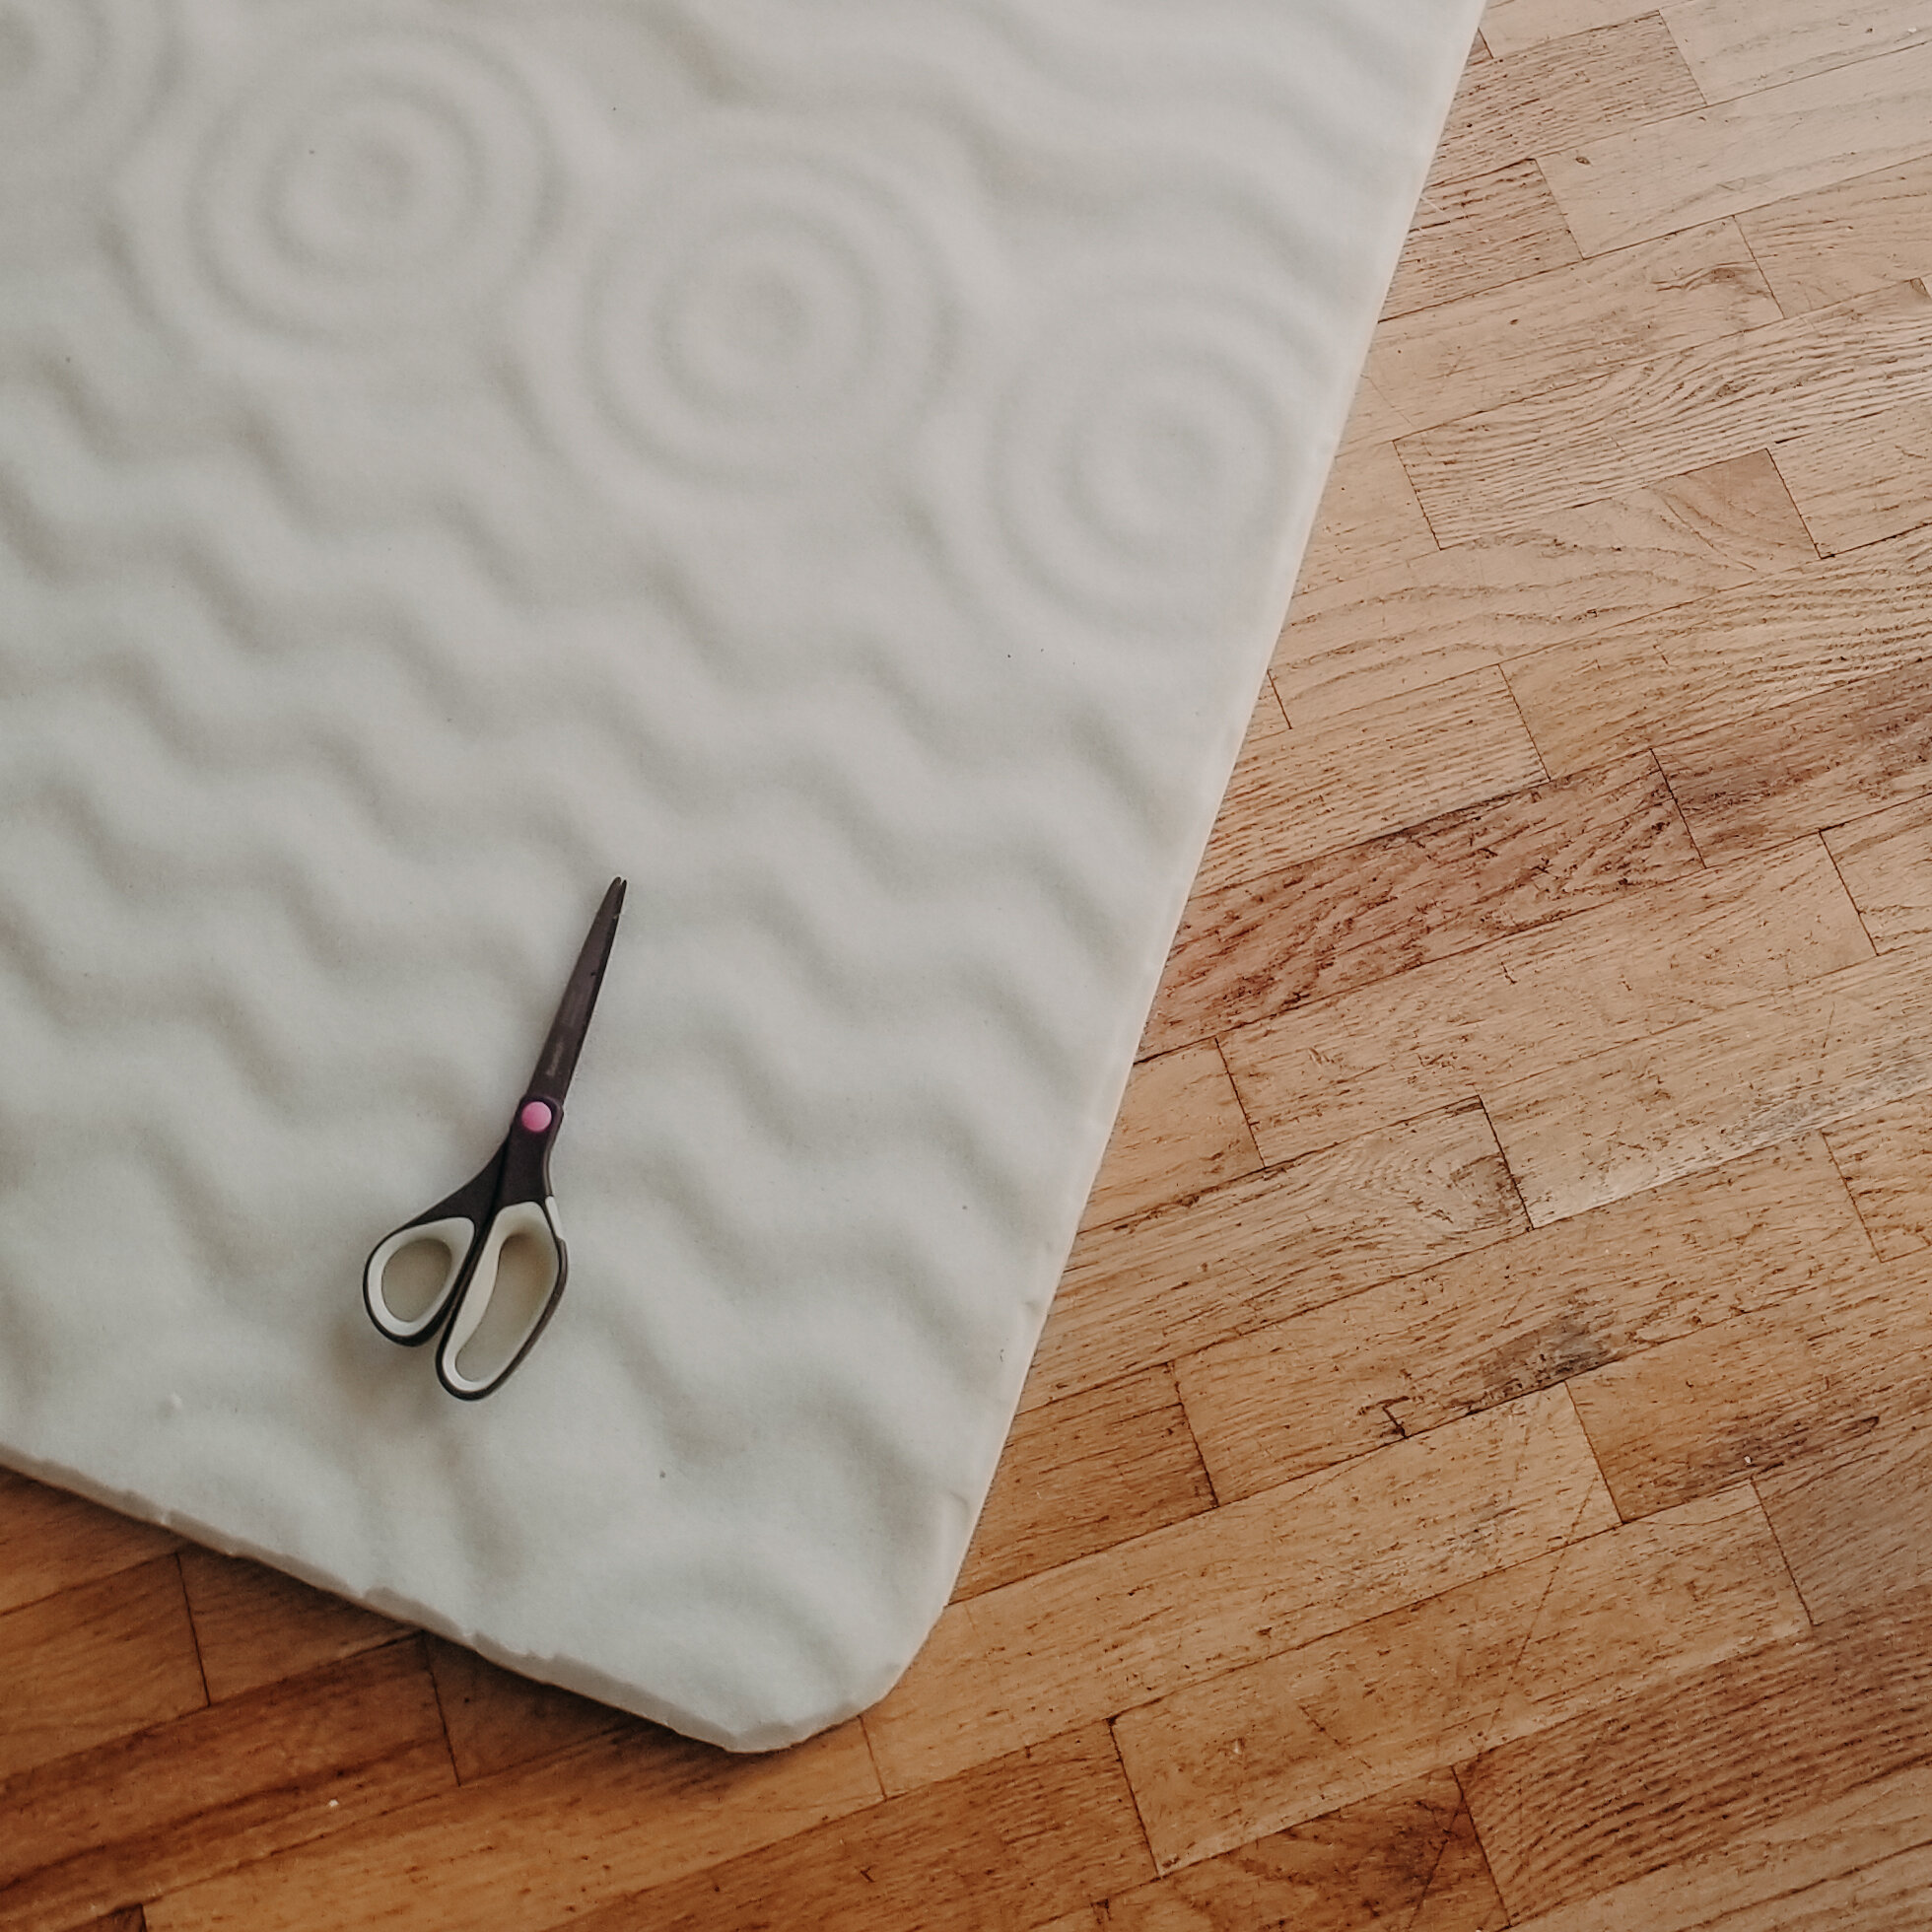
STEP TWO: Once you have your wood cut, you’ll need to cut your foam down to size. I put my cut out wood on the foam and traced around it to get the exact size.
Once you’ve cut your foam out you’re then going to lay your fabric down (make sure the back of the fabric is face up) then lay your foam on top of that, and then lay your backboard material. Then staple! If you rounded the corners of your headboard, you’re going to want to watch the fabric on the corners to make sure that it doesn’t bunch up. Also, IMPORTANT, don’t pull TOO tight on your fabric. I pulled too tightly and it started creasing the foam at the top making it look very wrinkled. Just pull it tight enough to be secure.


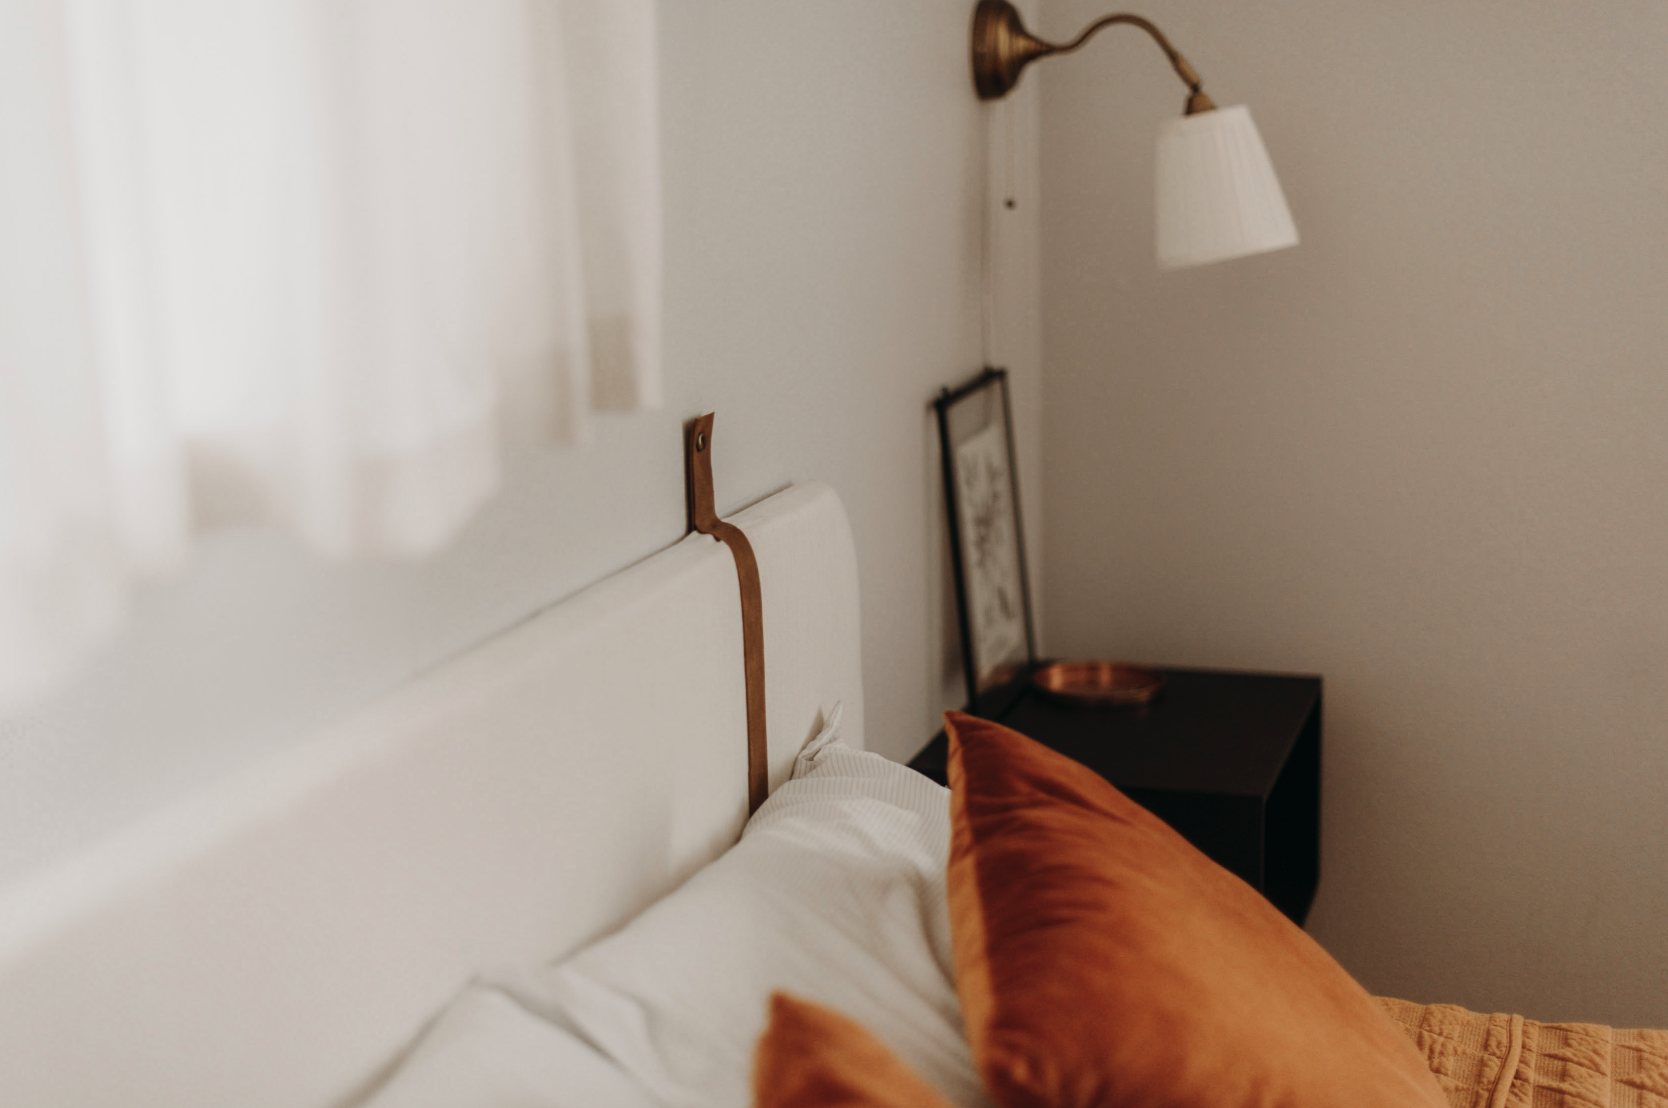
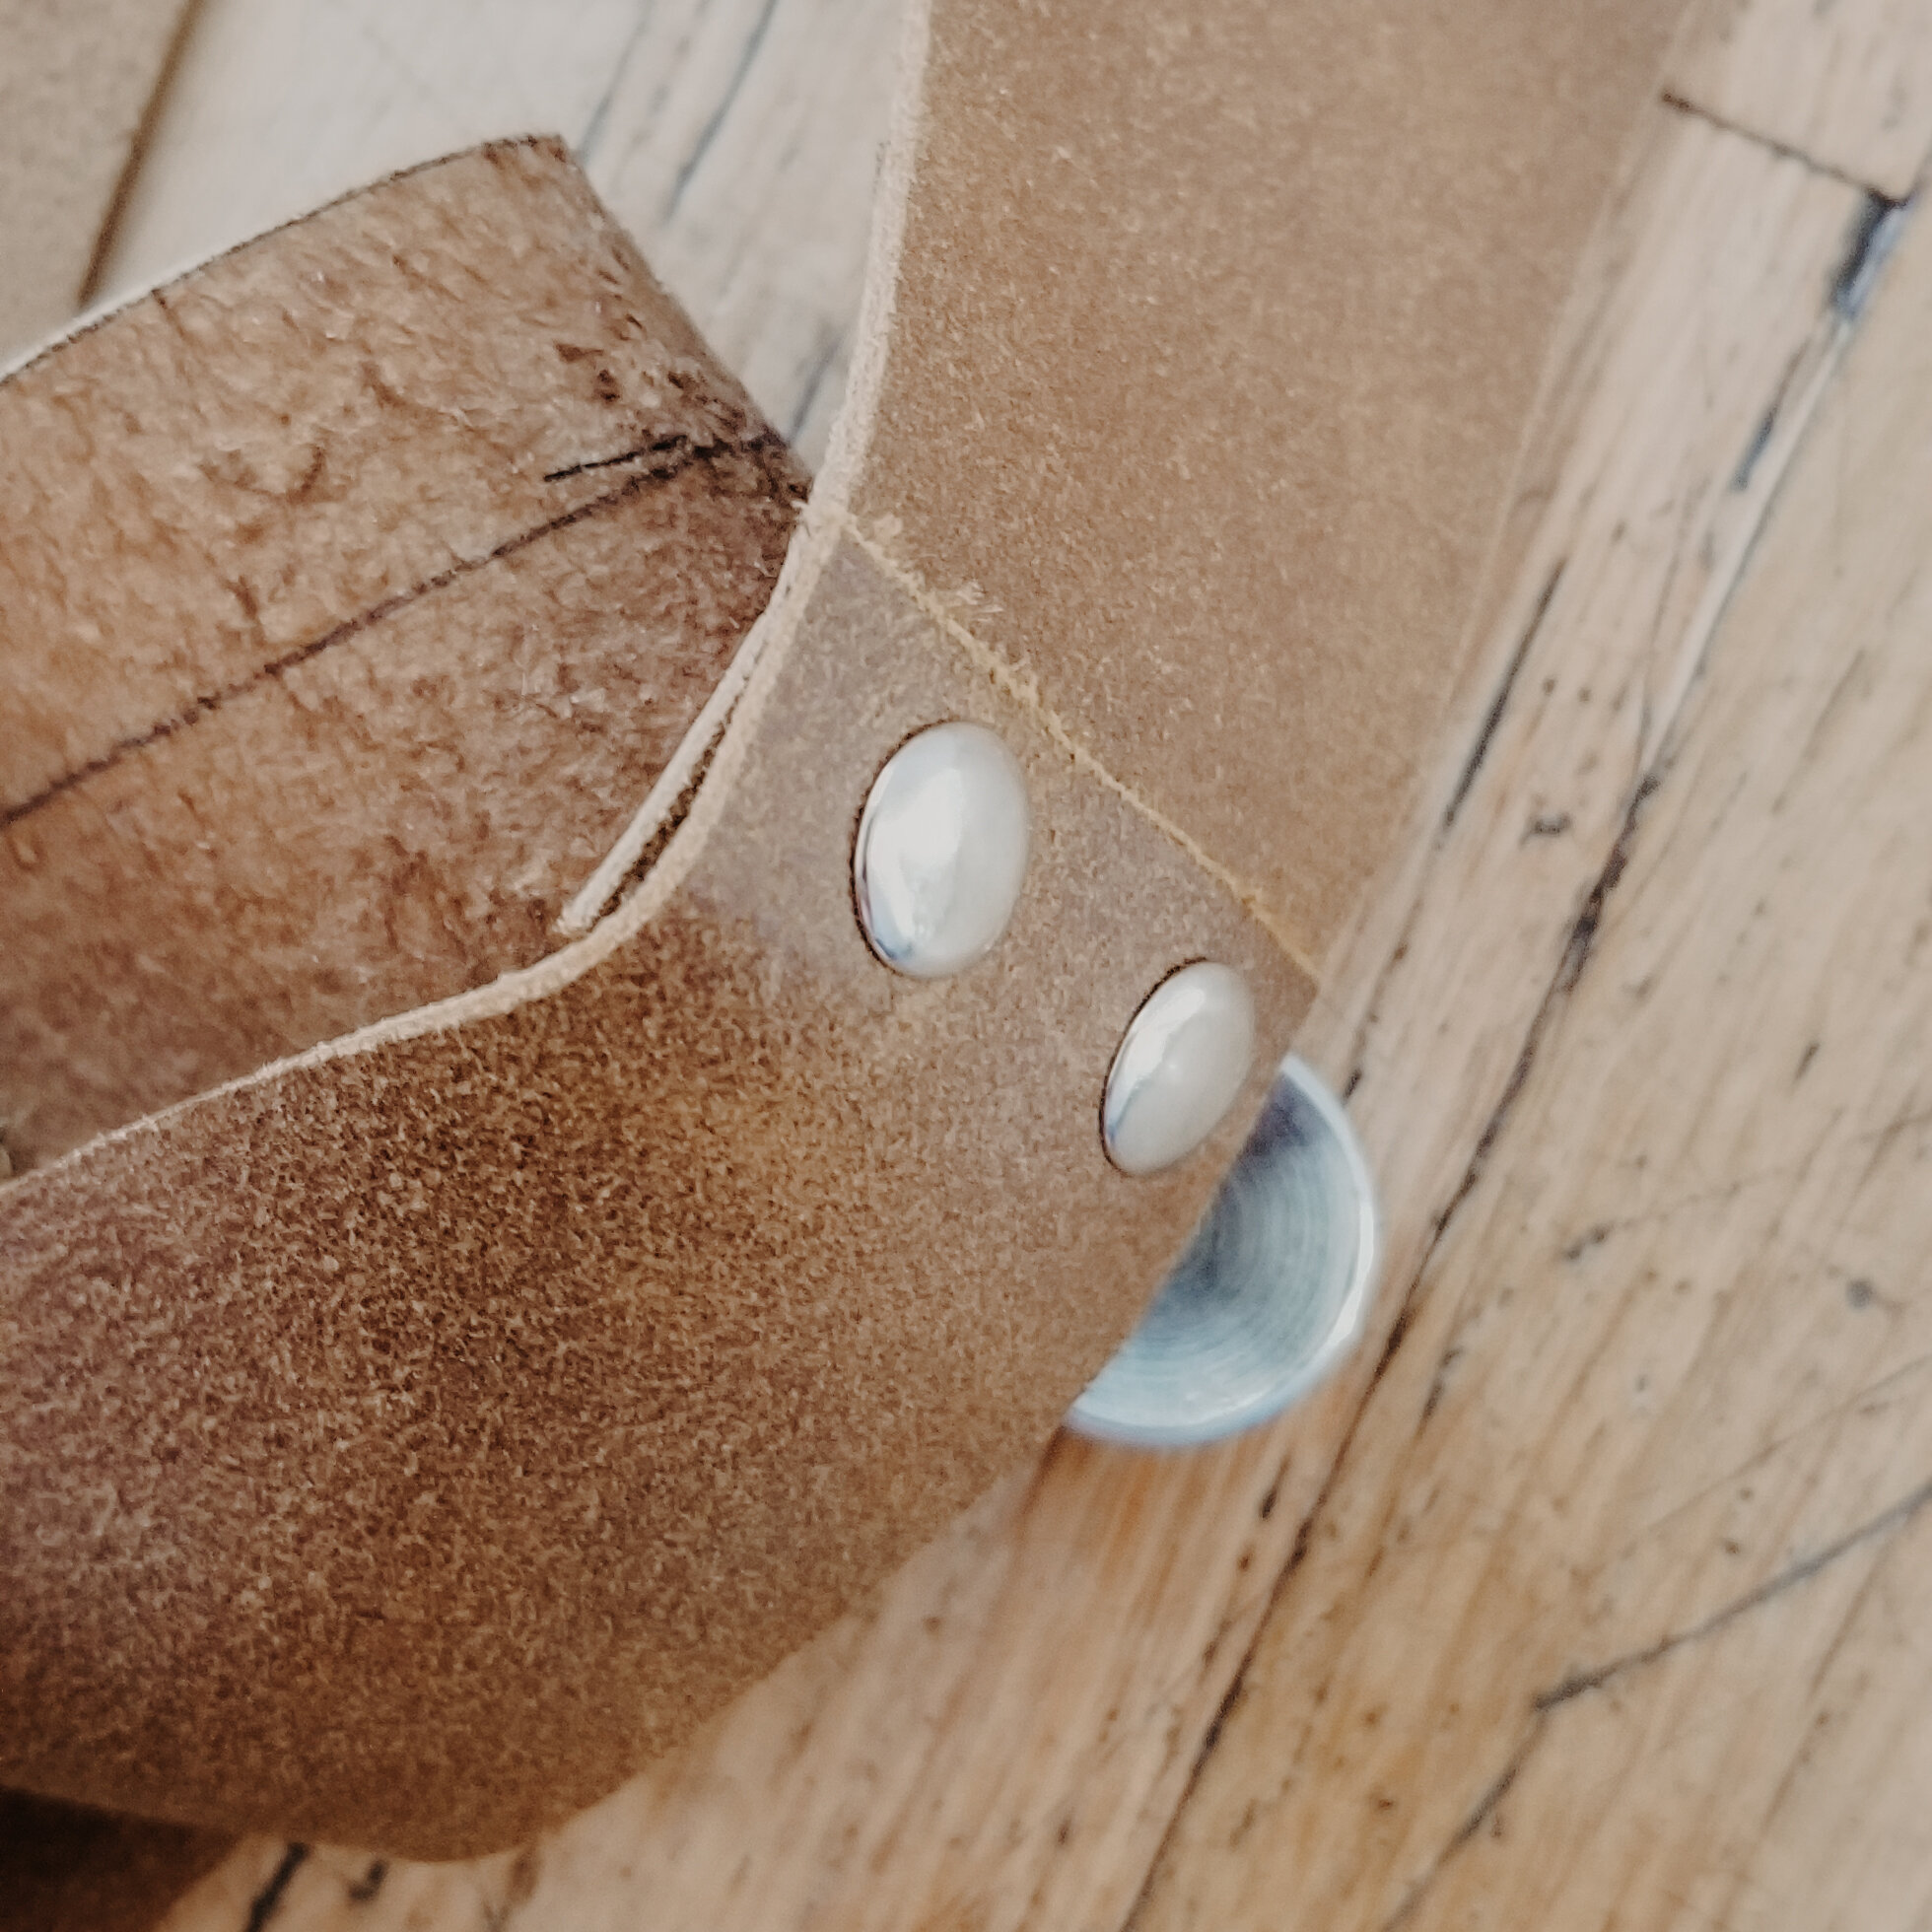
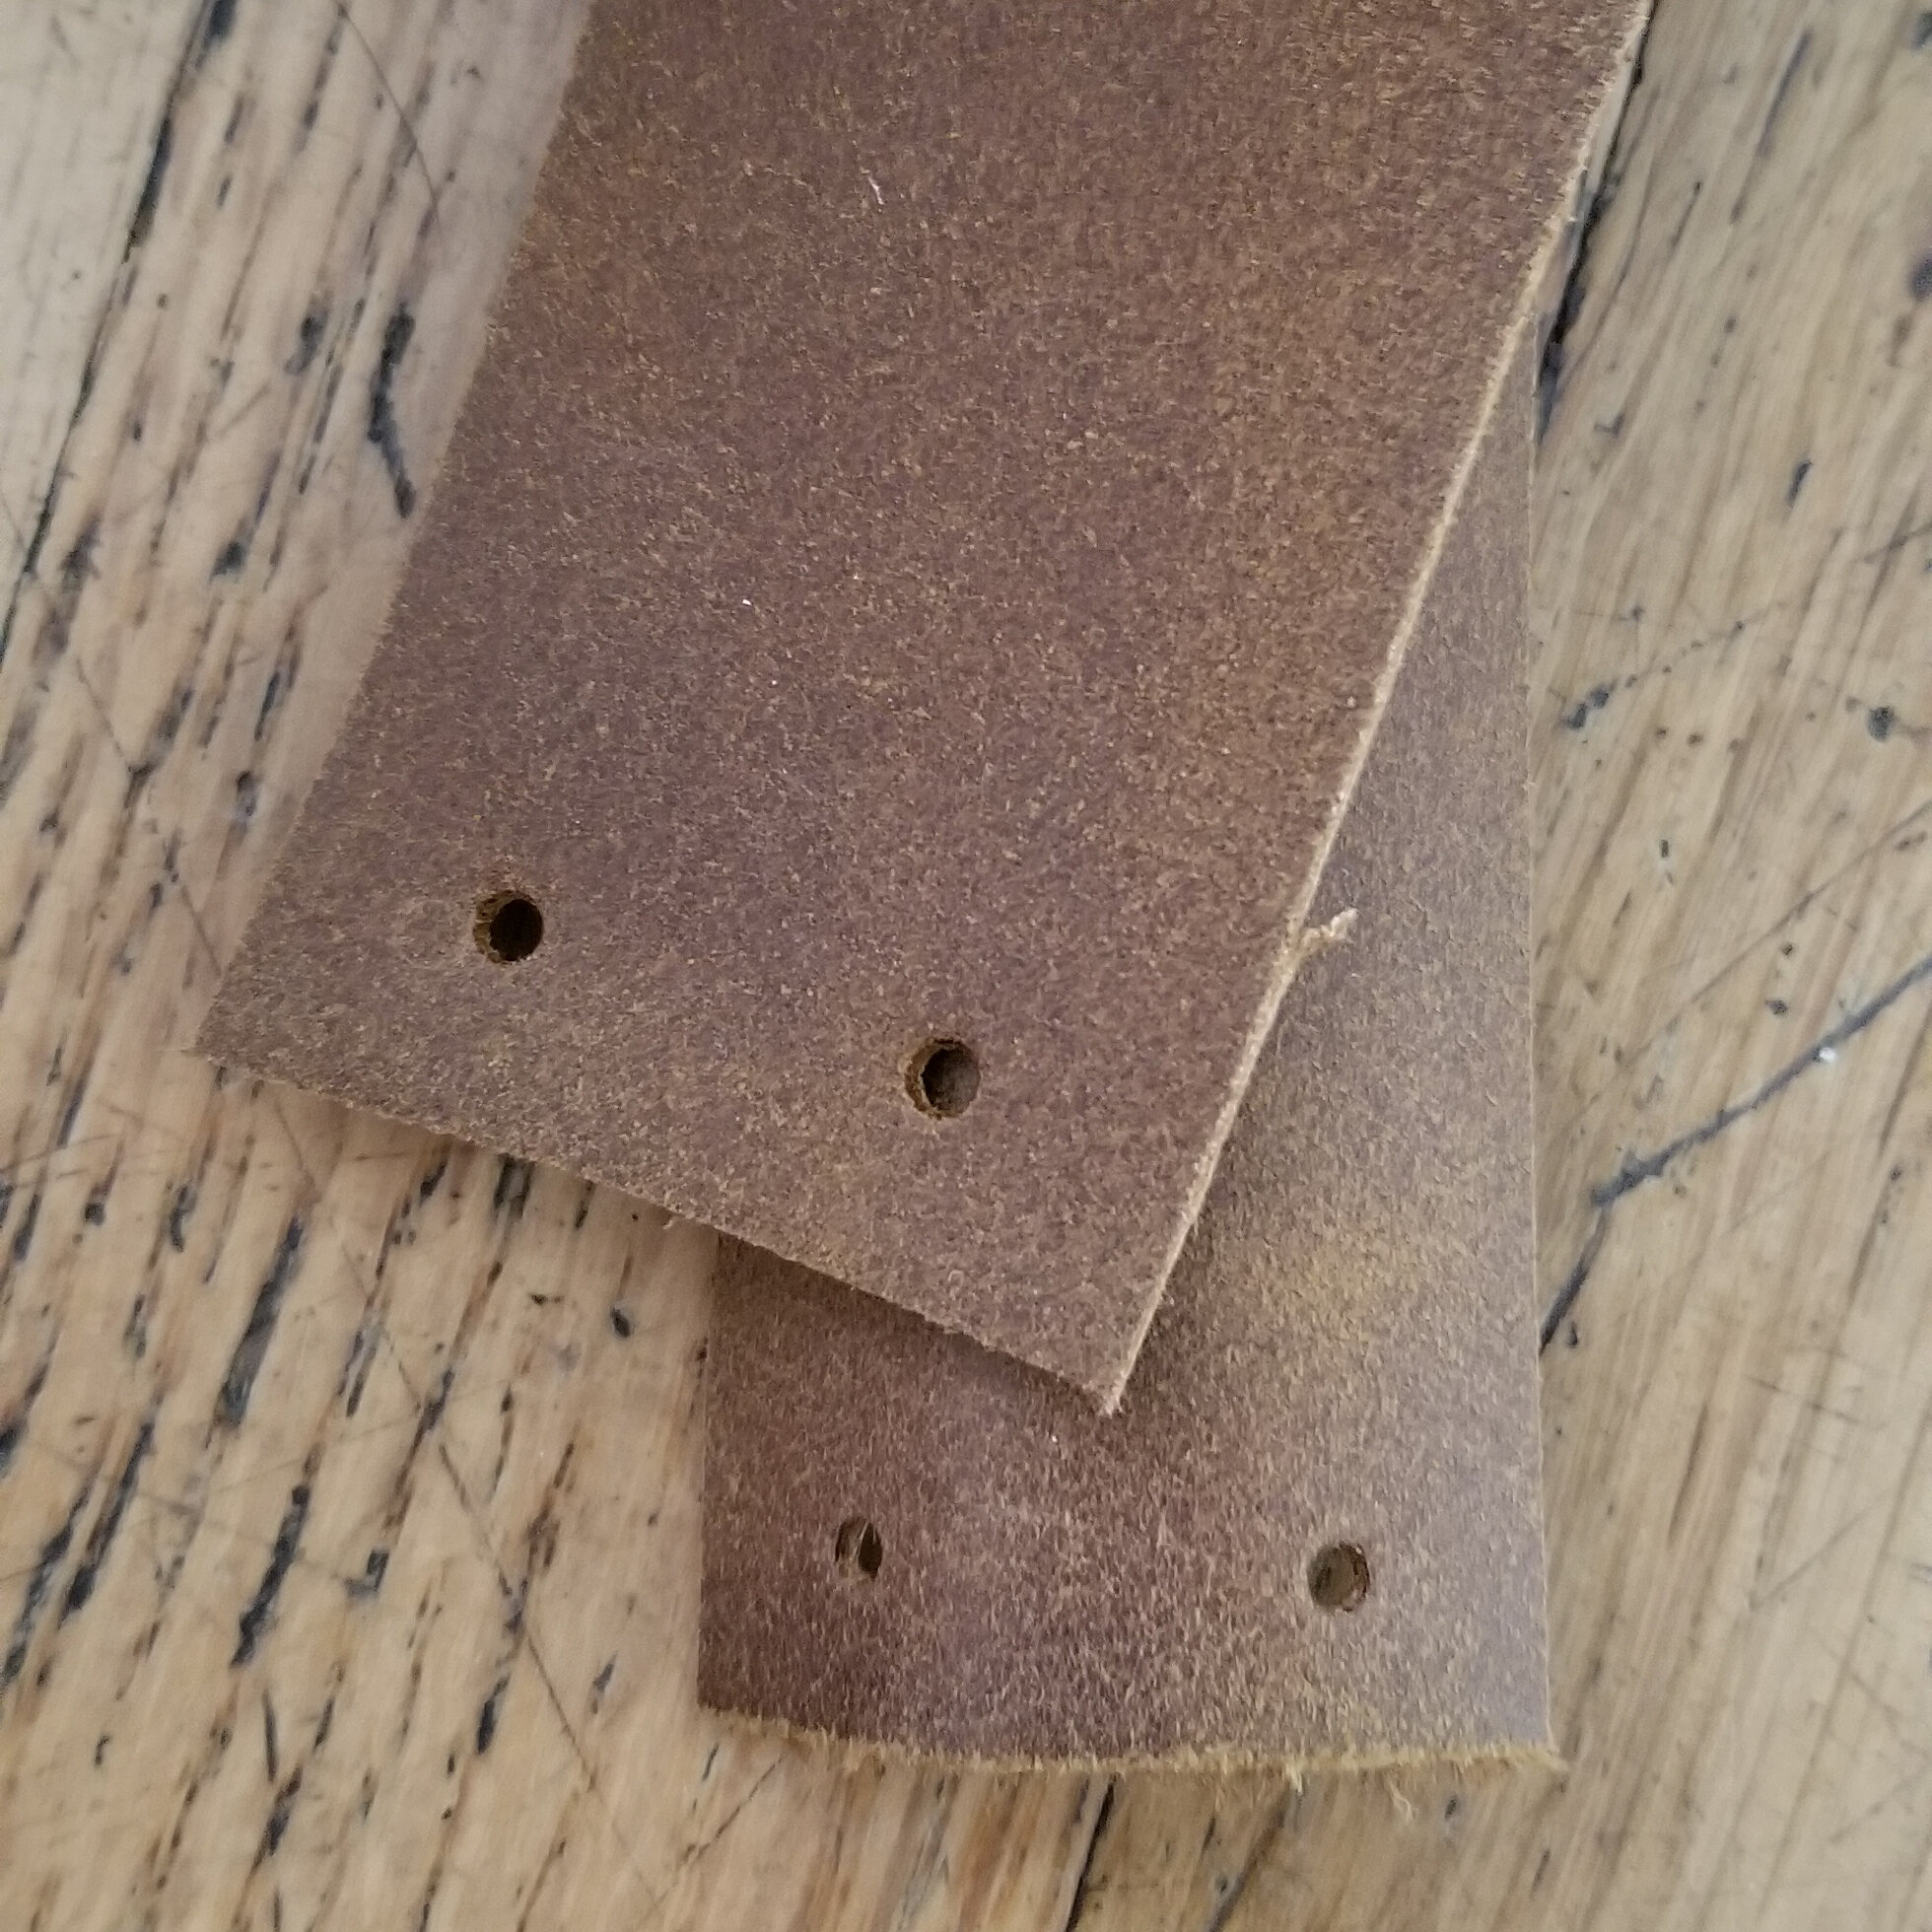
STEP THREE (optional): The final step, if you want to, is to add straps! I had this faux leather that I cut down to 1” strips and secured using leather grommets (the grommets will go on the bottom of the headboard). I made the straps go all the way around the head board and hang off about 4” so that I could secure them to the wall and make it look like they were holding the background up, but it’s really being held up by the screws in the back!

STEP FOUR: Hang them and decorate. YOU’RE DONE!