
DIY Ottoman
Does anyone else find it crazy that ottomans are like, $60!? Maybe I’m just cheap, but I couldn’t find a reasonably priced ottoman that I actually liked for anything less than $40 and I just wasn’t for that. I was browsing the aisles of Joann Fabrics and came across two baskets which looked like an ottoman that I did like that was way out of my price range, so I thought I’d attempt a DIY on them and make them into ottomans! They actually came out really great and were pretty inexpensive to make. I think it total I spent $40 for two!

HERE’S WHAT YOU NEED:
Basket
Fabric
Foam
3/16” Wood
Screws
Washers
TOOLS YOU’LL NEED:
Screwdriver
Staple Gun
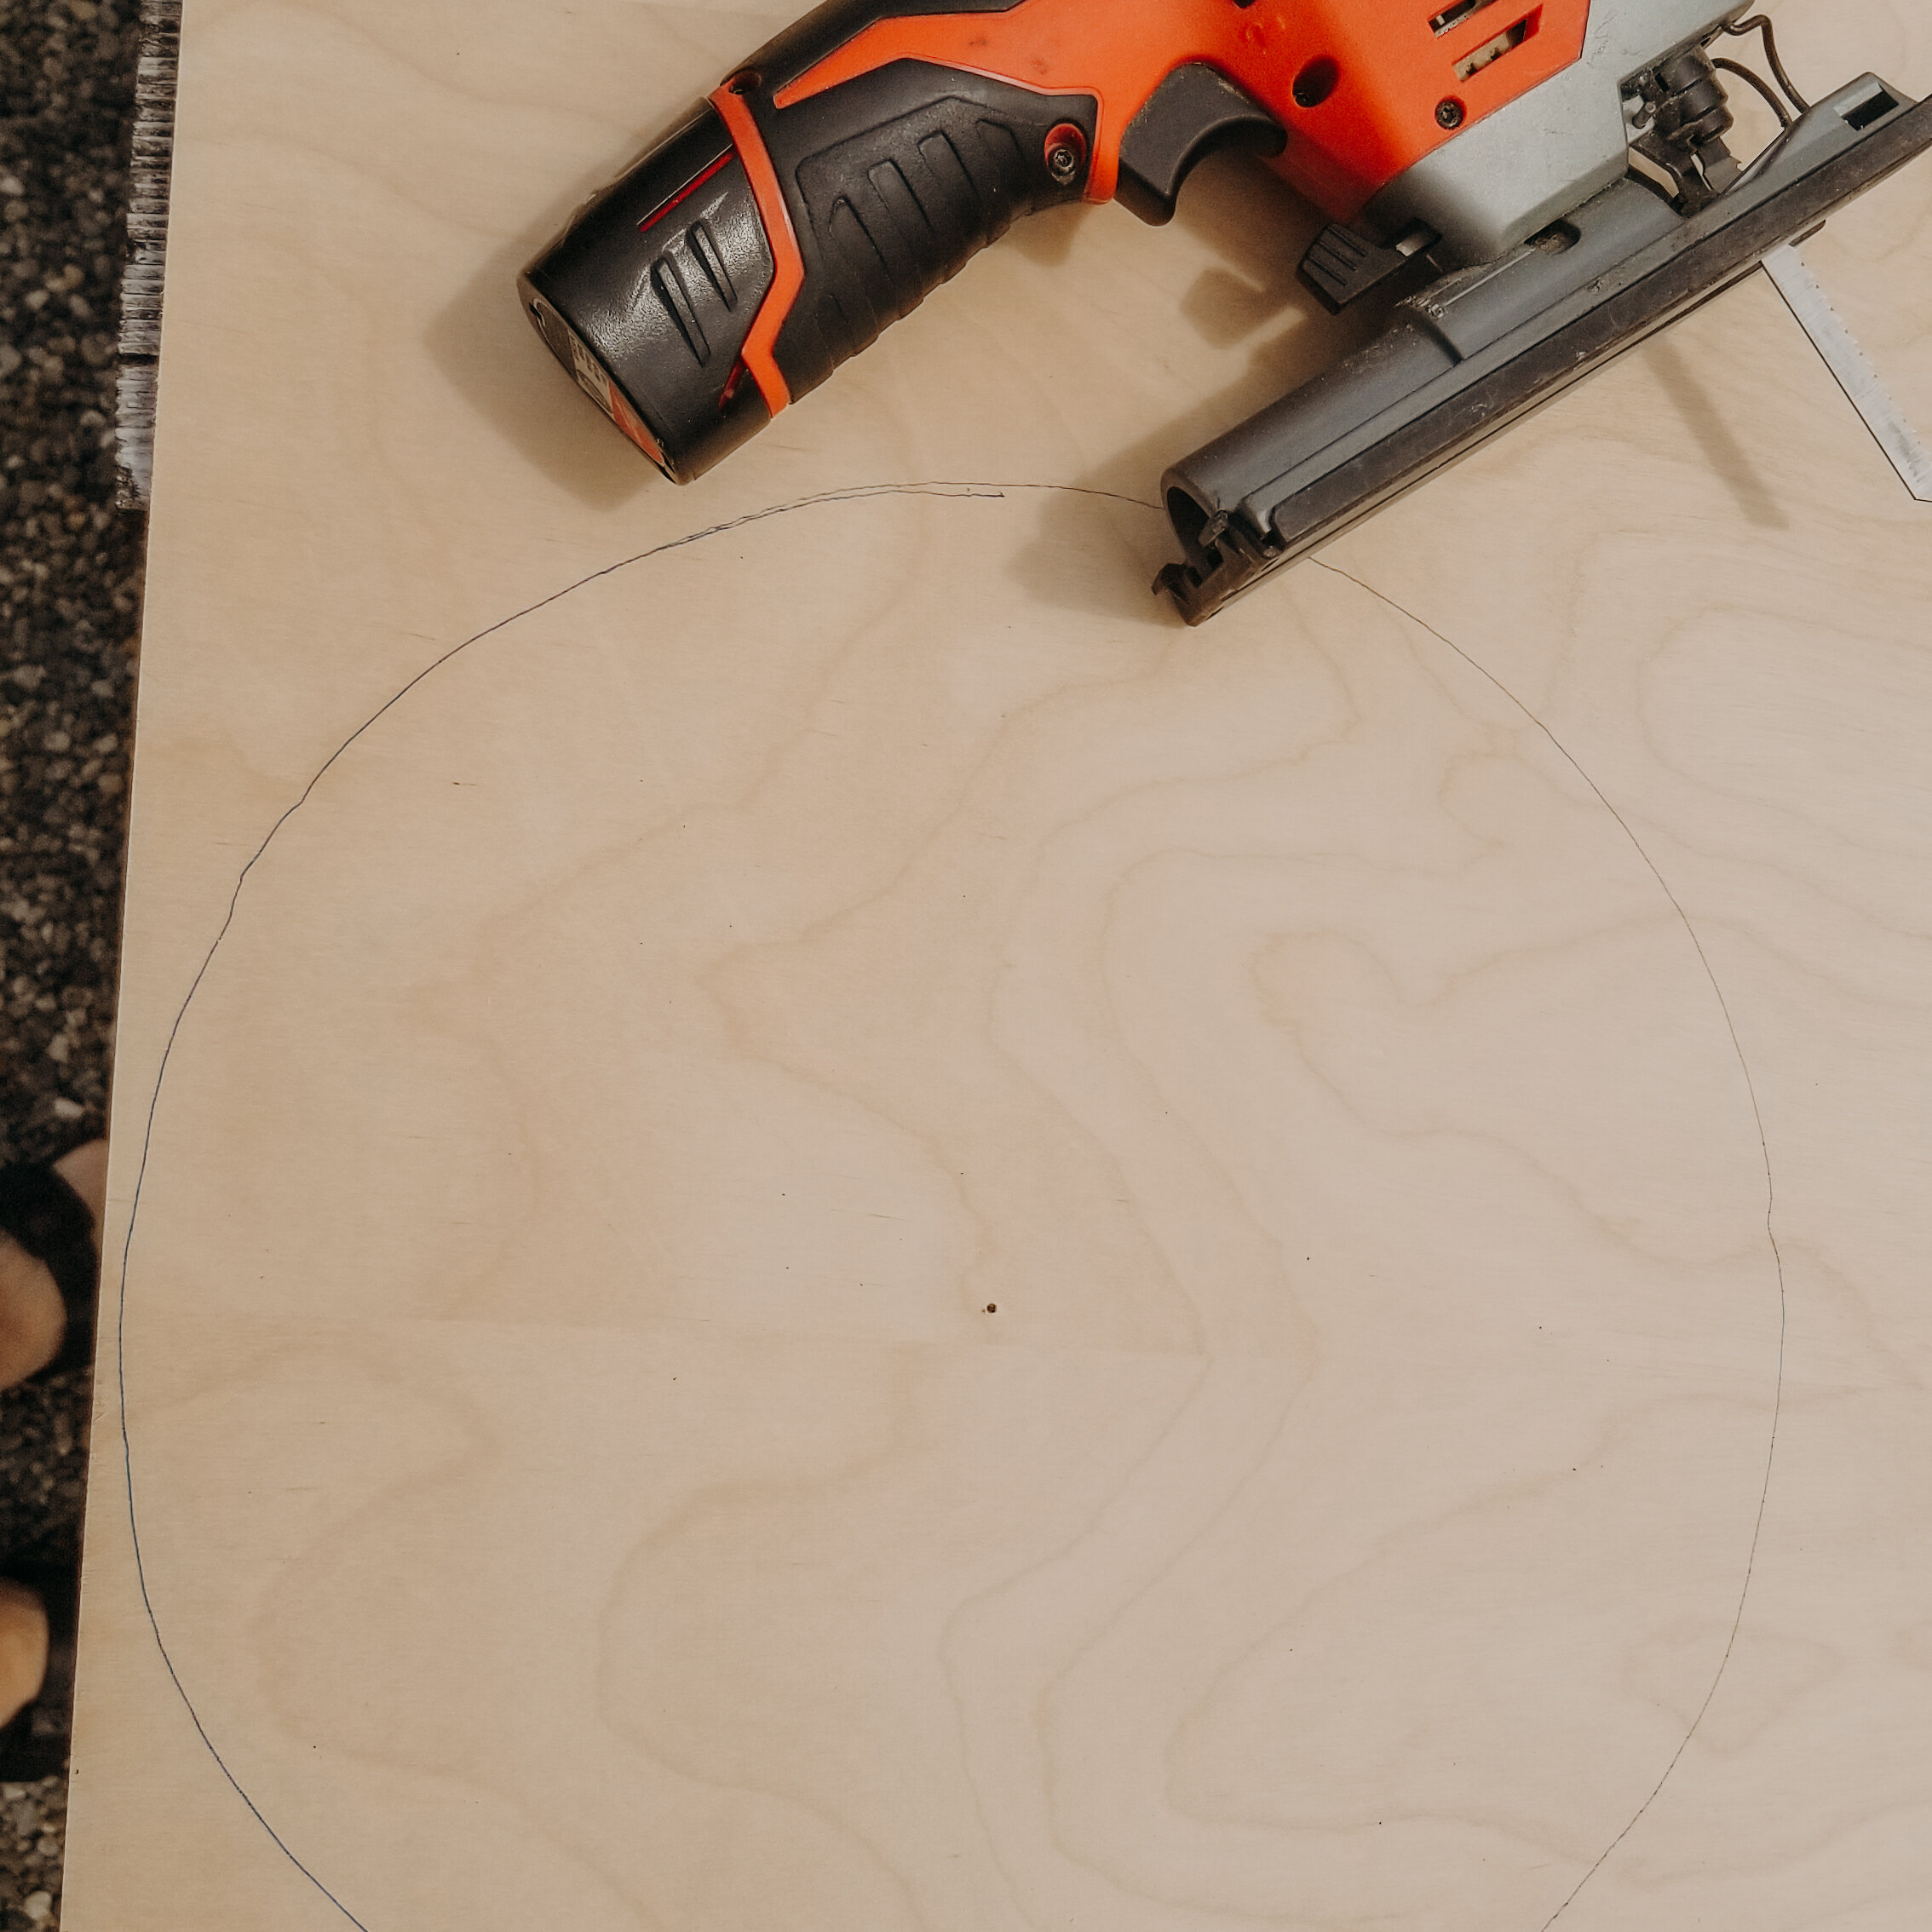
Jig Saw
STEP 1:
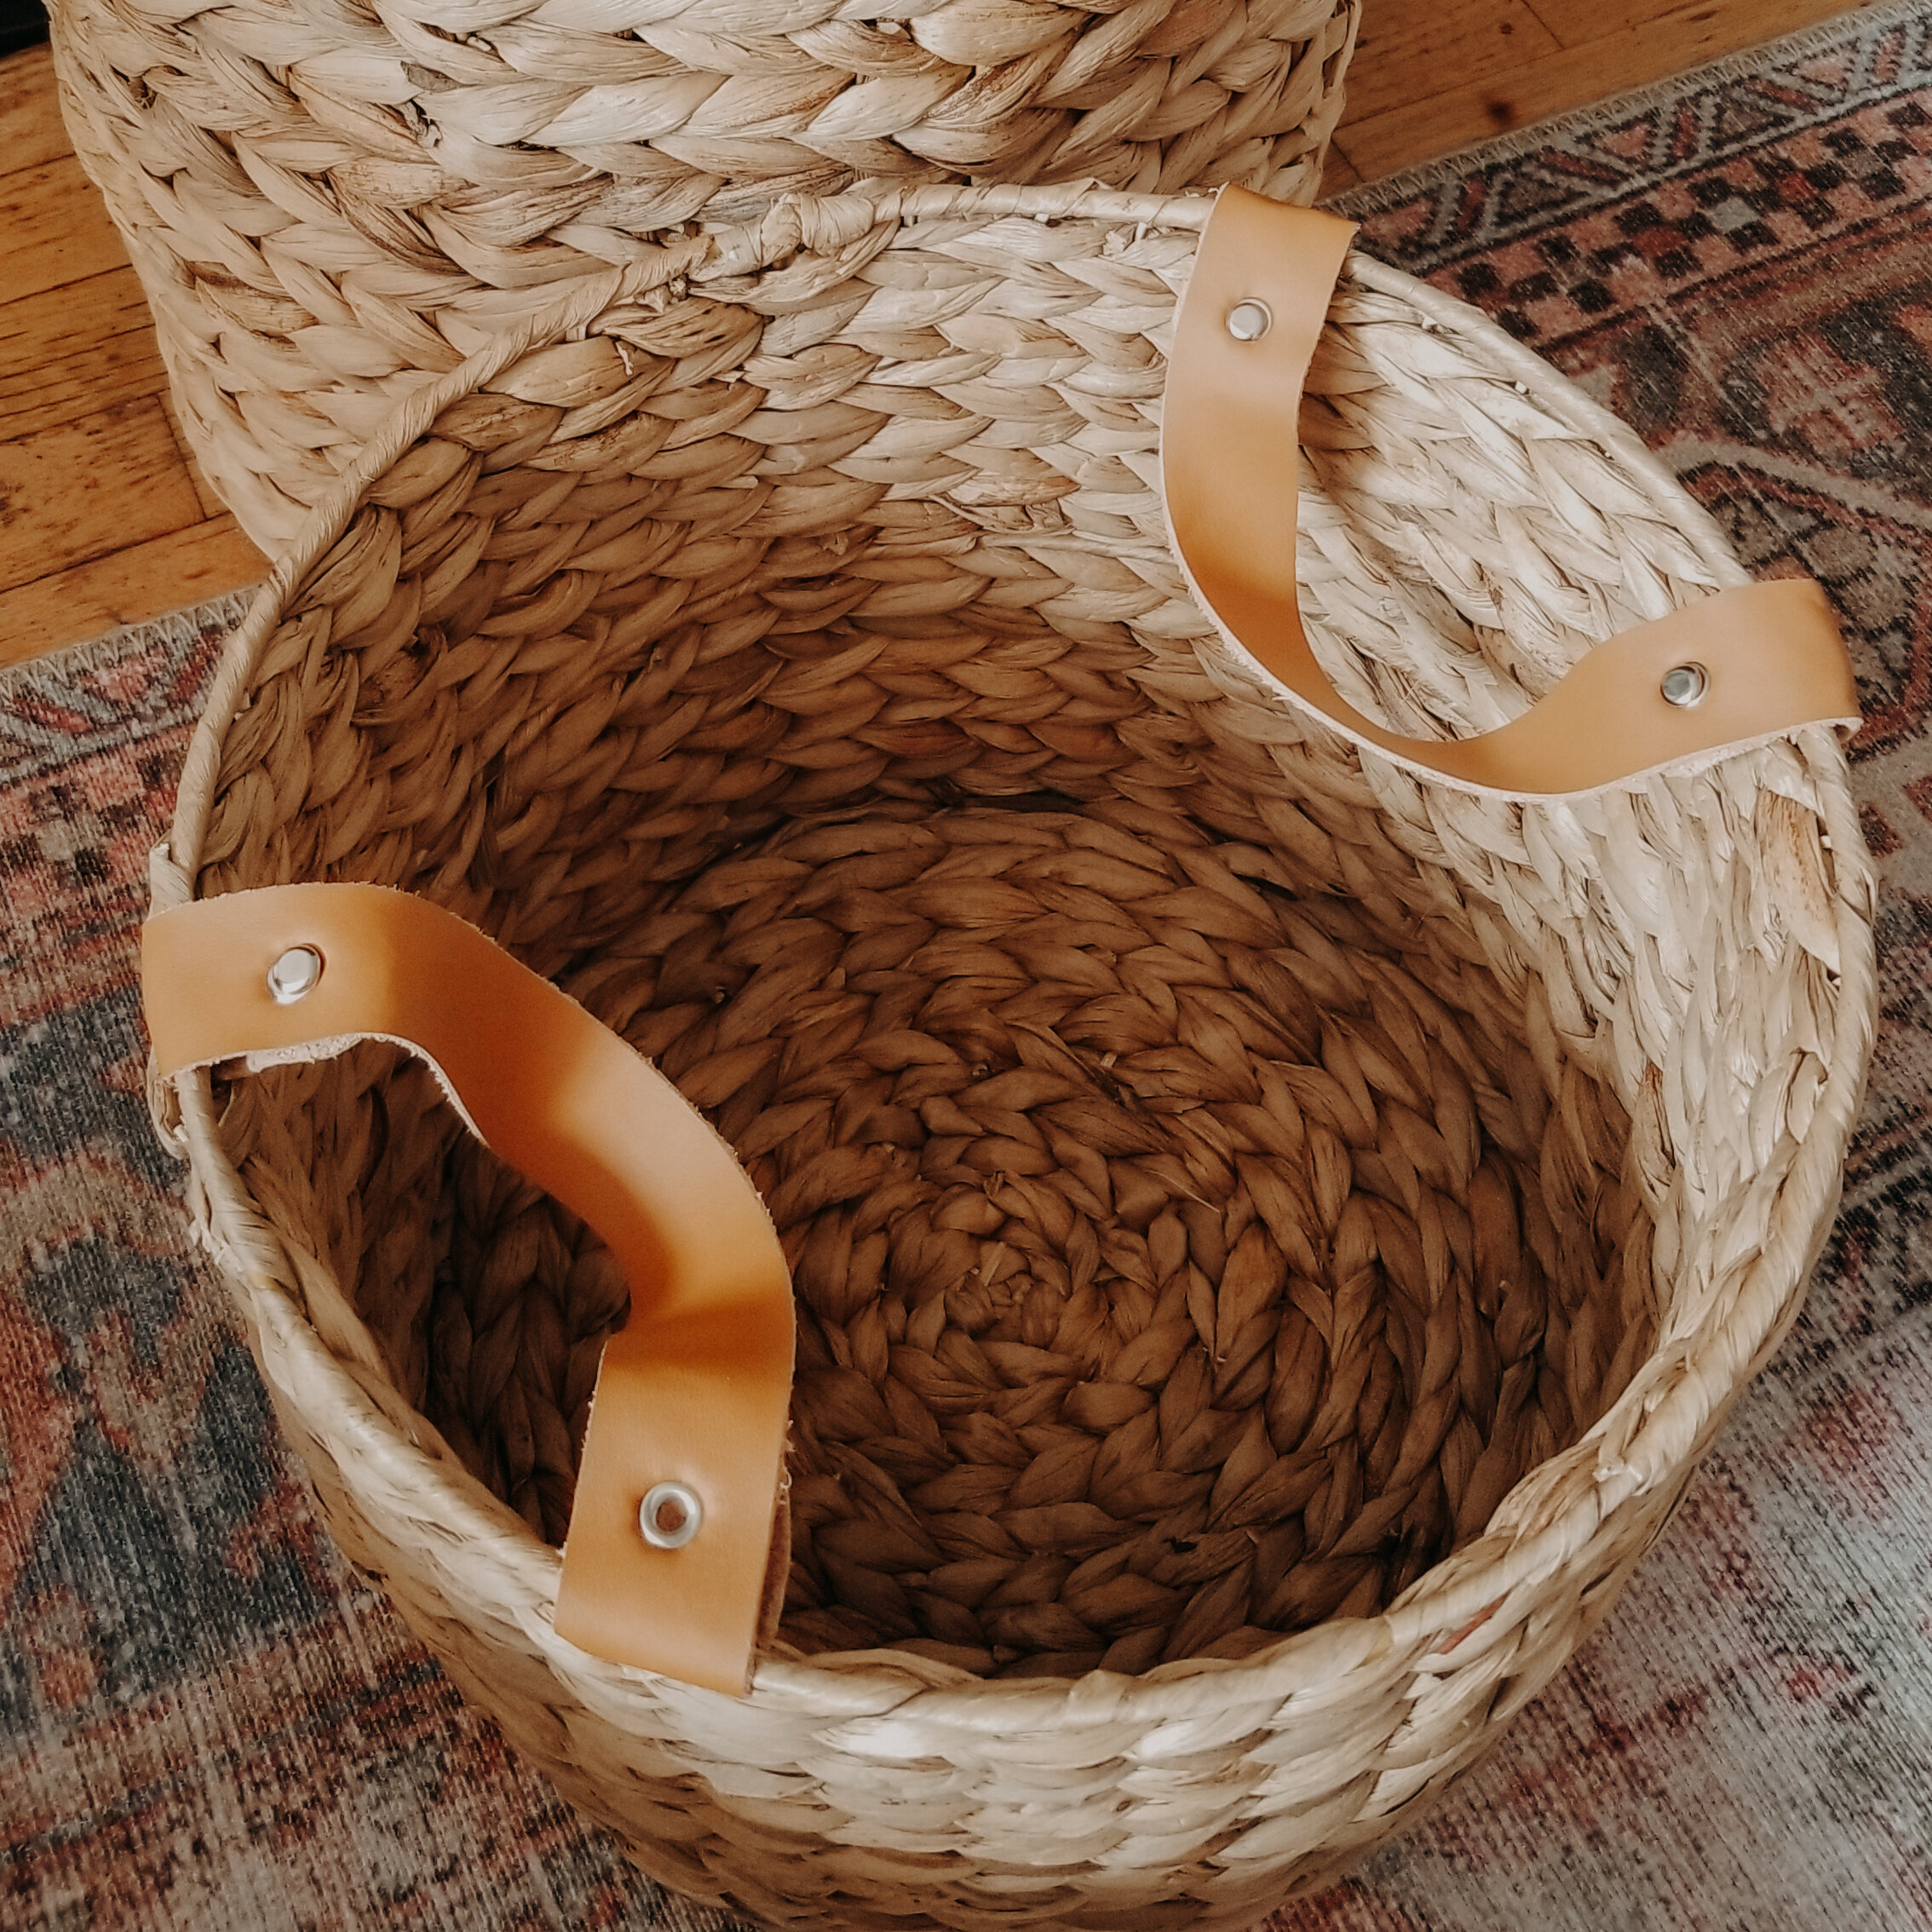
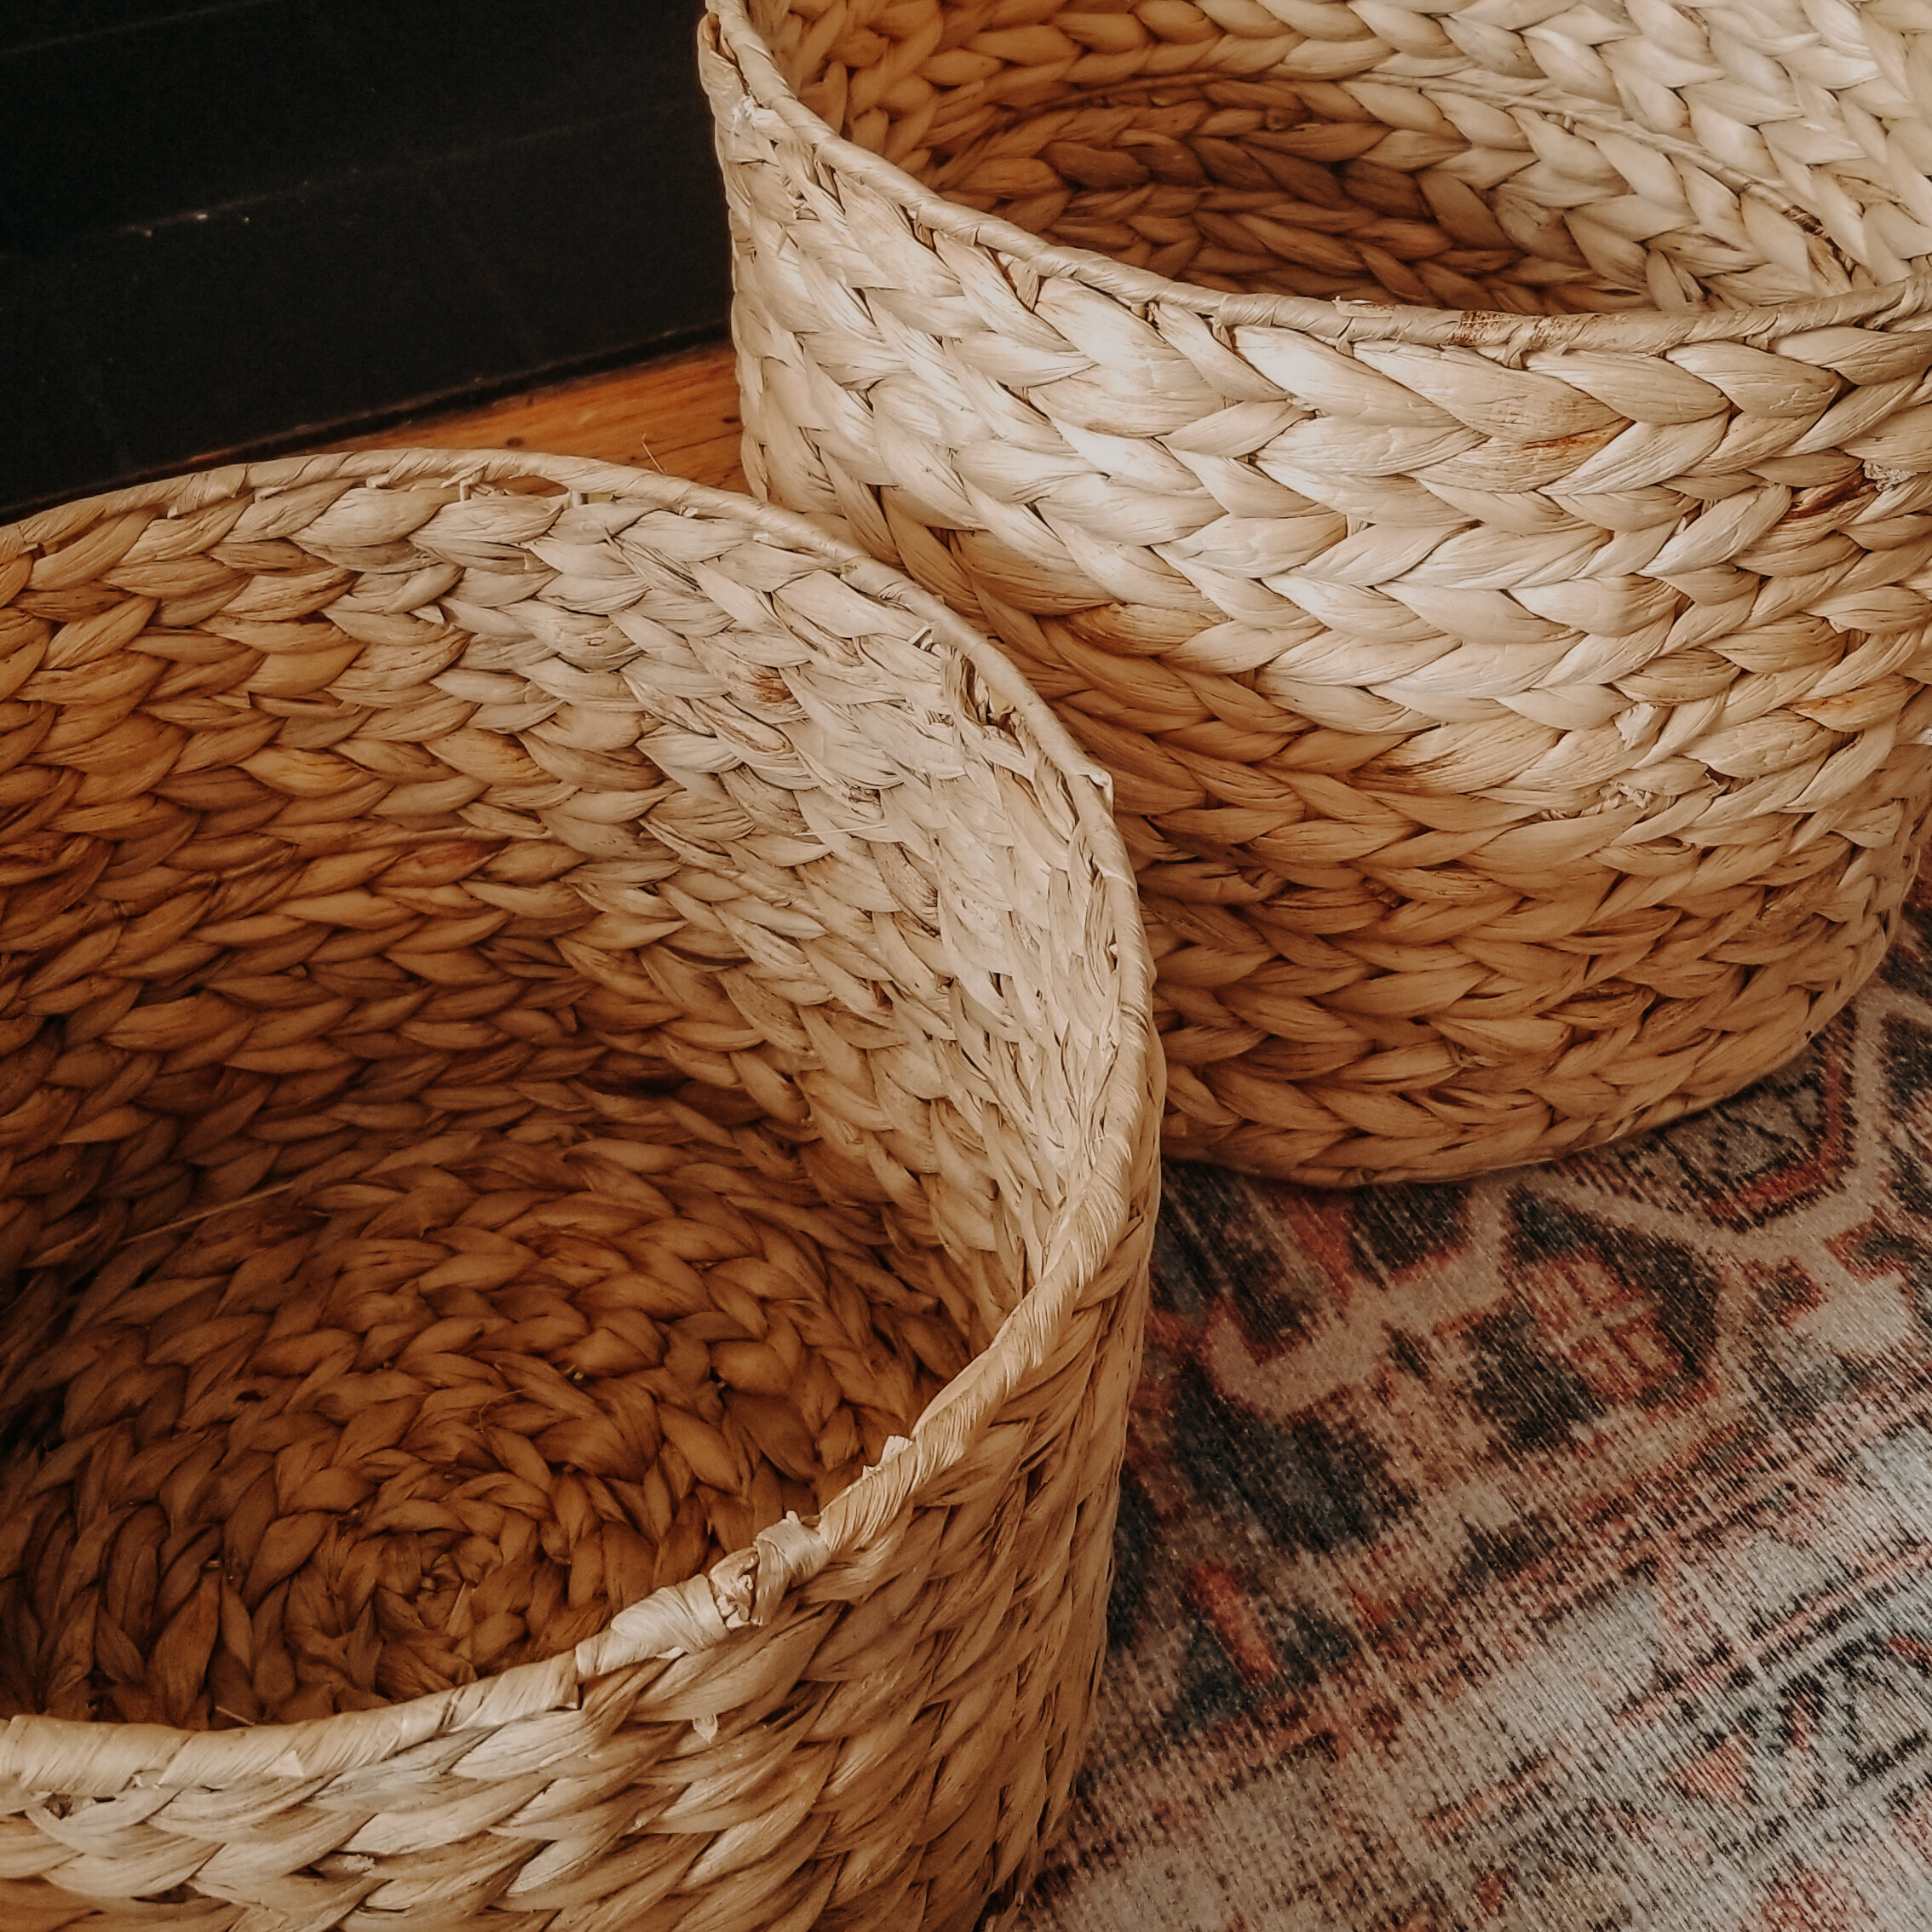
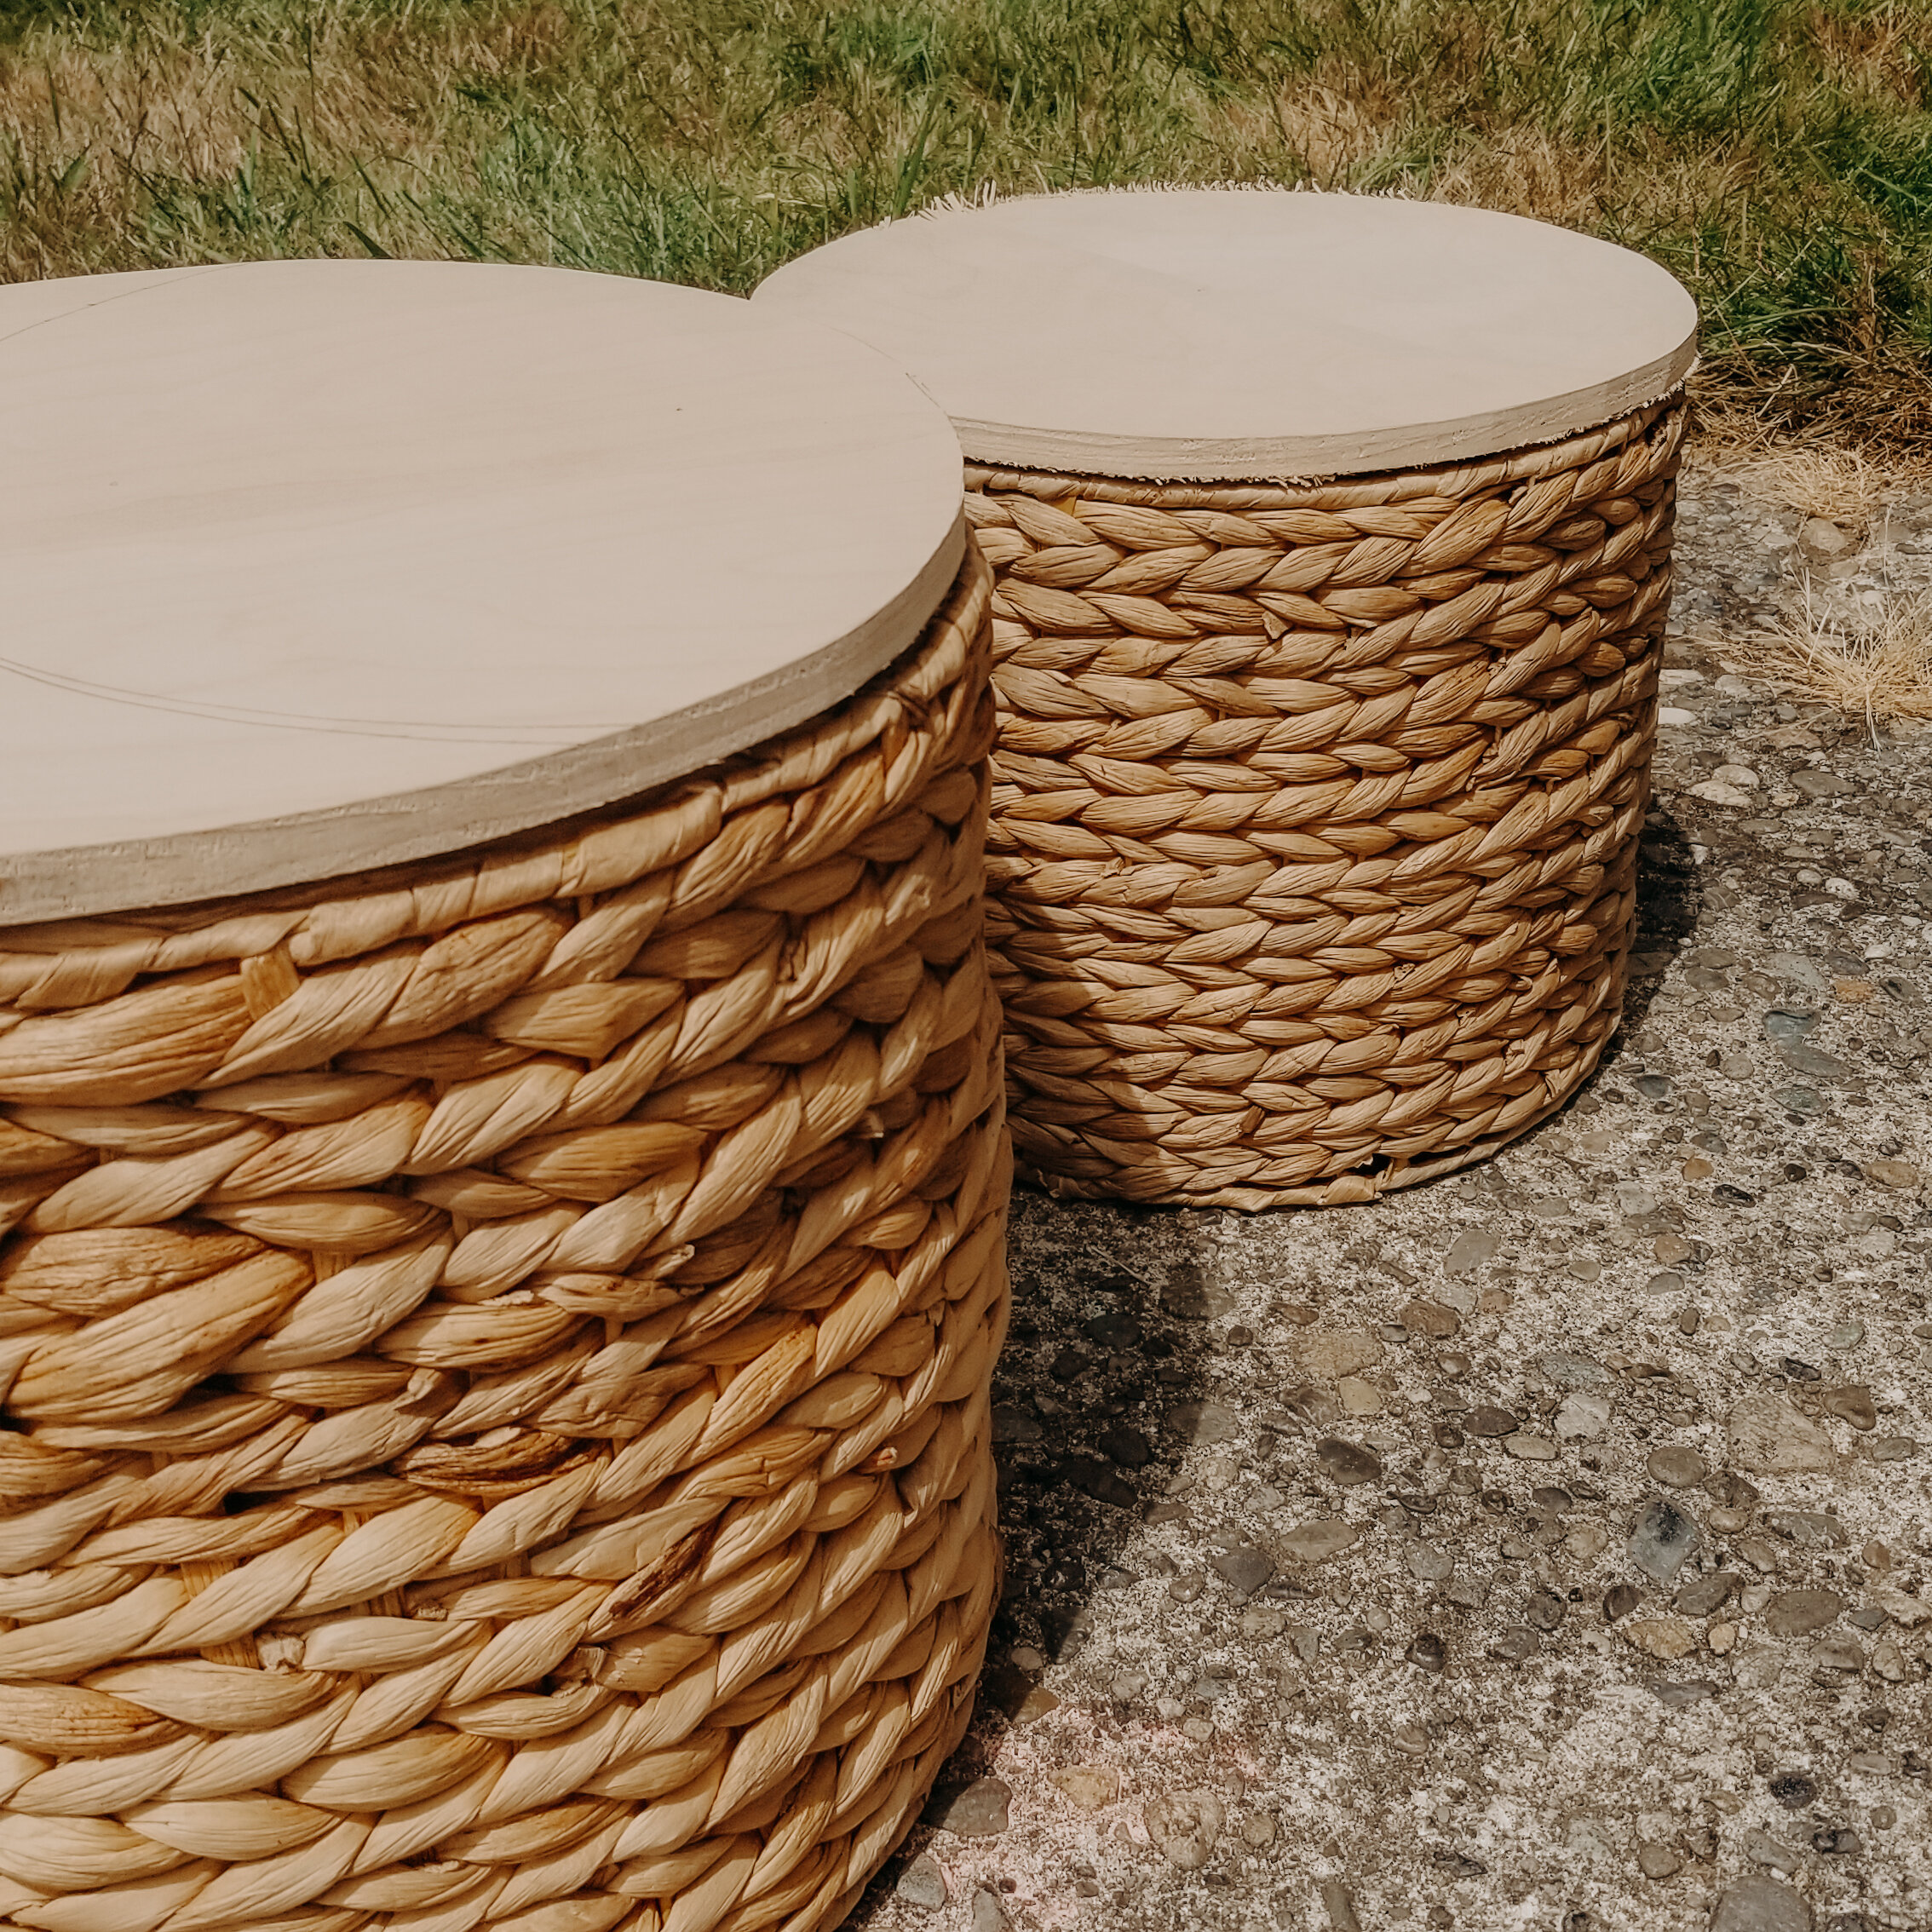
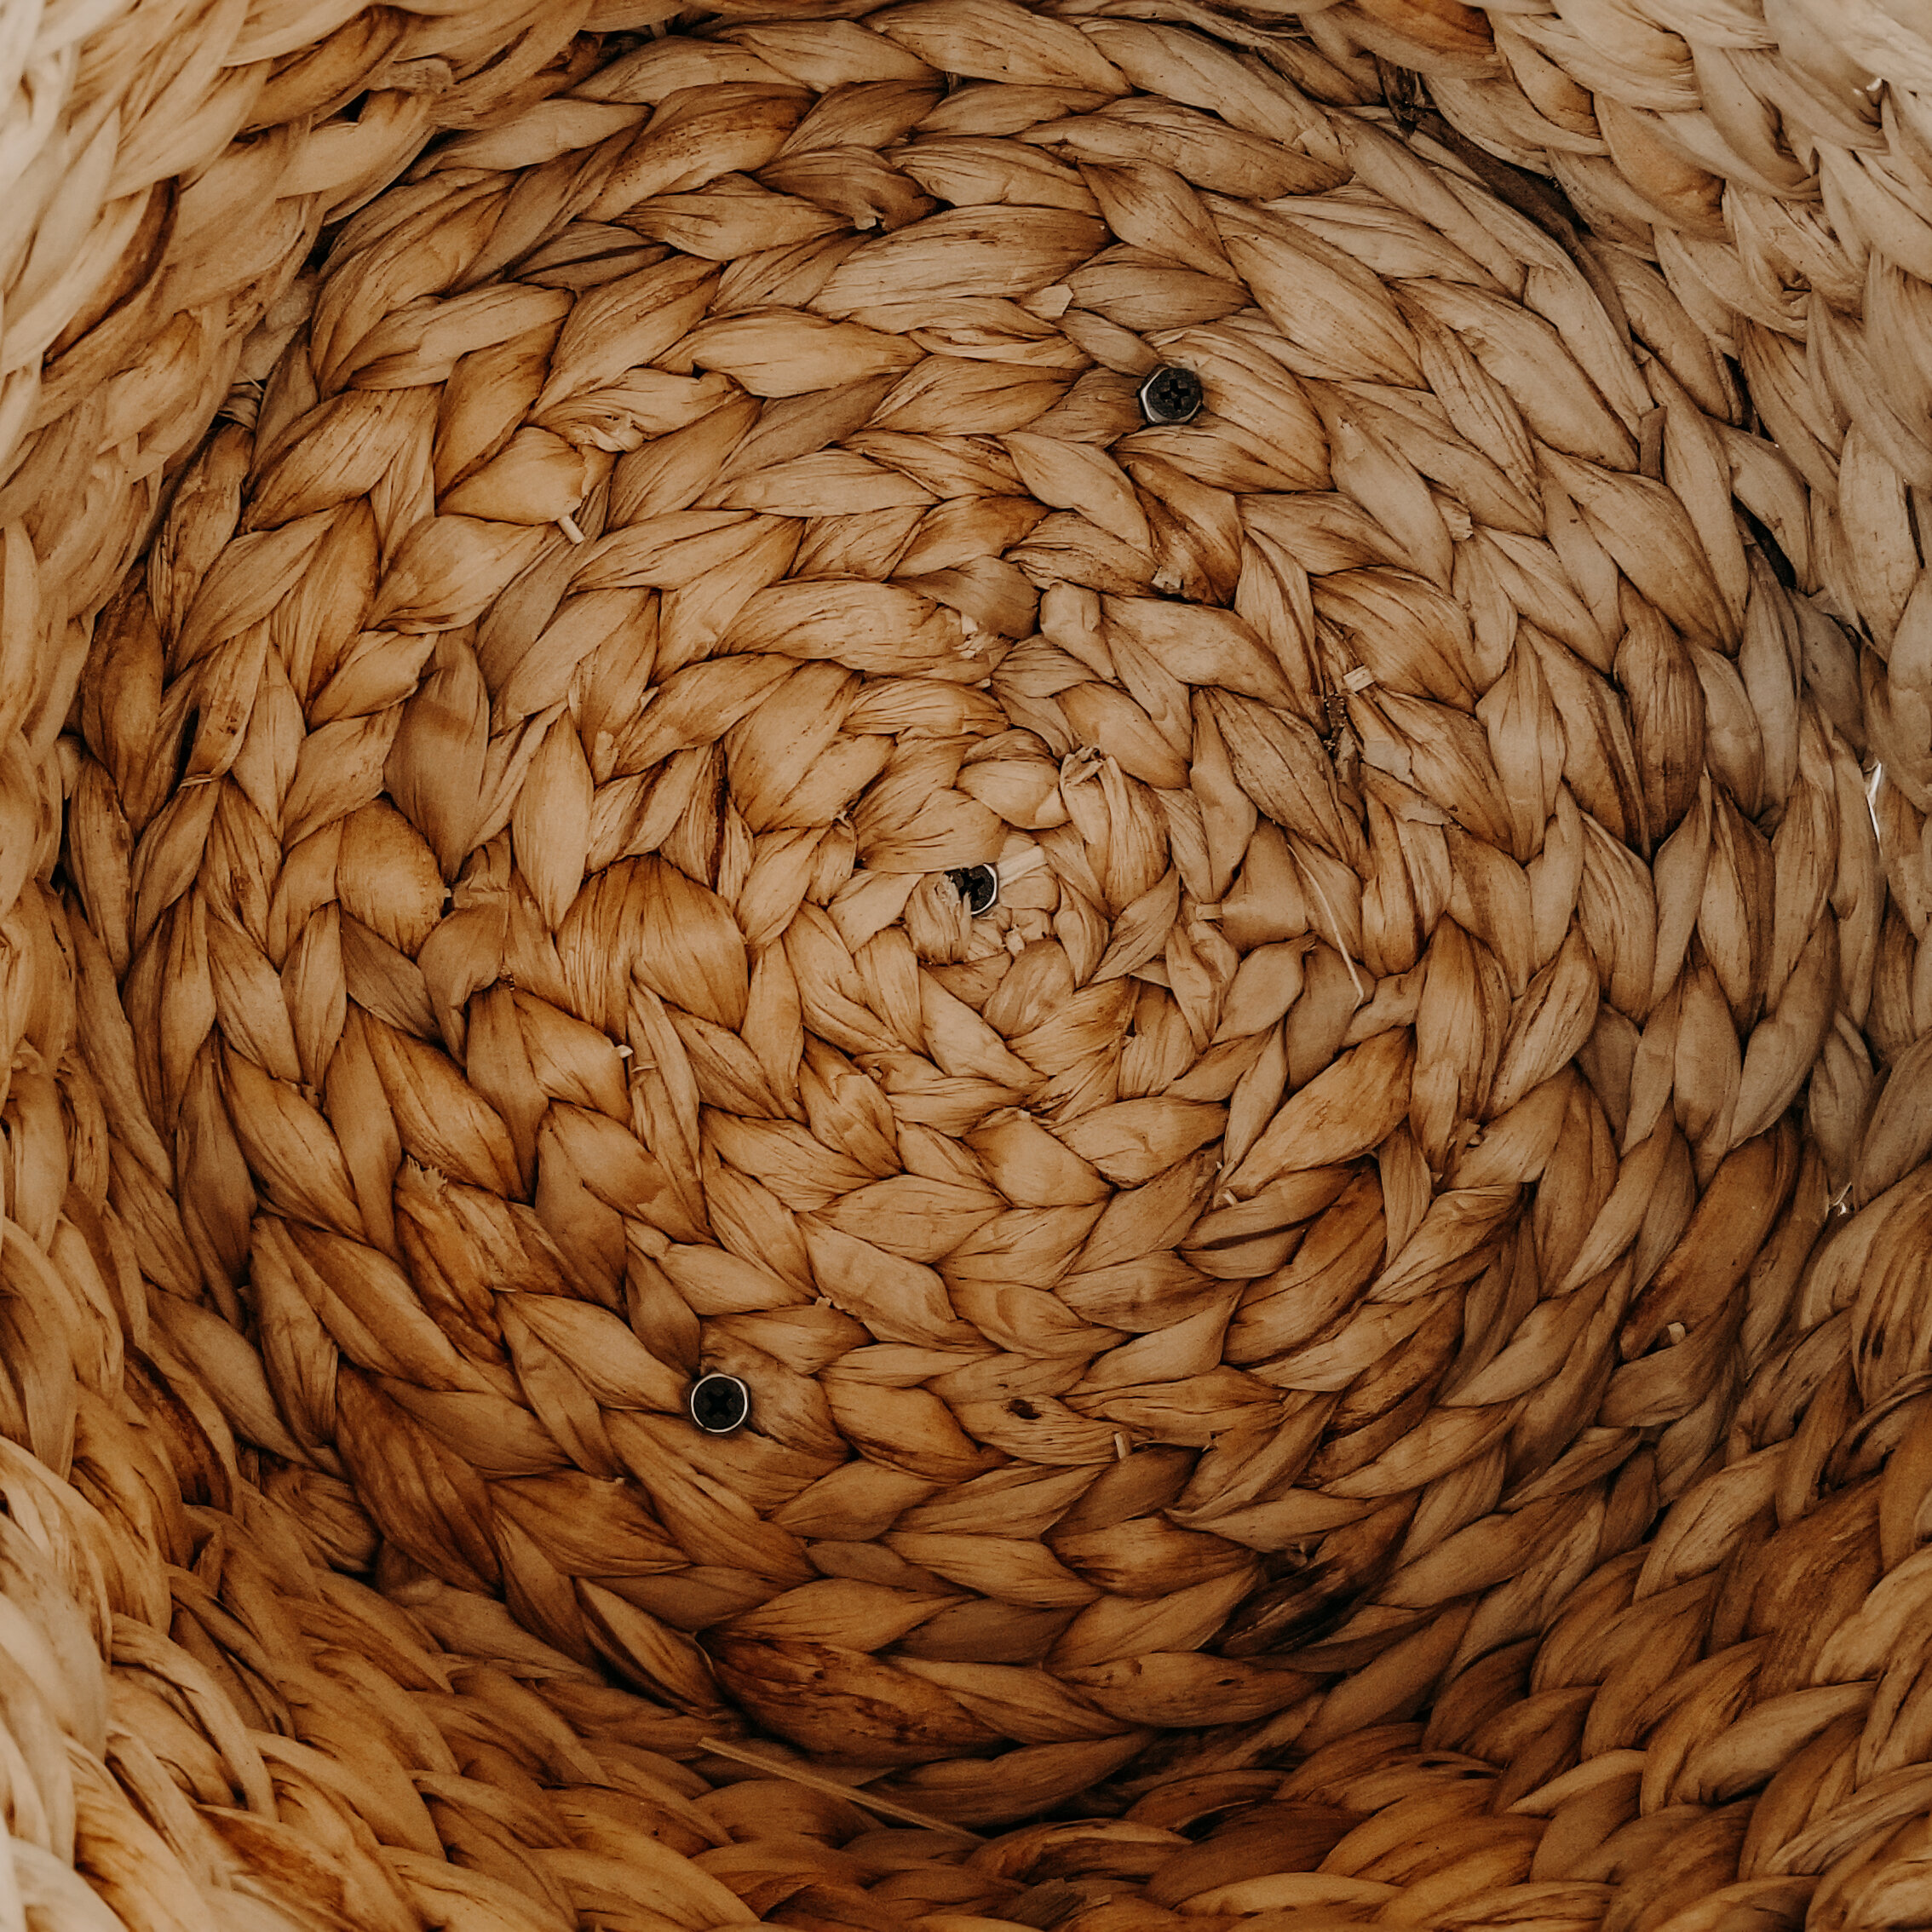
Find a basket! I found these two baskets at Joann Fabrics for $14 and $12. One is 12” round and the other is 16” round. They had handles on them so I went ahead and removed those. I would look for baskets that have a sturdy weave and these have a metal wire frame so that helps with the stability. If you get a basket that has a thinner/more spaced out weave, they might not keep up as well. Once I got the handles off them, I flipped them over and BOOM, ottomans! Kinda.
STEP 2:
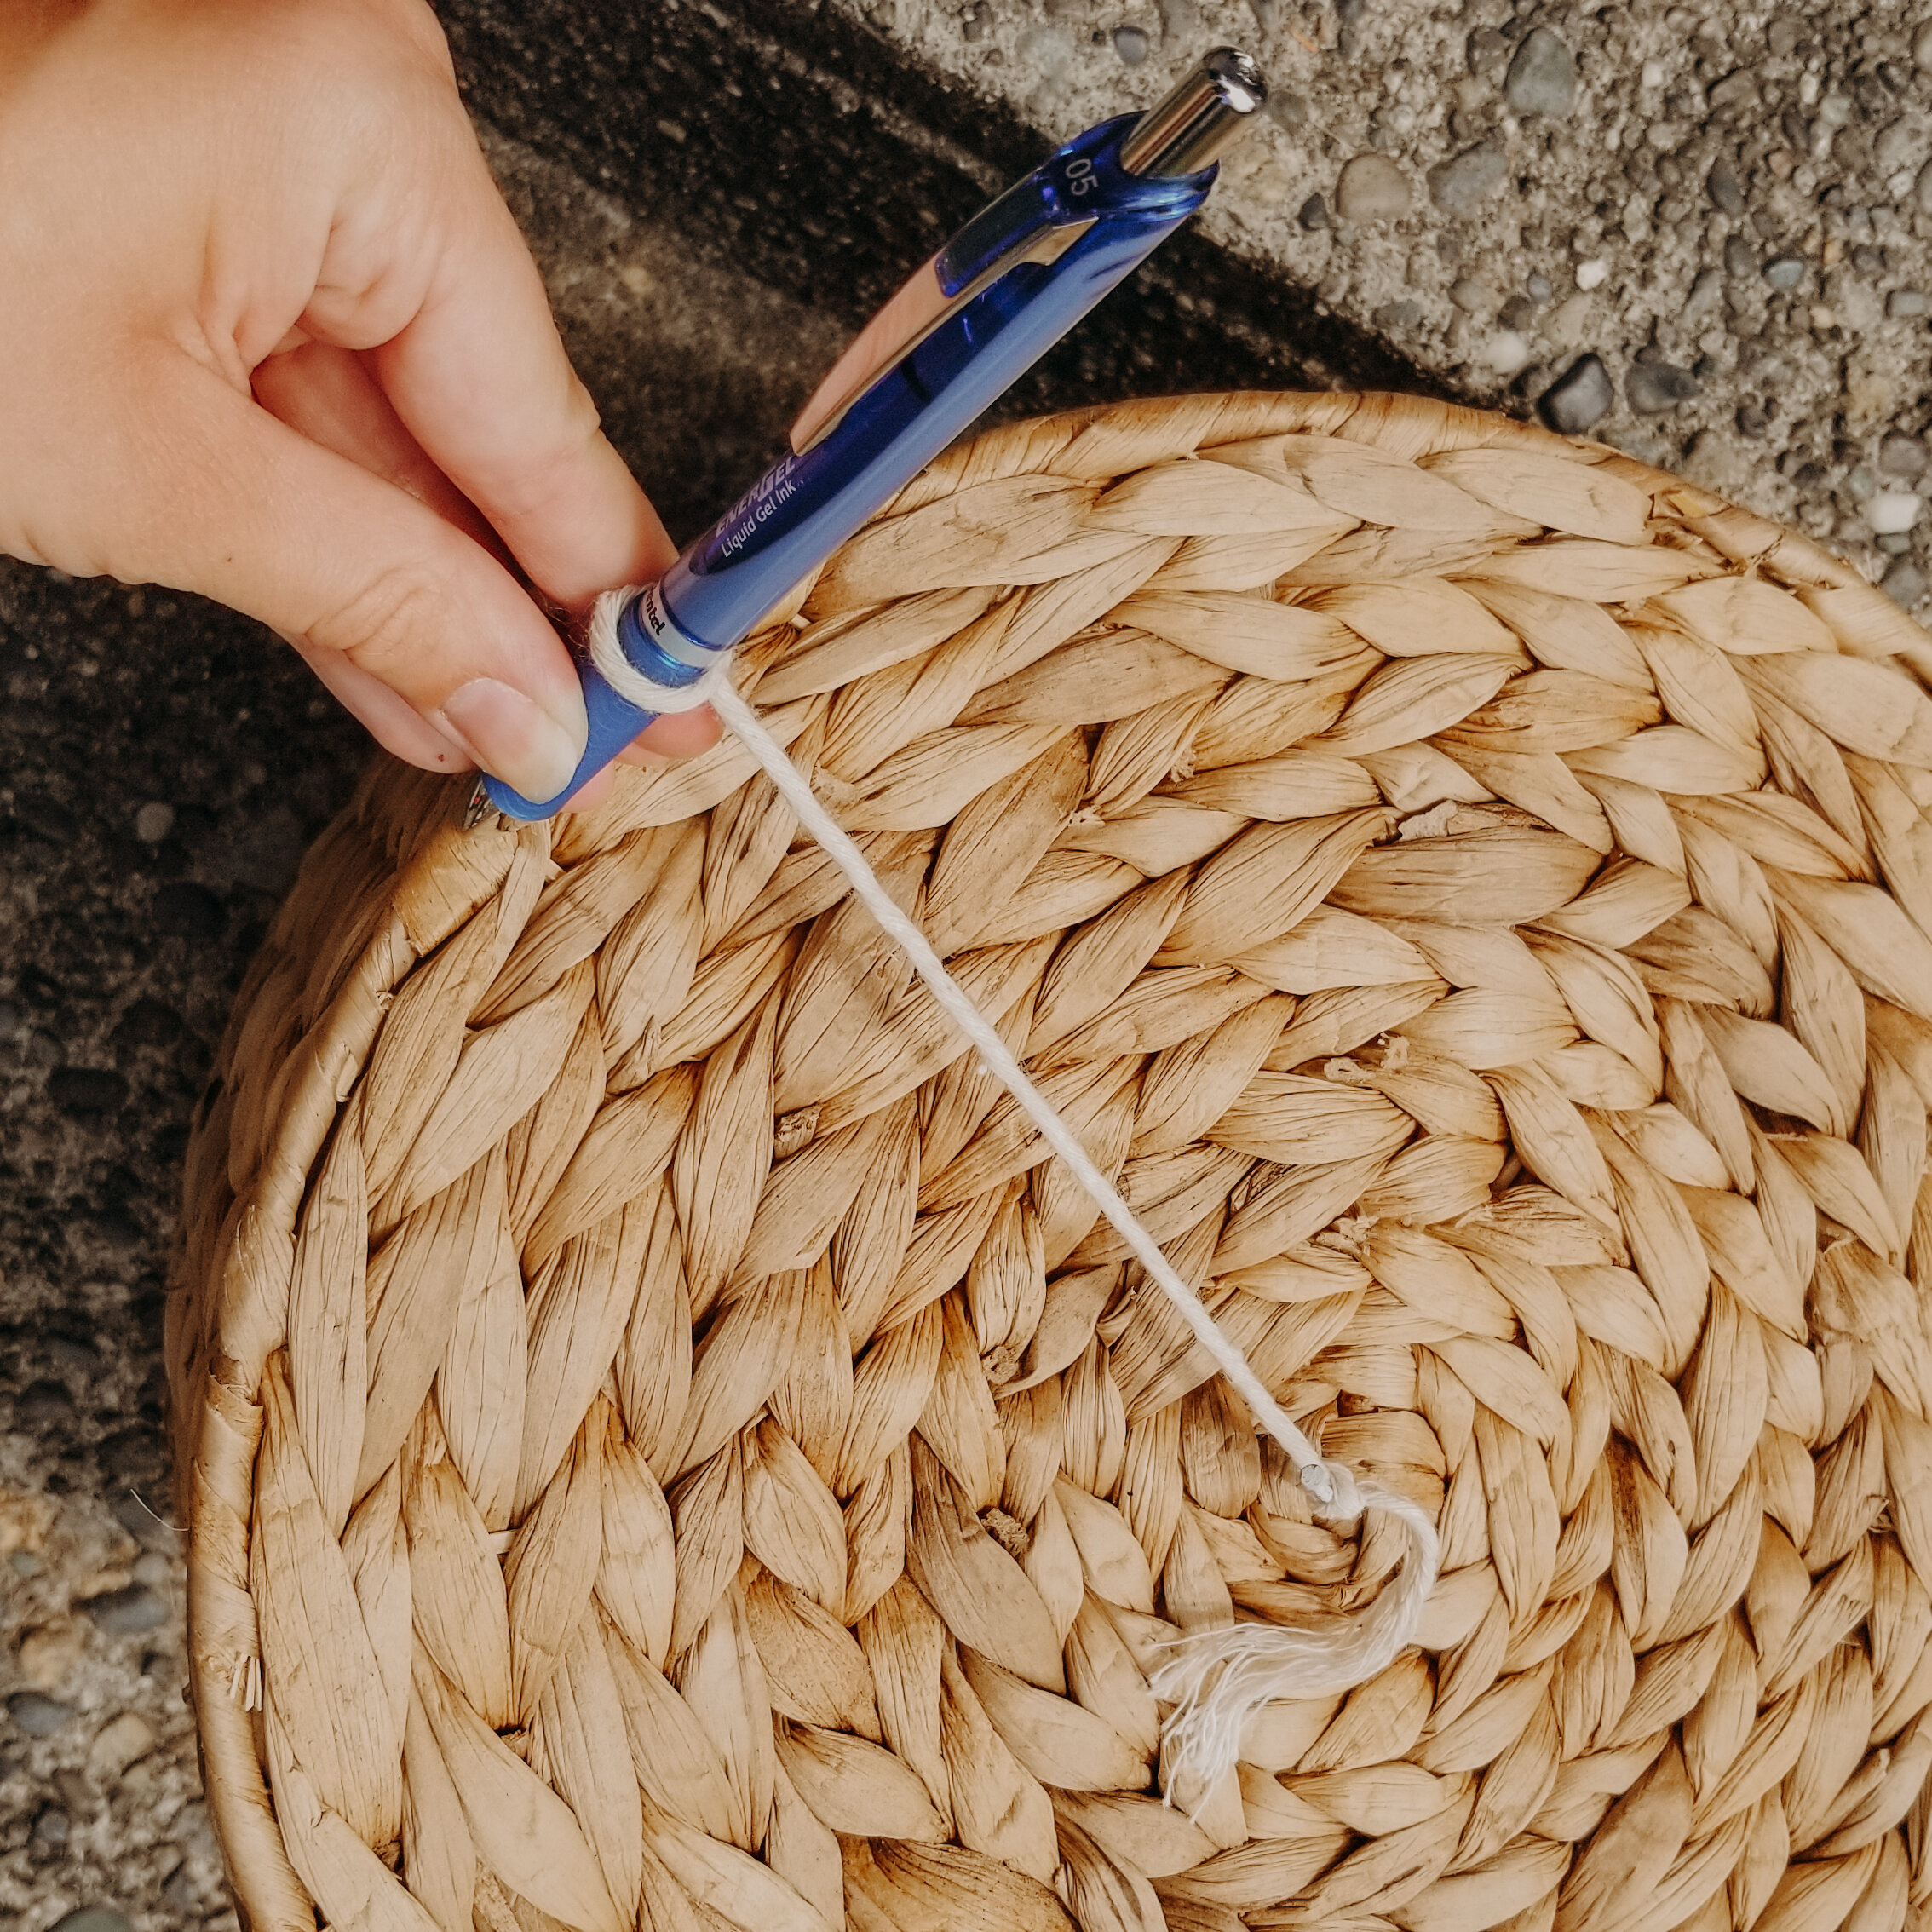
This is the most complicated part of the whole project, cutting a perfect circle out of the wood. I started by nailing a string dead center of the basket and then tying it around a pen at the point where the pen lined up with the edge of the basket. Once I got that lined up, I then nailed it to my board and drew a circle. Make sure that you cut OUTSIDE the line you drew on the wood. If you cut on the inside, your jigsaw blade (depending on the size) will eat about 1/4” and your wood will be too small on your basket.
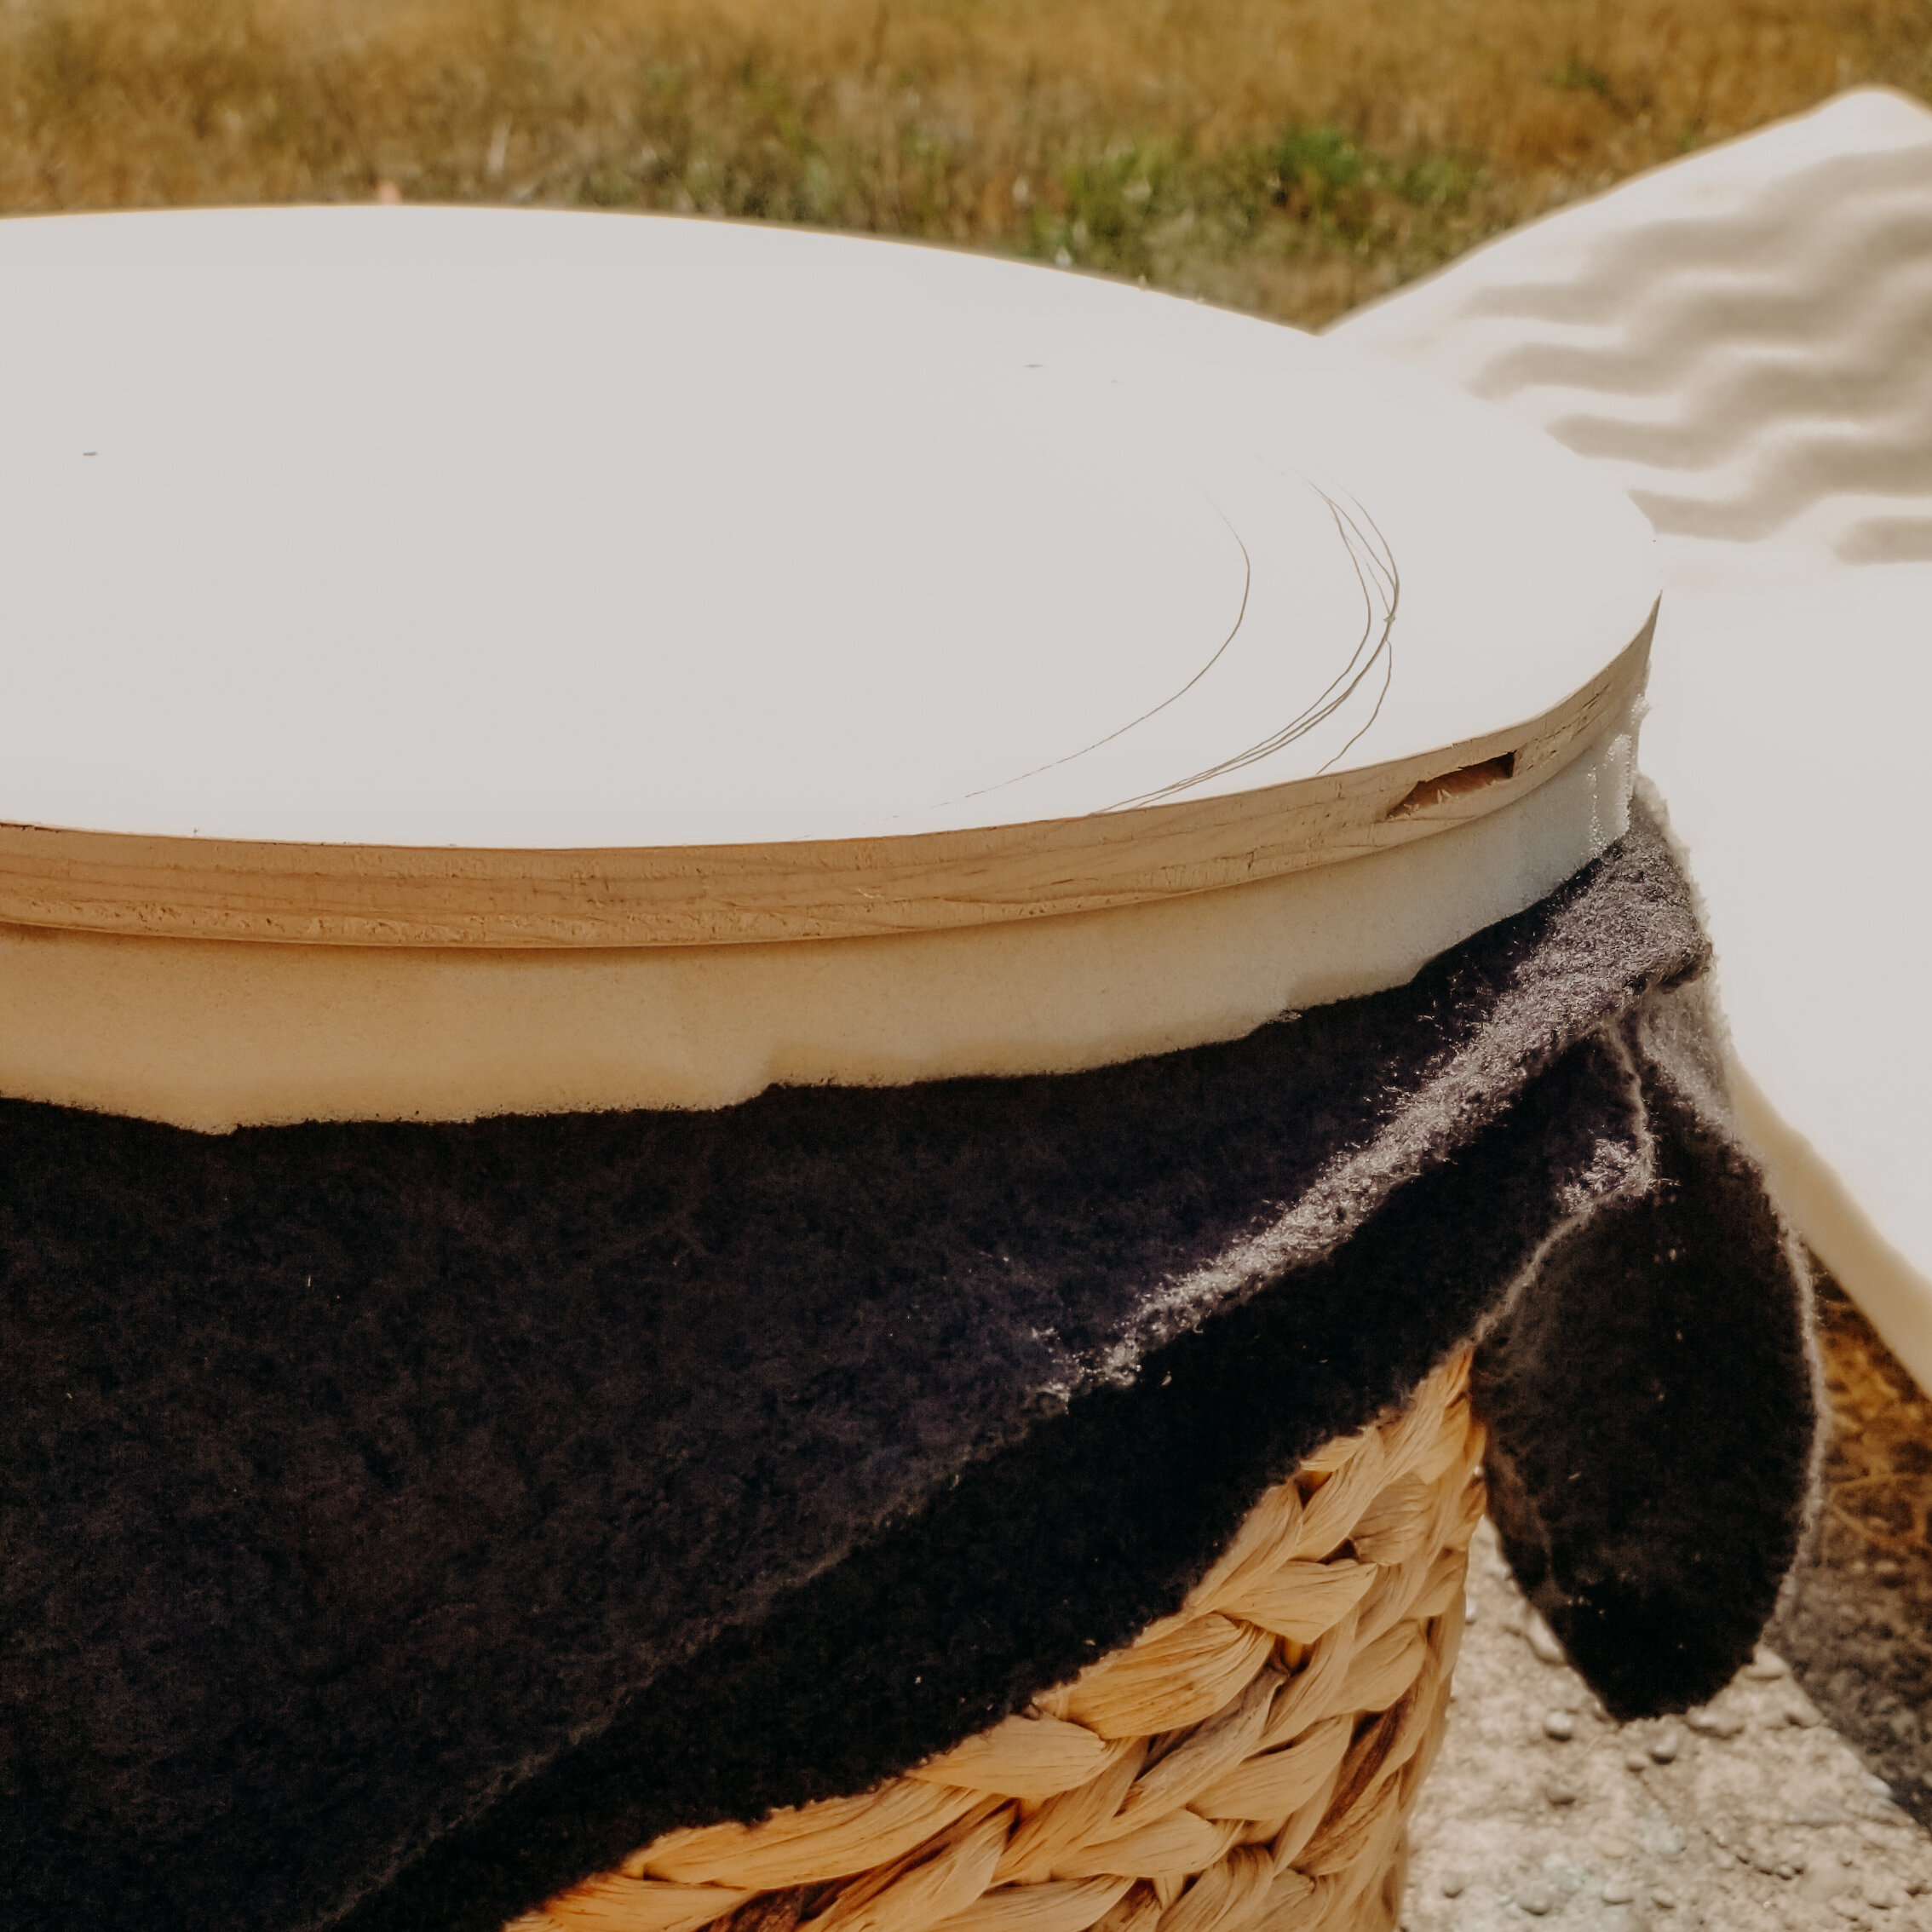
STEP 3, 4 & 5:
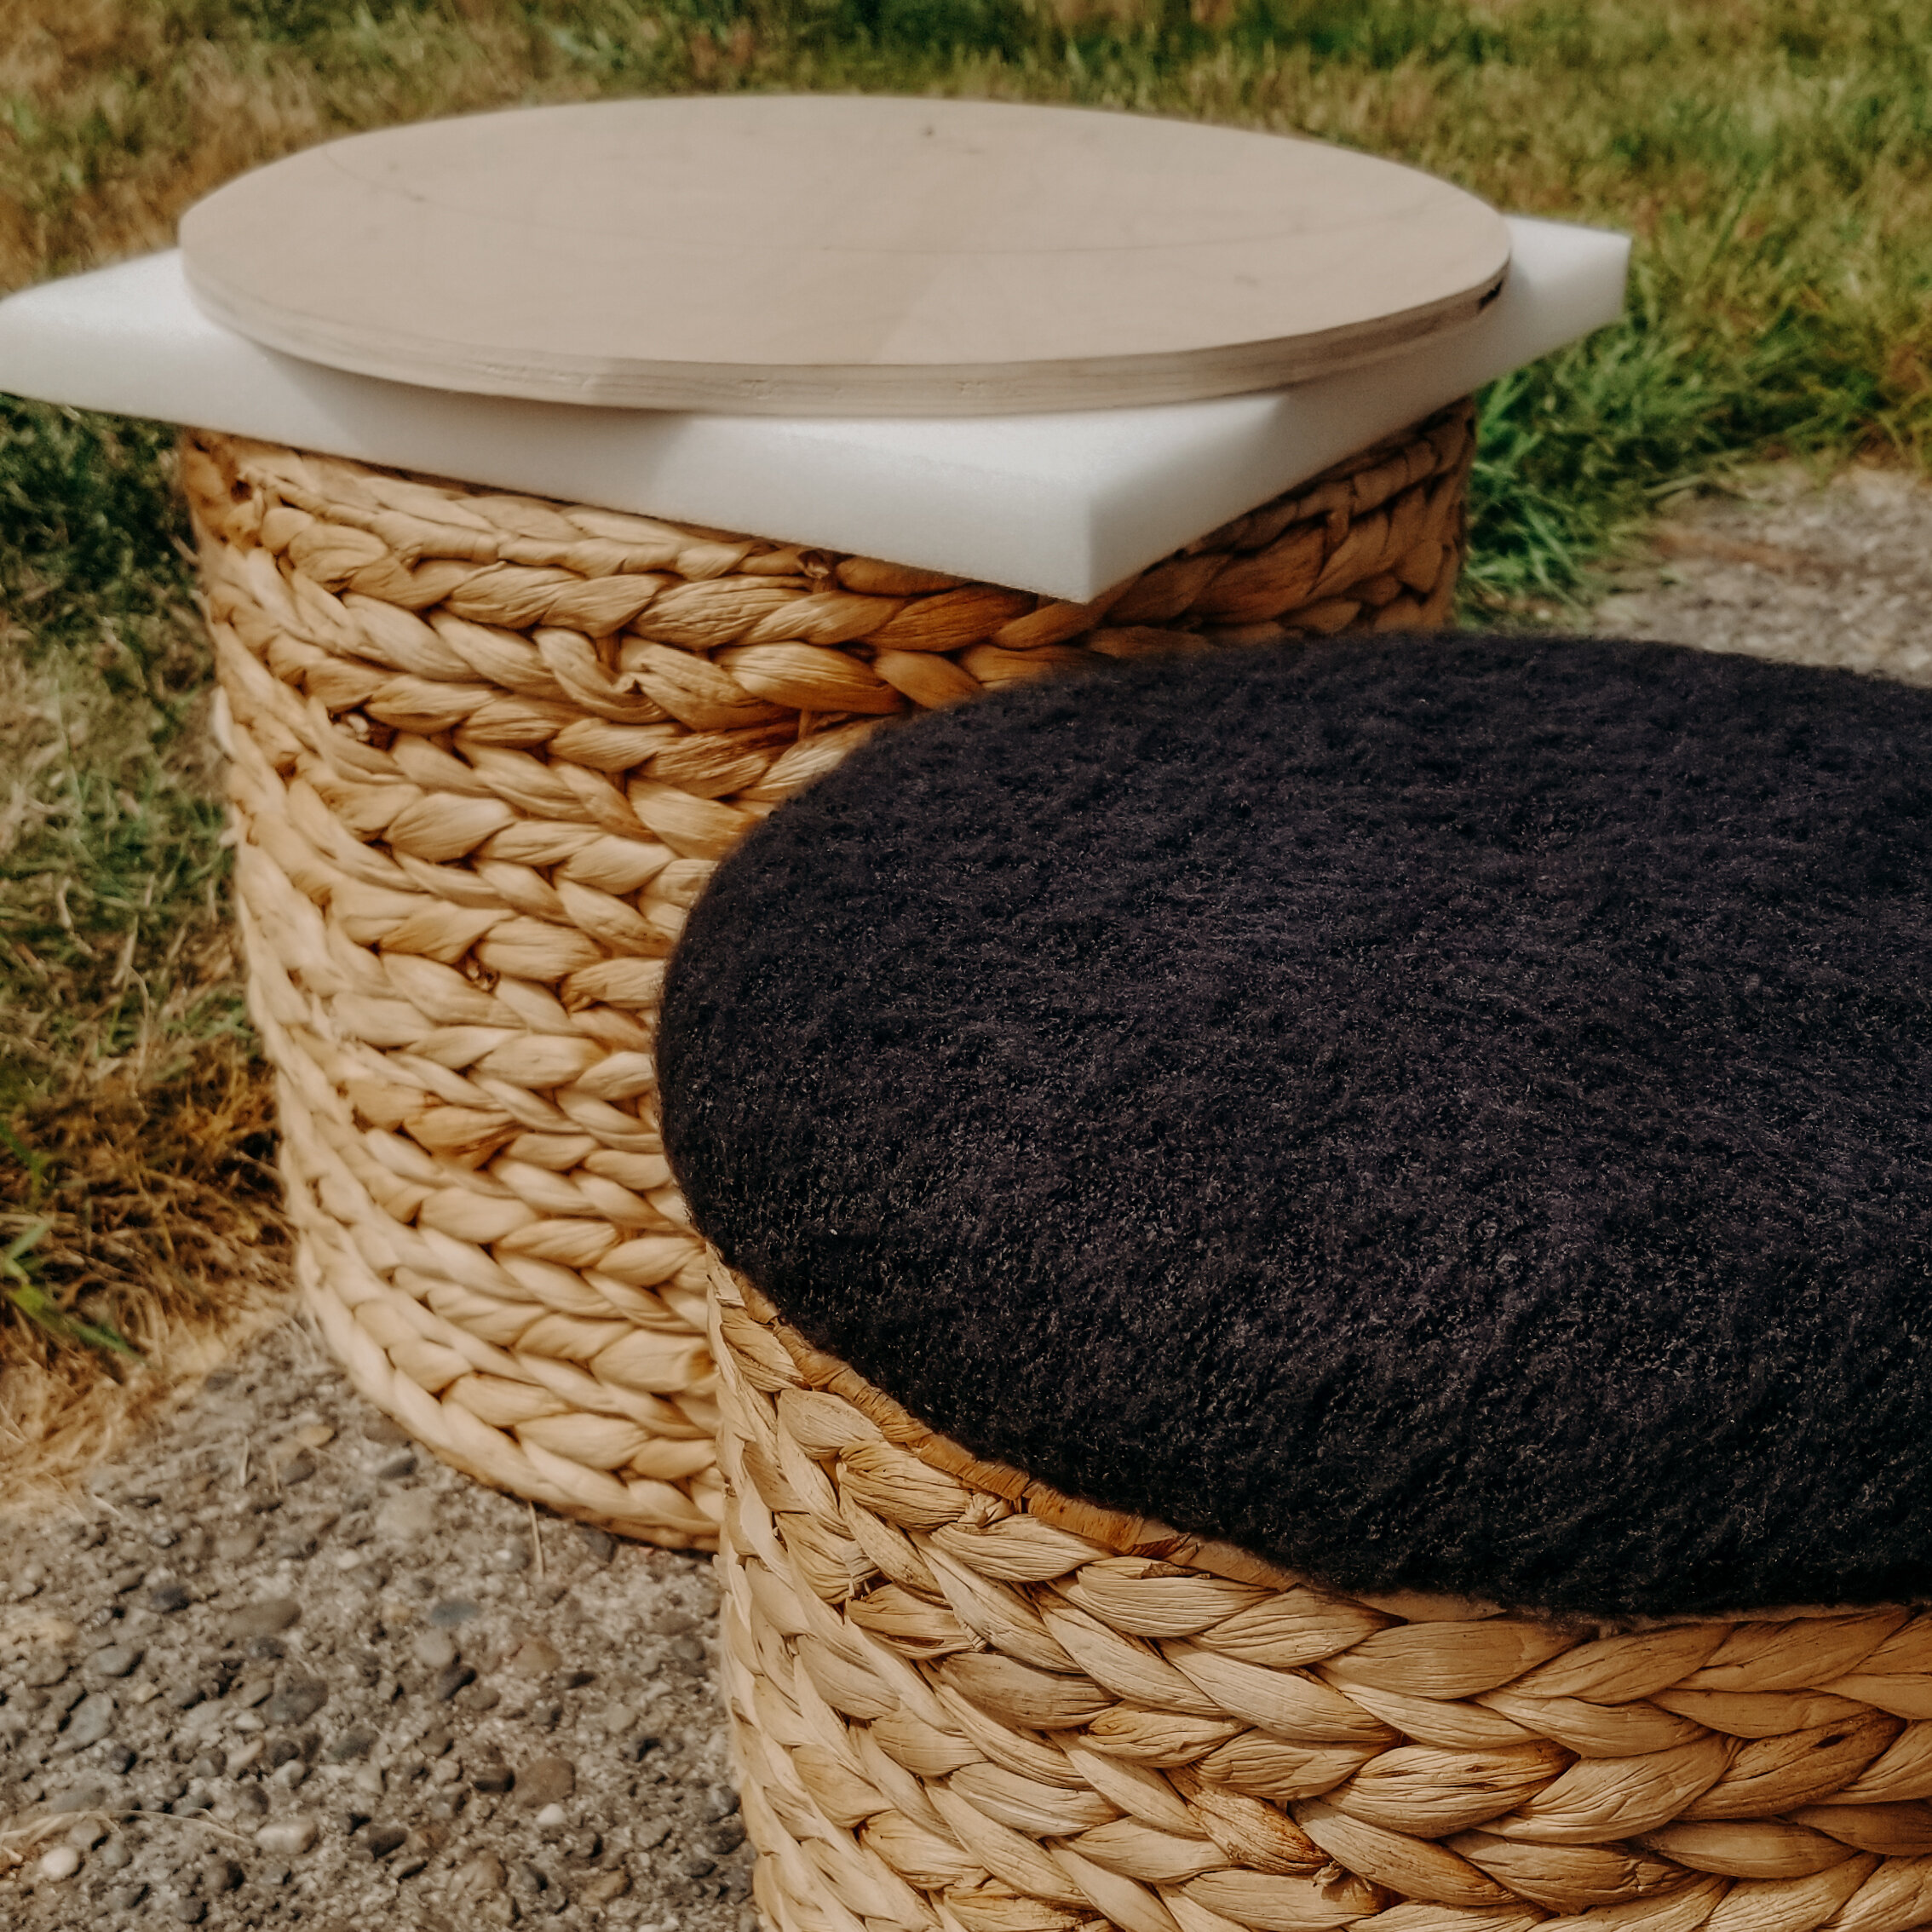
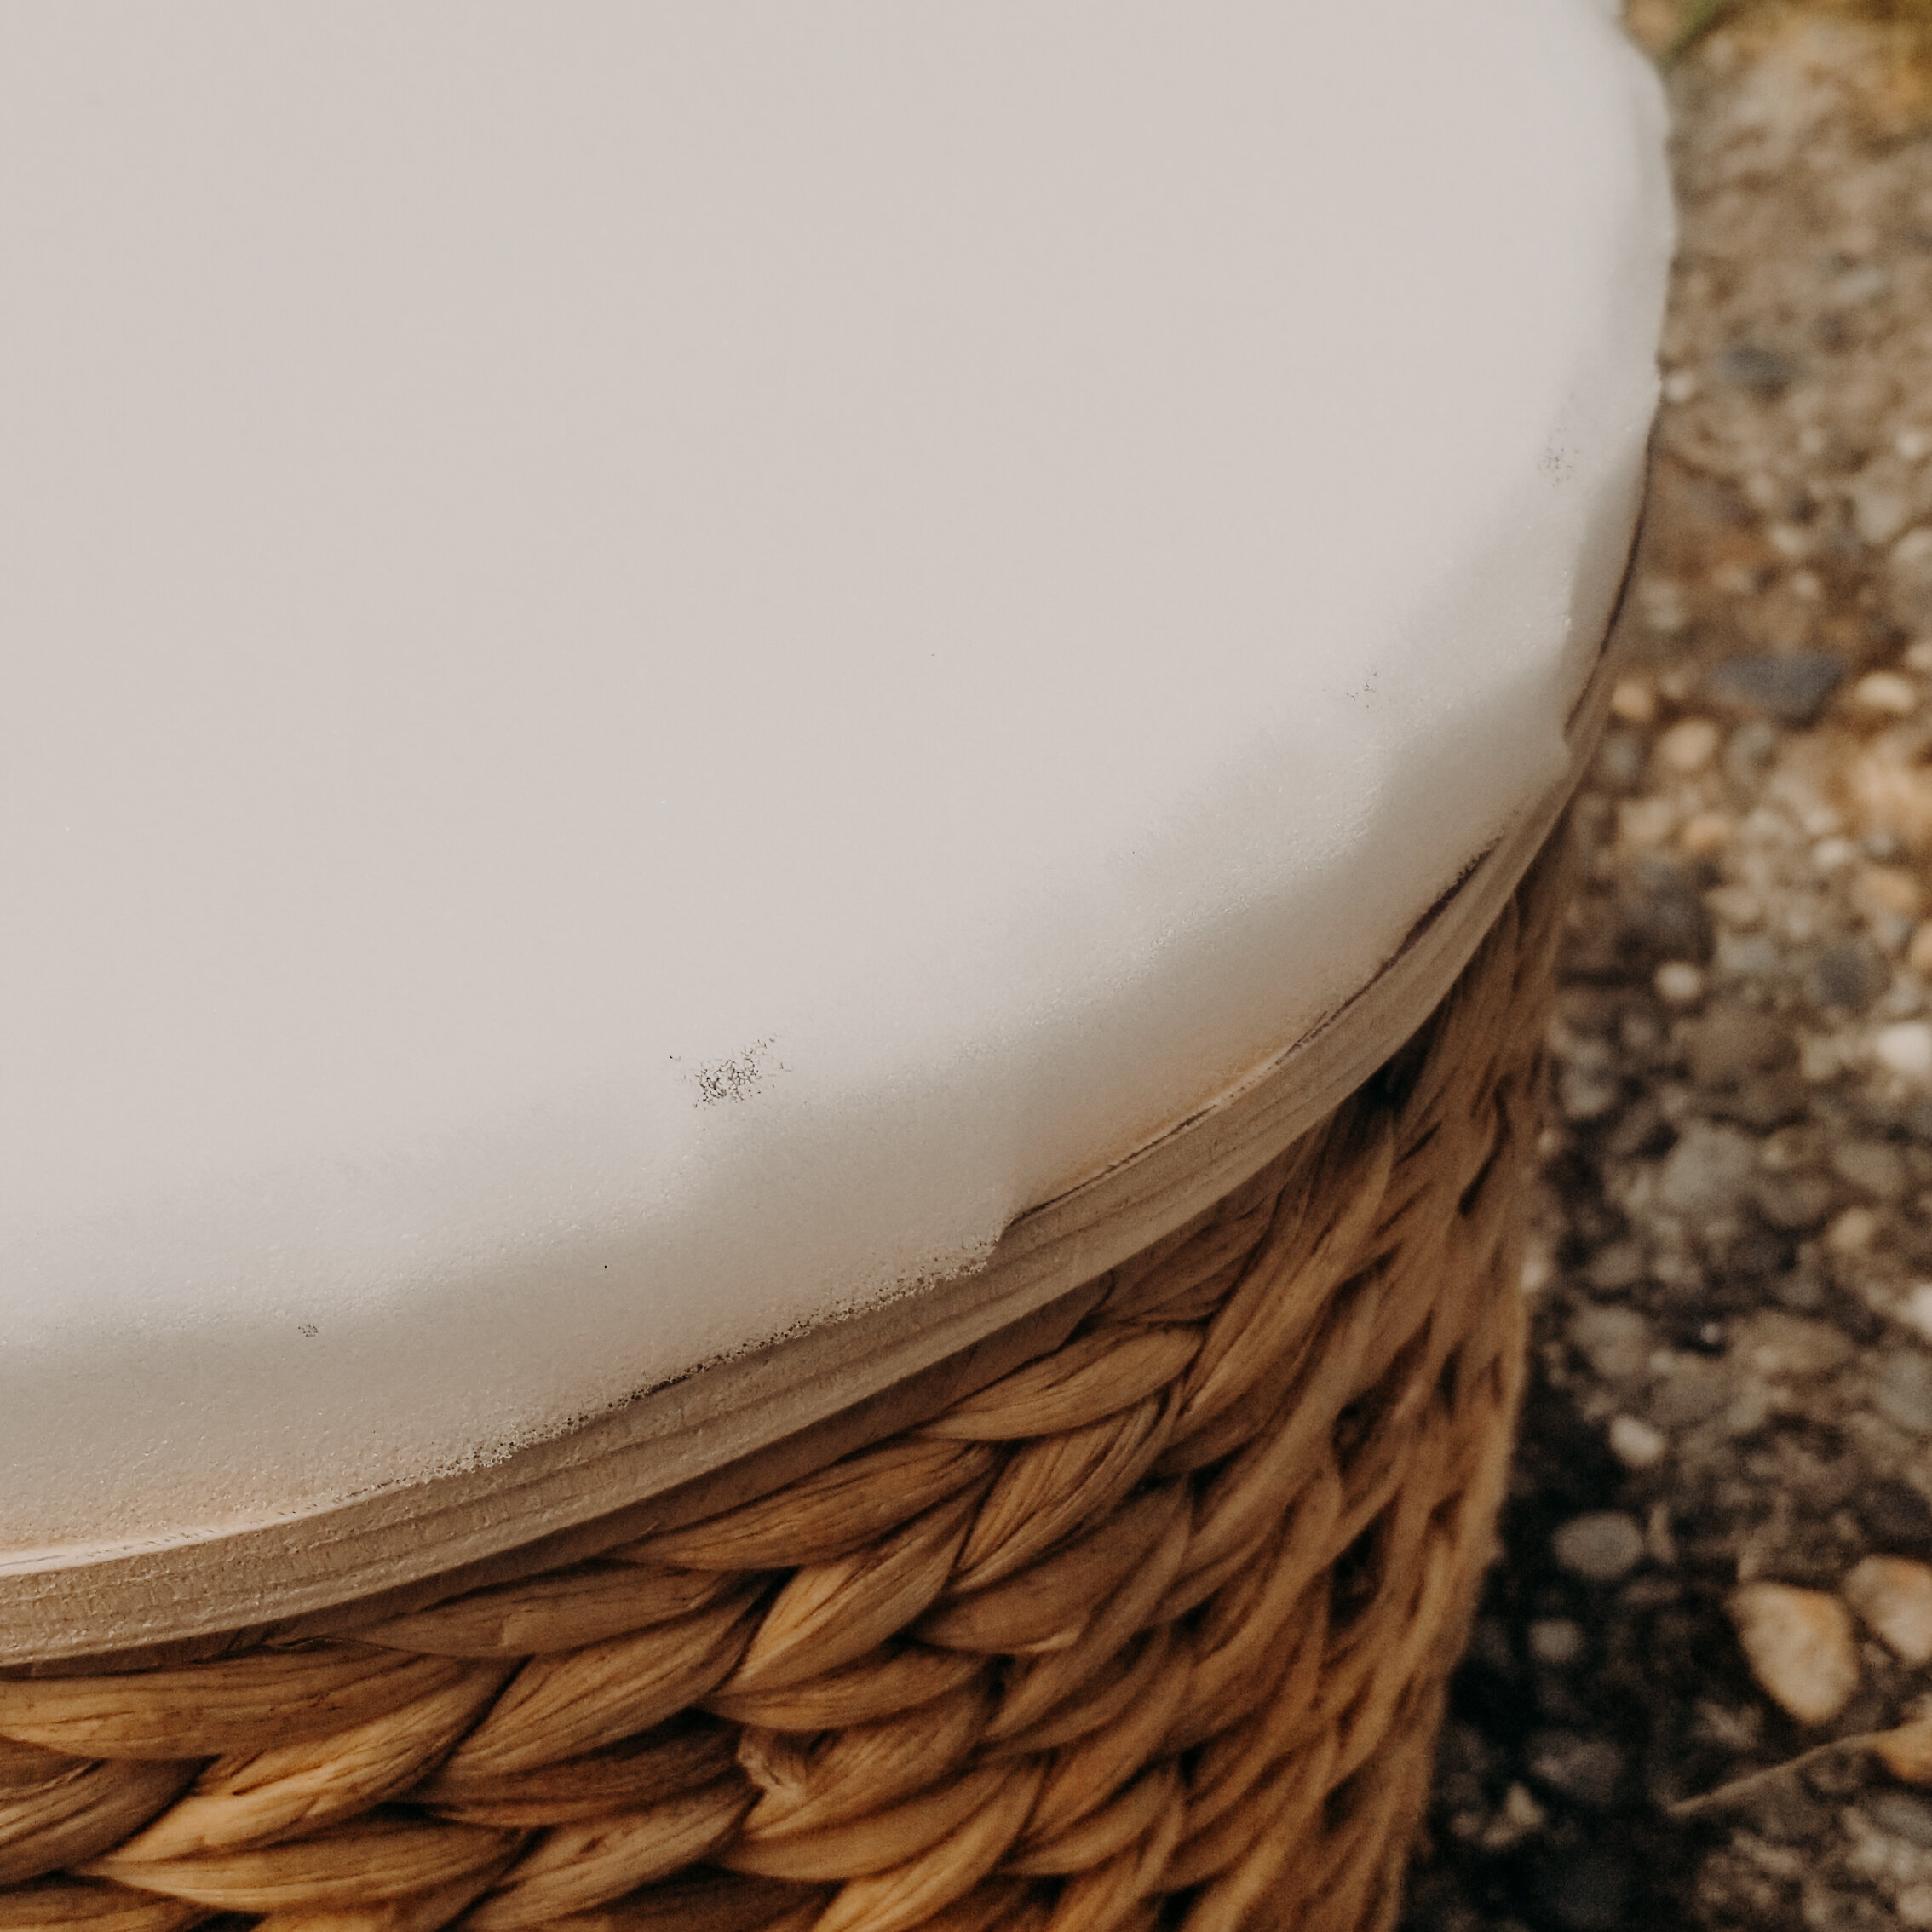
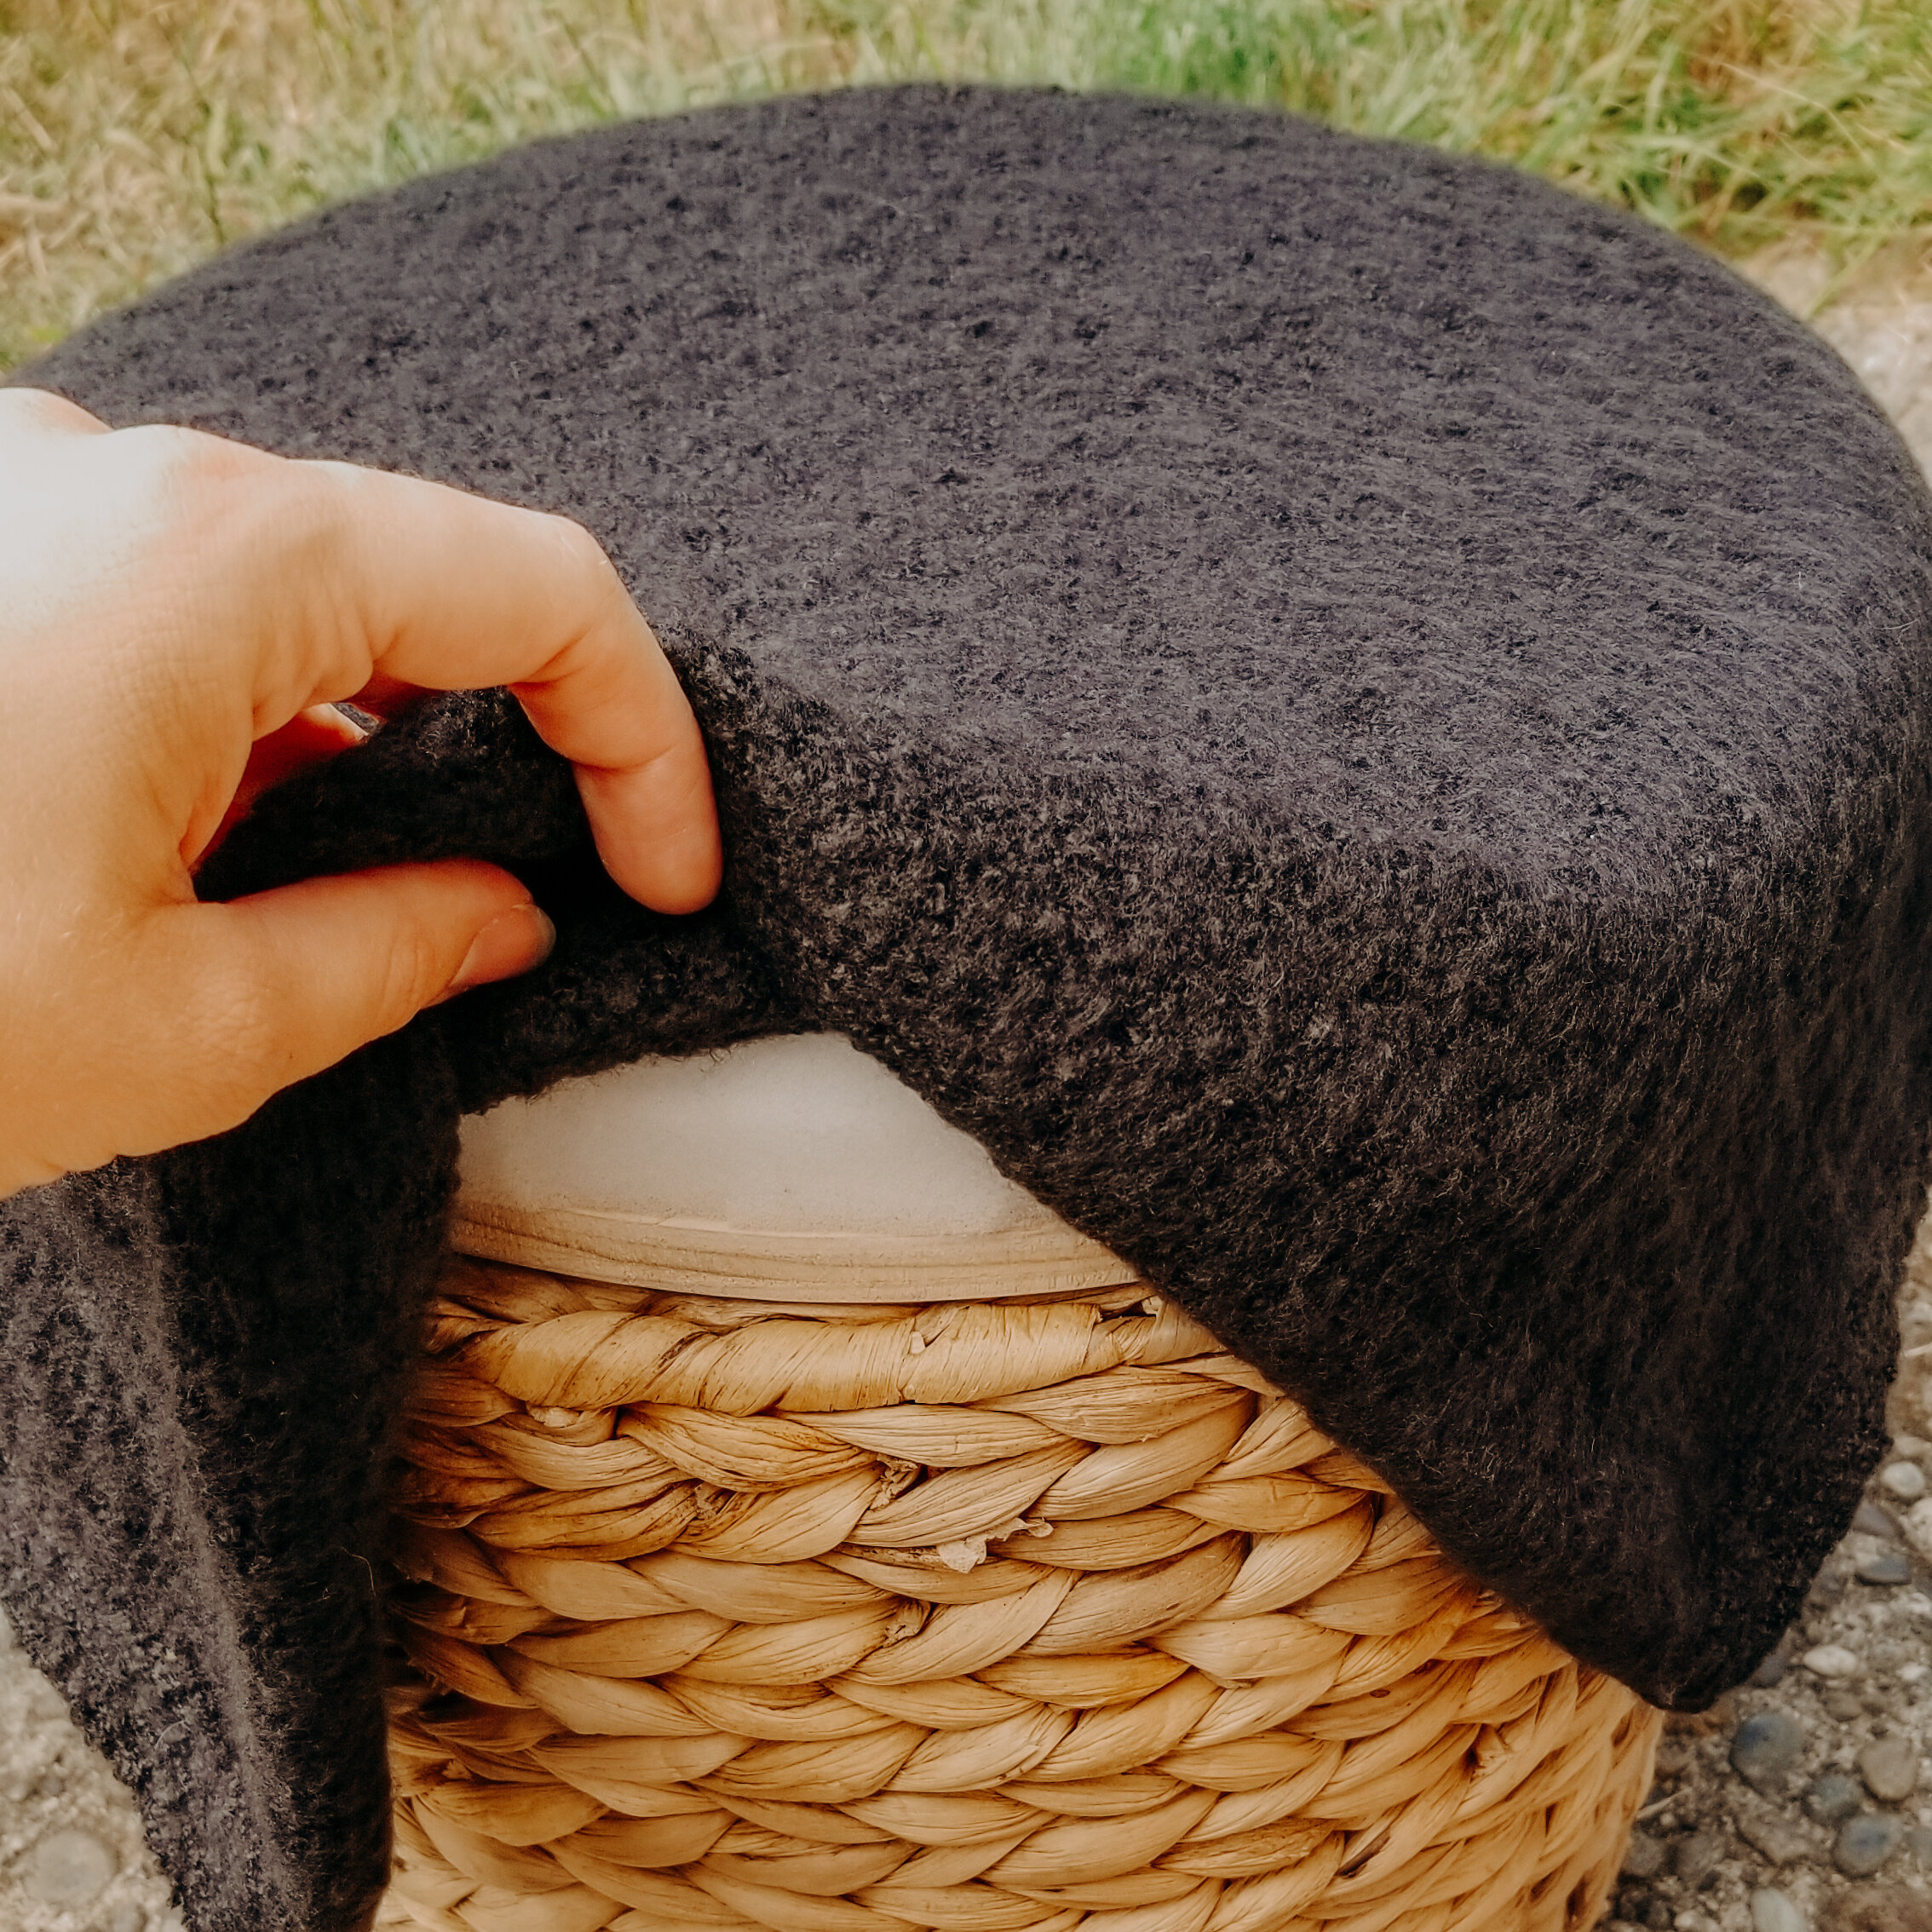
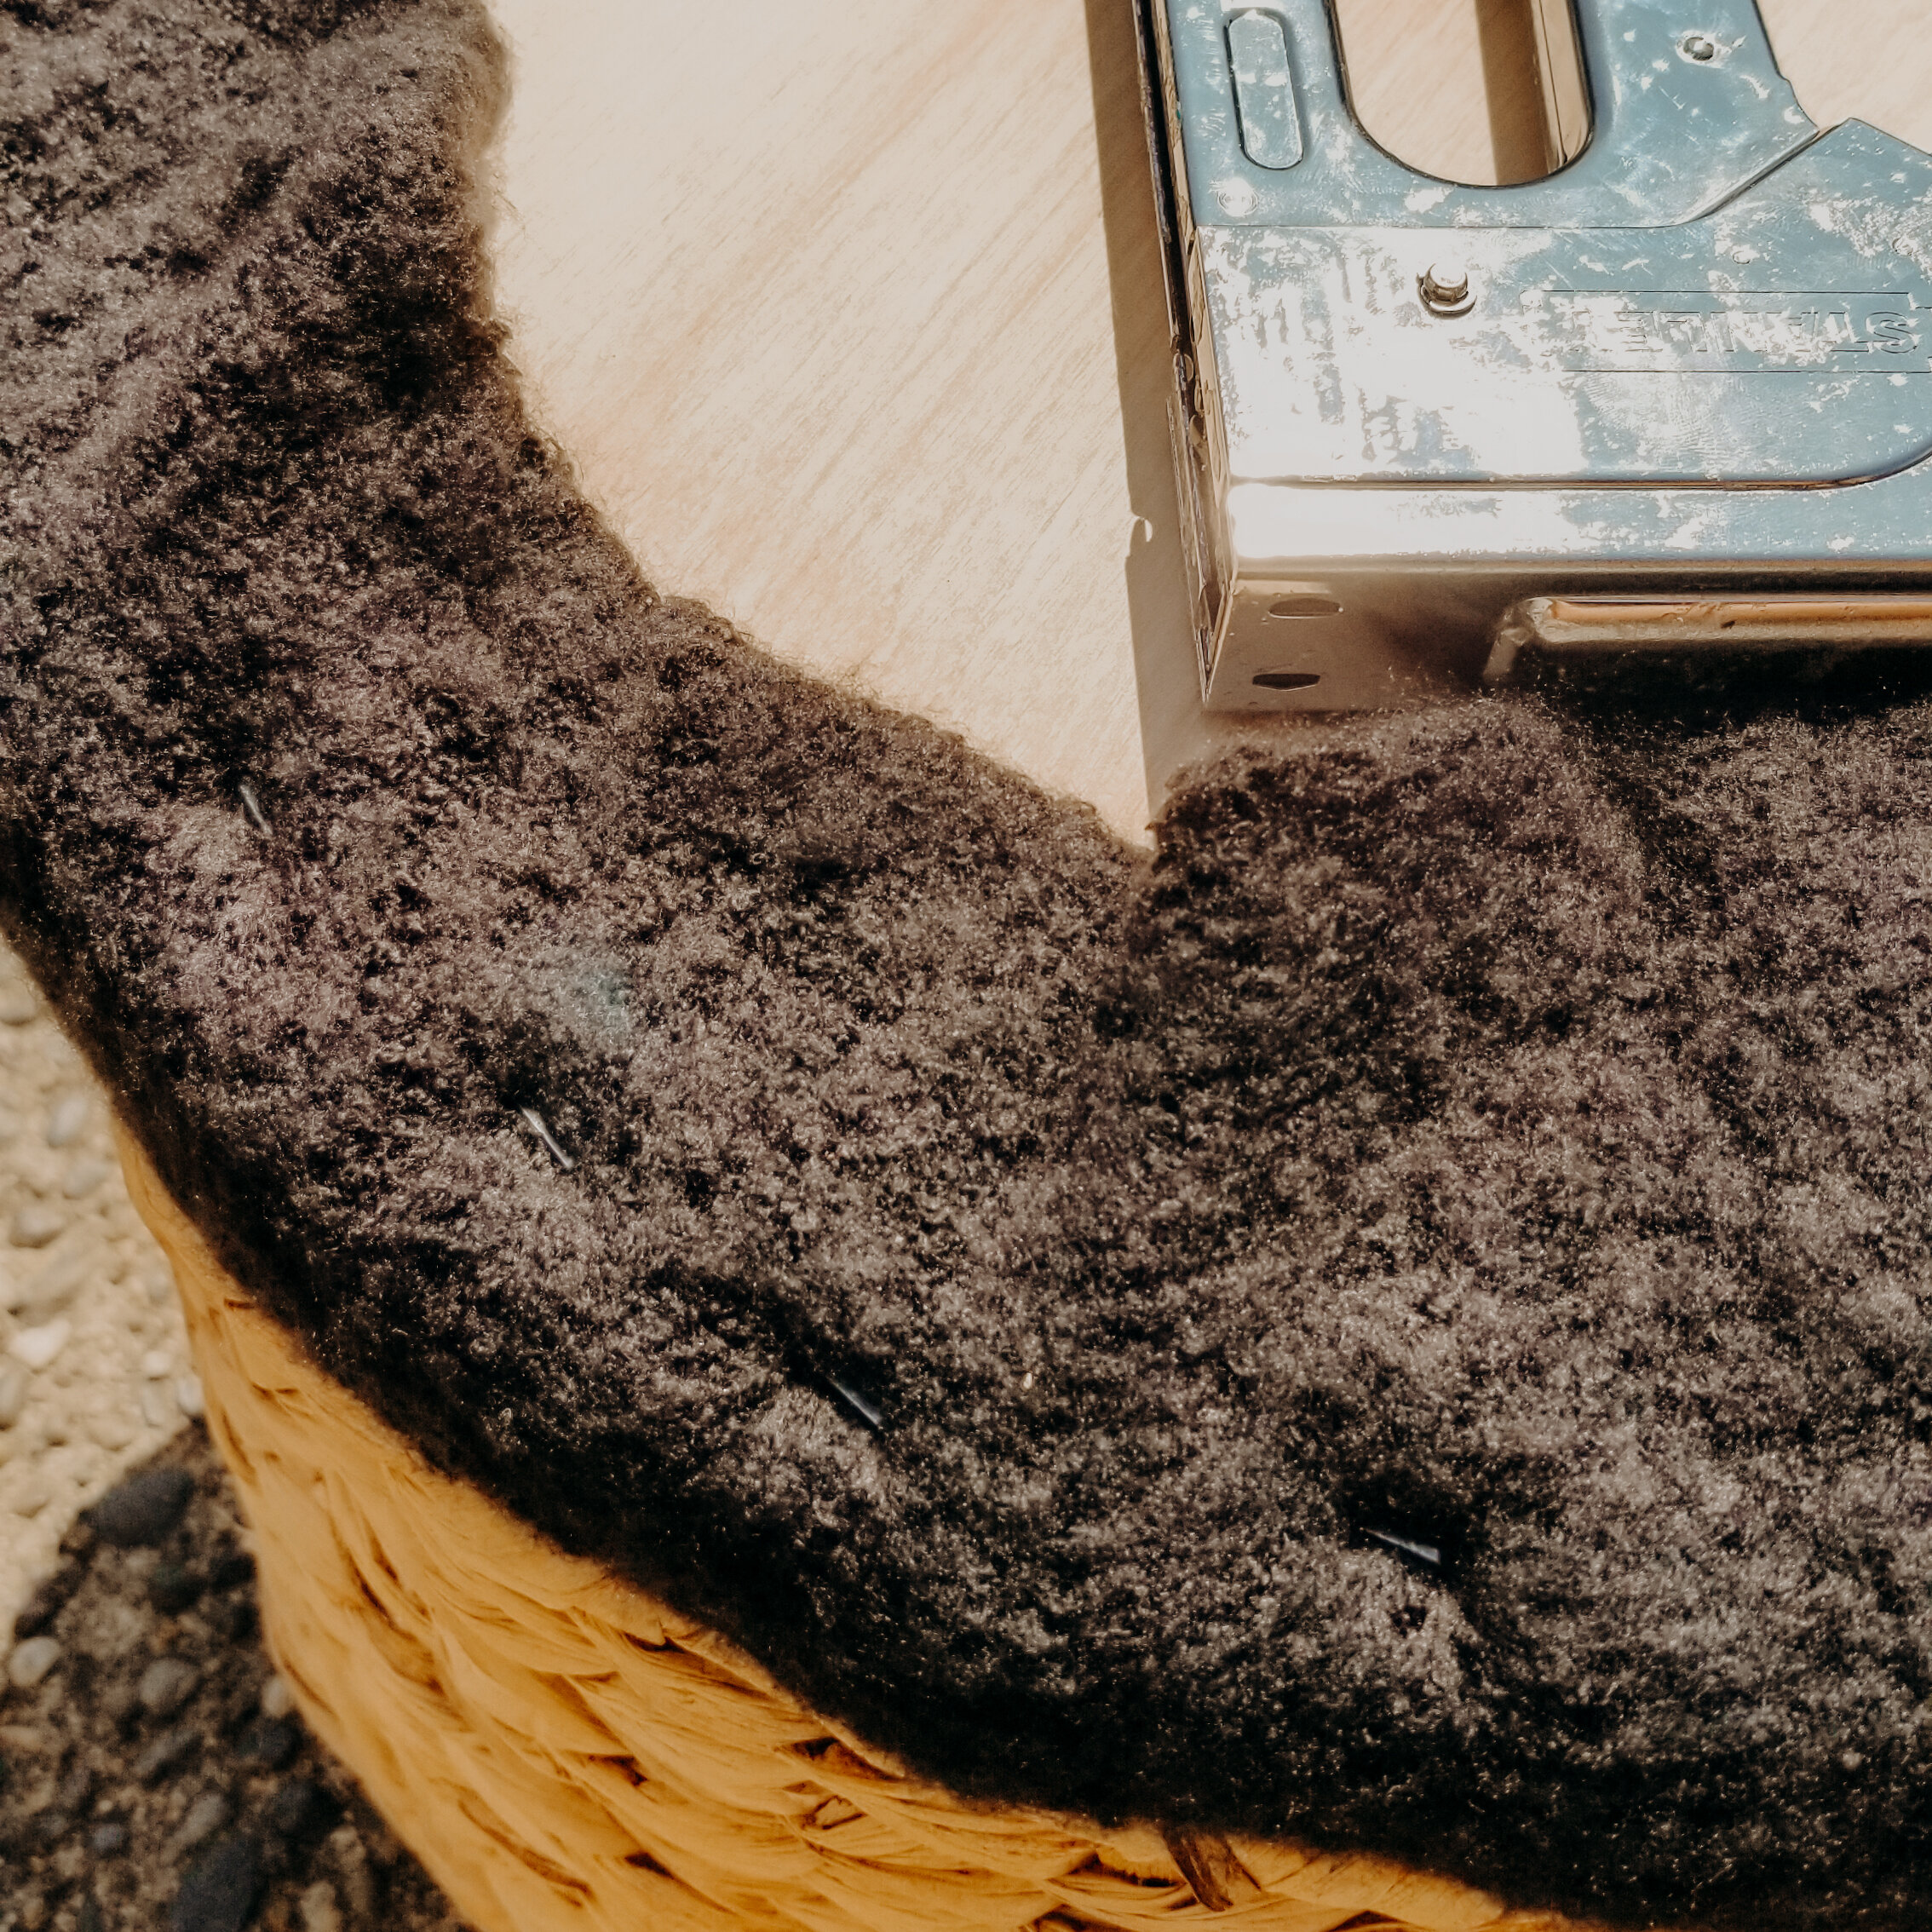
Once you’ve got your circle cut, it’s time to cut the foam. I put the wood on top of the foam and drew a circle around it so I knew where to cut it. Once I cut the circle I beveled the edge of the foam so that it wouldn’t just be a squared circle, makes the top look a little more intentional and original when you tapper the edge. Once you’ve got your foam cut you can then cut your fabric. I cut my fabric in a square and made sure that there were at least three + inches around the wood and foam. So now you should have wood on bottom, foam in the middle and then the fabric on top. Once you’ve gotten all the layers in order you can flip it all over and start stapling the fabric to the wood. Once it’s all stapled down you are ready to attach it to the actual basket. For the large basket I used five screws. I lined up the top cushion to the top (aka bottom) of the basket and flipped it over so I could screw the basket to the wood. I put one screw and washer in the center of the basket and then the rest were spread out the sides to secure the two together.
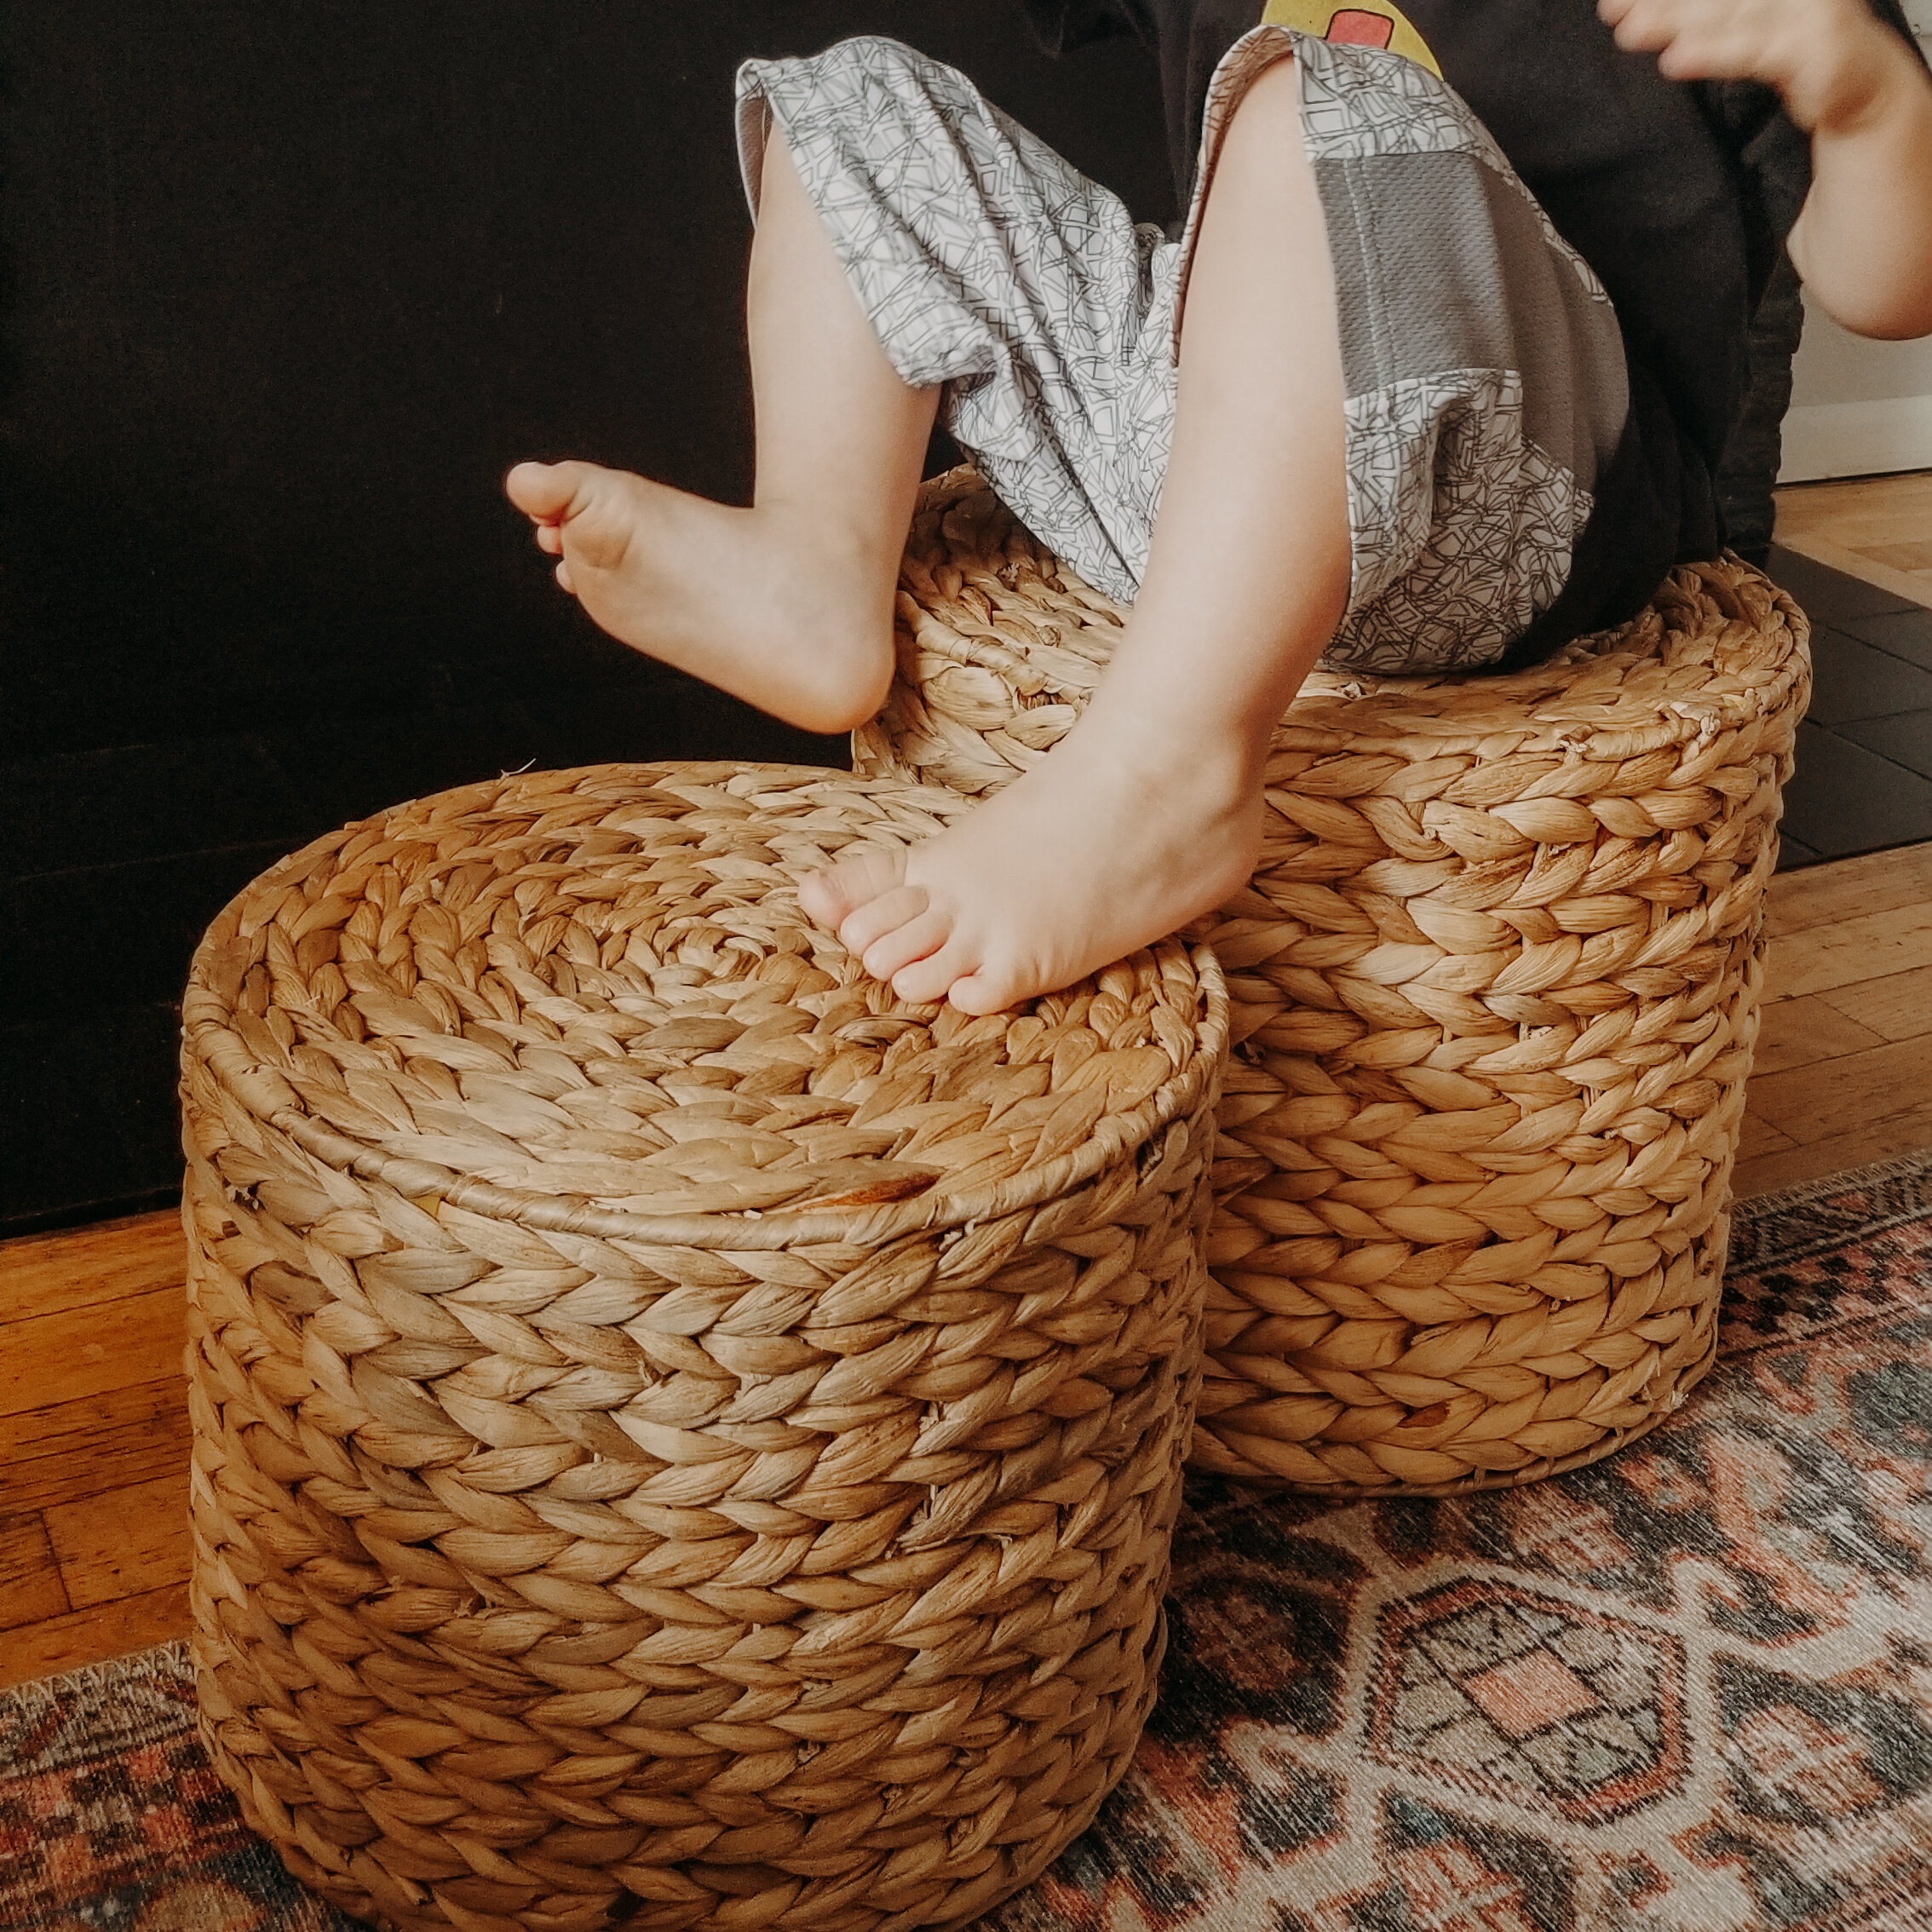
AND YOU’RE DONE!

